Controlling the TV volume is something basic that every remote should be able to do. The folks at DIRECTV agree, and that’s why their remotes have always had that capability. It’s something that is generally set up when you get the receiver, but if you have a new remote or a new TV, you might need to do it again. It’s easy, and this tutorial is going to take you through the steps.
All DIRECTV boxes will prompt you on screen to program the remote if the volume control isn’t programmed. If that happens, just follow the instructions you see on screen.
If you are changing TVs or sound equipment, you might need to unpair or reset the remote before programming it. It’s best to try programming before resetting the remote, because it will erase all your custom settings completely. Follow the steps here to learn how to do that.
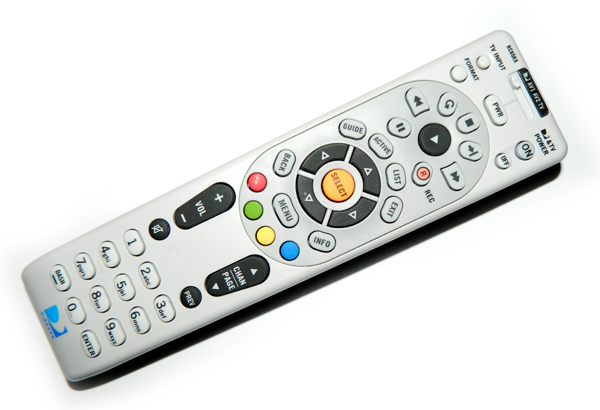
This remote has been standard for DIRECTV boxes made between 2003 and the present day. If you have a standalone receiver in your home or business or a non-Genie DVR, it uses this remote. It’s unique in the DIRECTV world in that it can control four devices, not just the DIRECTV box and the TV.
Because it’s the oldest remote of the bunch, it’s the hardest to program. But really, it’s still not that hard.
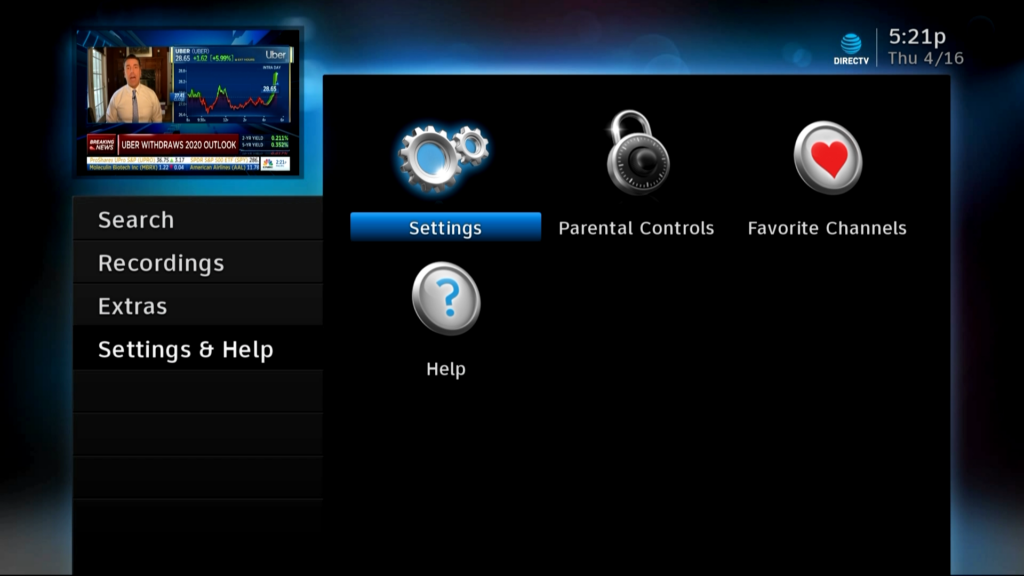
Press MENU then arrow to Settings & Help. When Settings is highlighted, press SELECT.
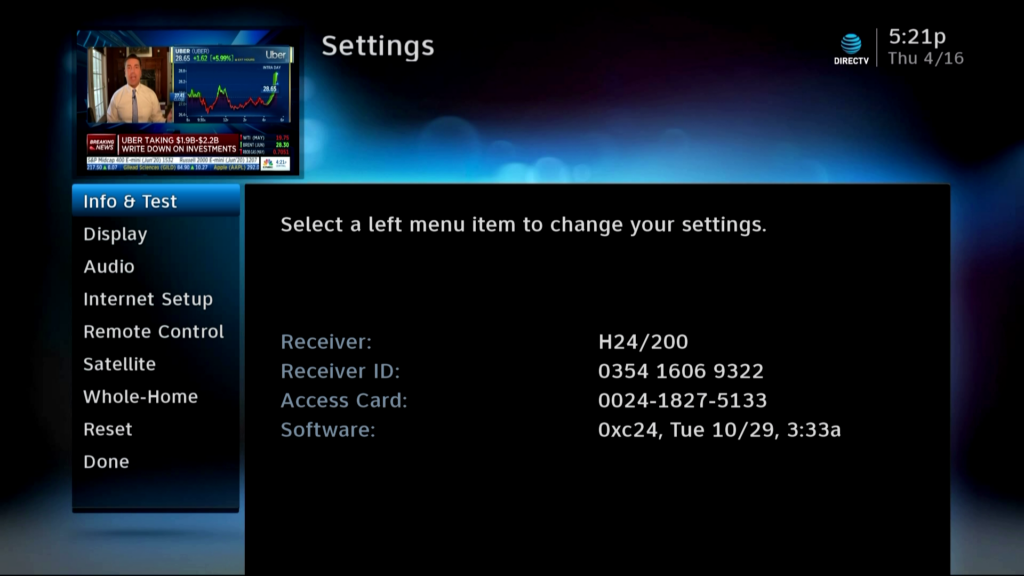
Arrow down to Remote Control and press SELECT.
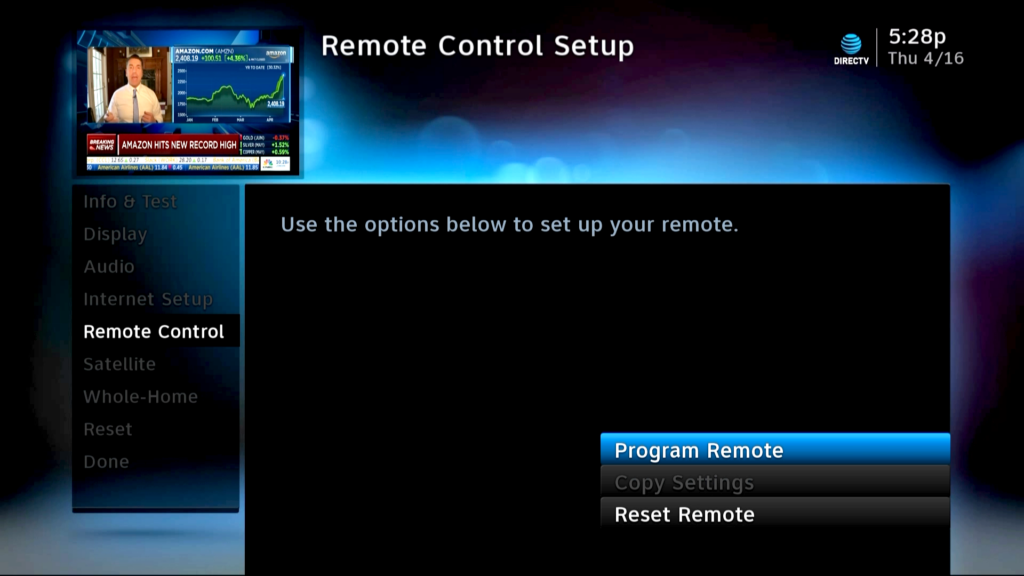
Make sure Program Remote is highlighted and press SELECT.
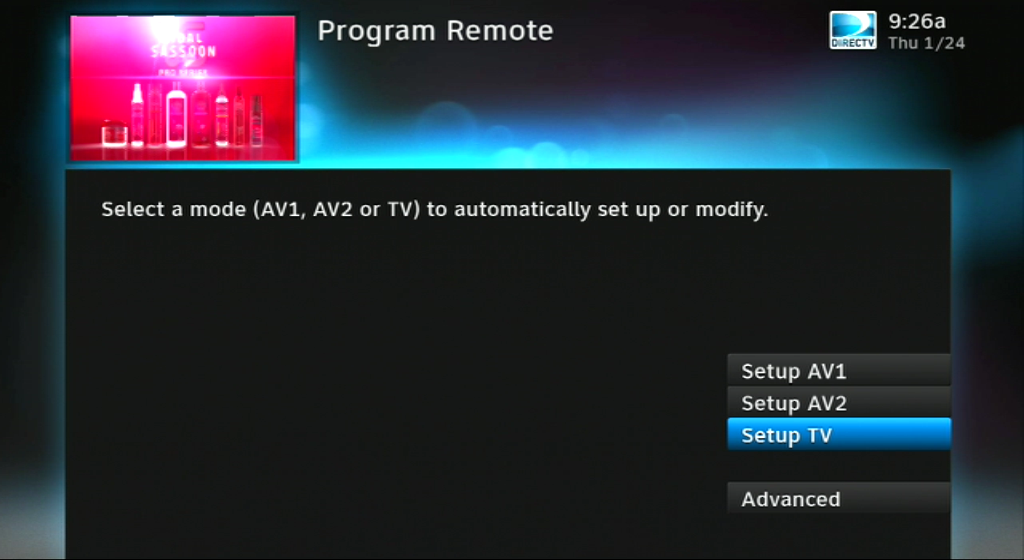
Arrow down to “Setup TV” and press SELECT.
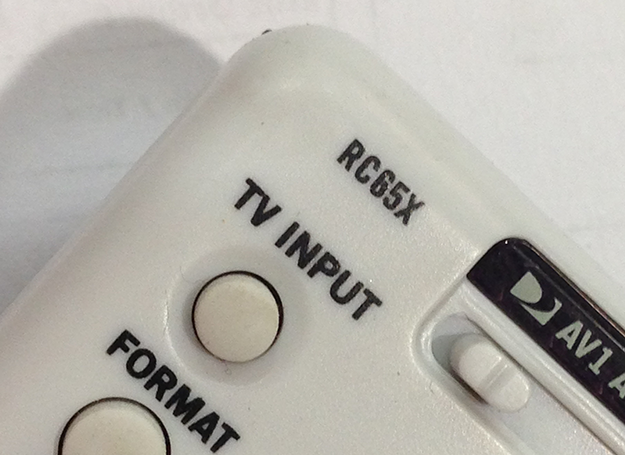
If your remote model ends in an “X” then it’s self programming. You’ll be taken through a series of steps to identify your remote’s brand and model.
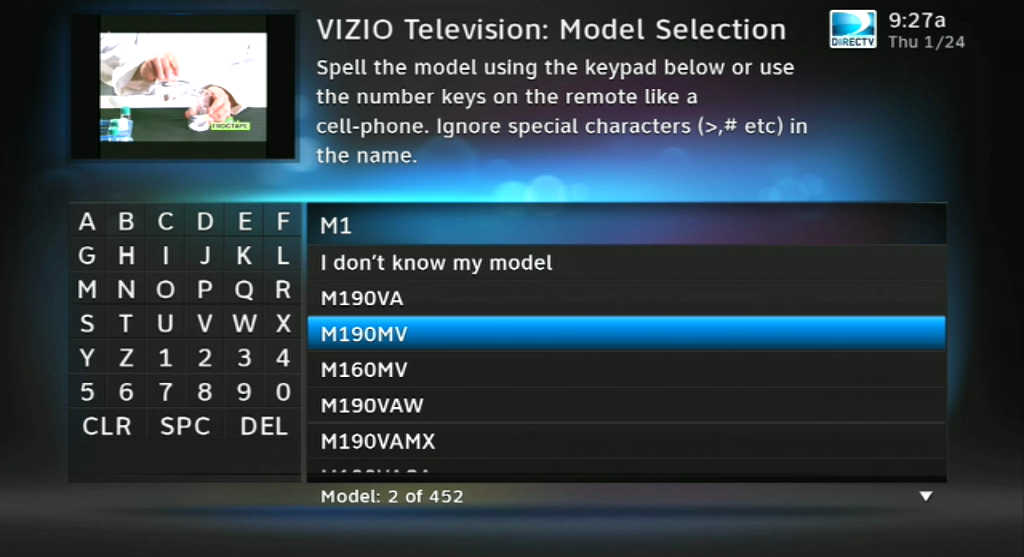
If you don’t know the model, just choose “I don’t know my model.” You’ll get on screen instructions on programming. The remote needs to be pointed at the receiver (not the TV) in order for this to work.
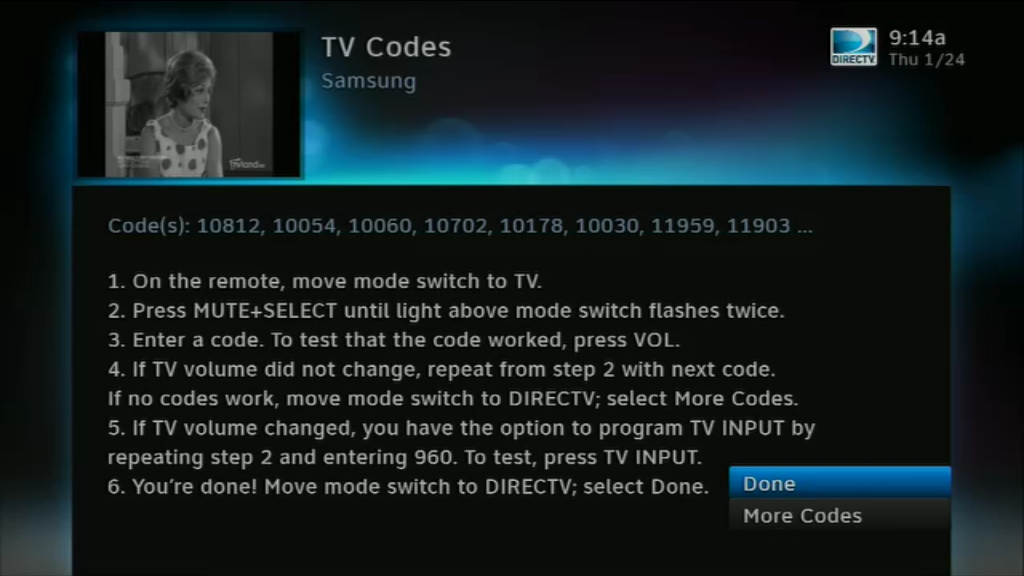
If your receiver doesn’t have the self-programming feature, you’ll see a screen like this giving you all the steps you need to take. It seems like a lot of steps but it’s really not tough at all.
Press EXIT until you return to live TV.
This remote is used for all Genie DVRs and clients except the new Gemini. If you have this remote, it’s very easy to program.
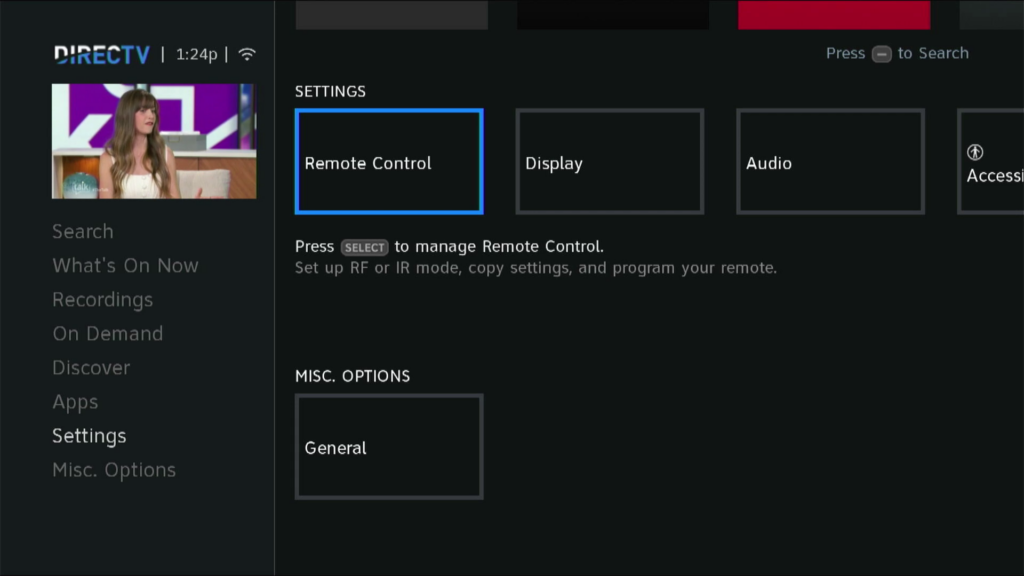
Press MENU then arrow down to Settings then arrow over to Remote Control. Your home screen may look slightly different from this but it should be easy to find the remote settings. Press SELECT to enter remote setup.
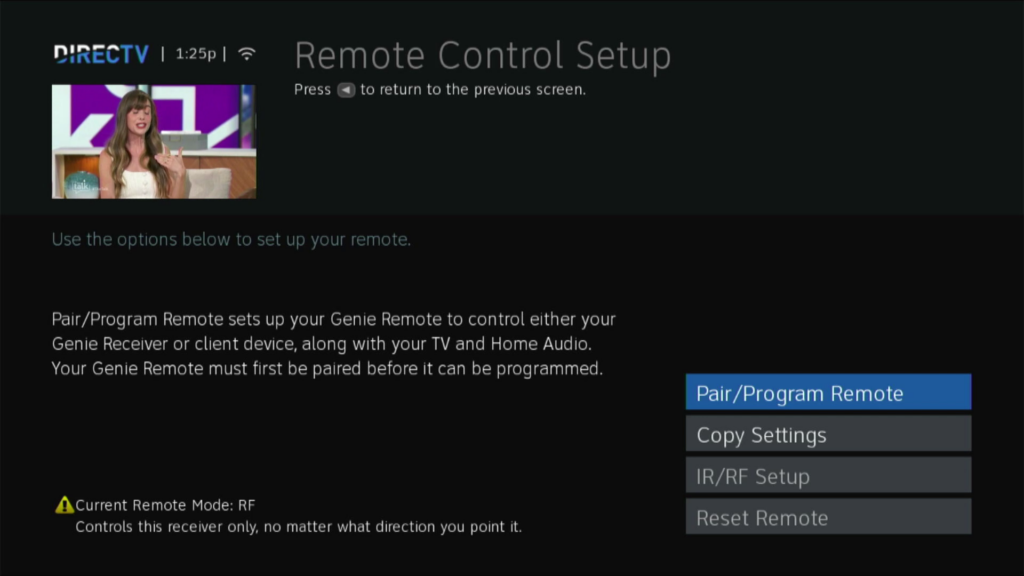
Make sure Pair/Program Remote is highlighted and press SELECT.
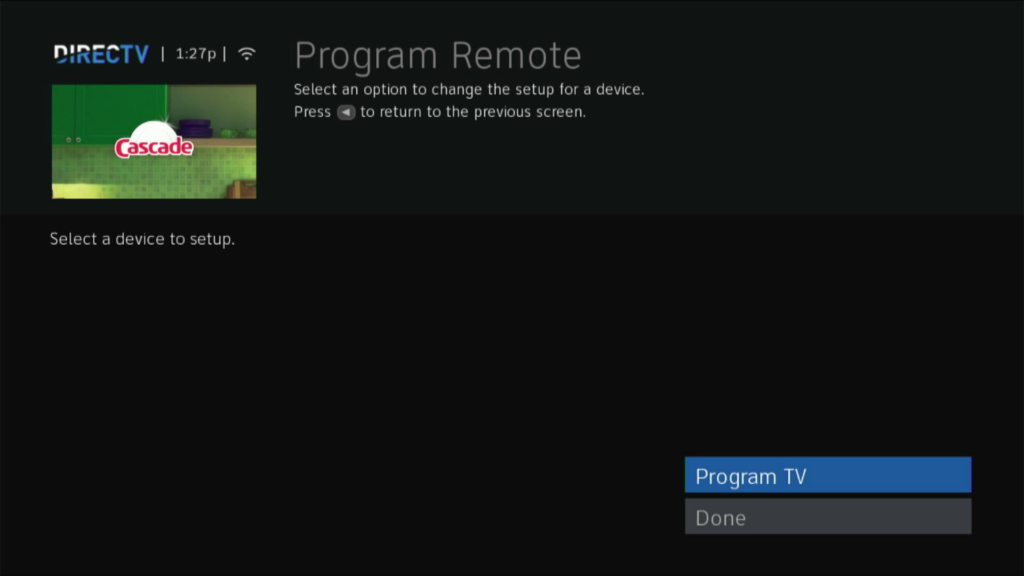
Arrow down to “Setup TV” and press SELECT.
Most of the time the remote will sense the model of television you have and program the code for you. You’ll see this screen:
…asking you to test the volume control of your TV. If it works, just make sure It Worked is highlighted and press SELECT. If it didn’t work, arrow down to Try Next Code and press SELECT.
In some rare cases the client box won’t be able to detect the TV model and you’ll have to input in manually similar to the setup for the RC6 series.
Press EXIT until you return to live TV.
Gemini is DIRECTV’s latest box. It combines a DIRECTV client and the ability to run apps like a streaming box. Generally, you’ll be prompted to set up the TV volume when you first set up the Gemini. However, if you need to reprogram it for a different TV, the steps are very simple.
Press MENU then arrow down to Settings then arrow over to Remote Control. Your home screen may look slightly different from this but it should be easy to find the remote settings. Press SELECT to enter remote setup.
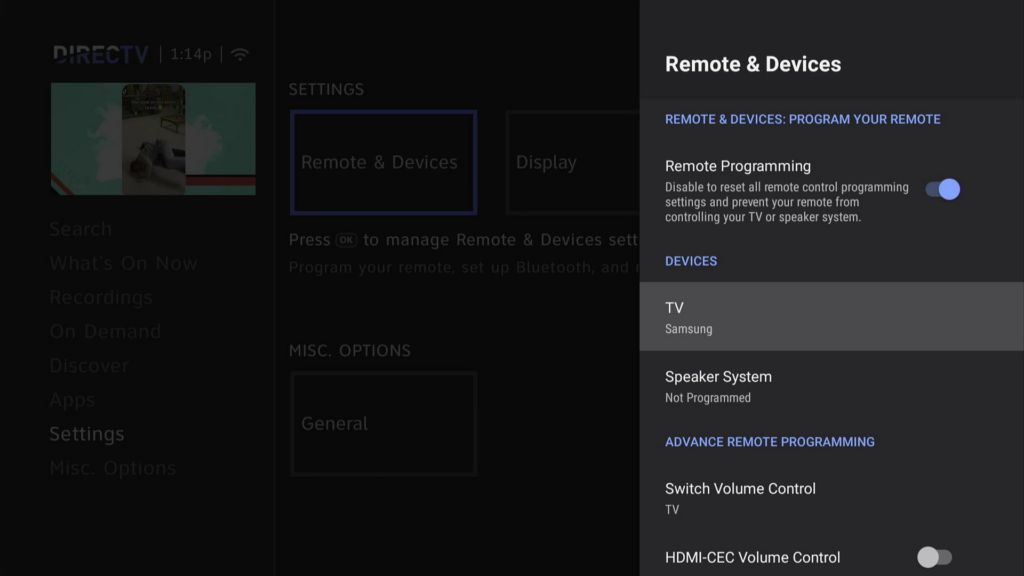
Make sure TV is highlighted and press SELECT.
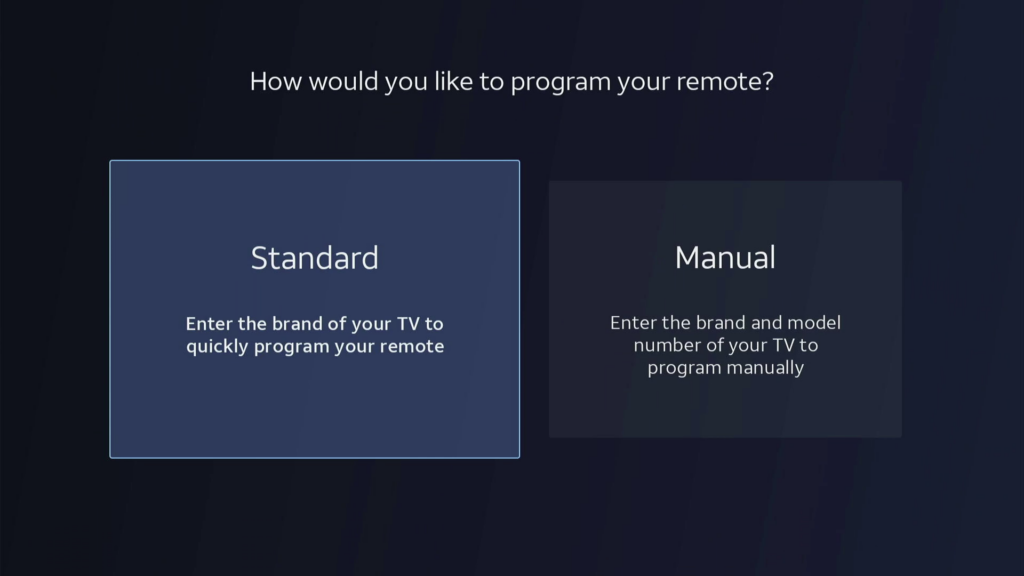
Gemini is almost always able to program your remote for the TV when you set it up, so it is going to presume you want to make a change here. Most of the time Standard is the right choice. Make sure it’s highlighted and press SELECT.
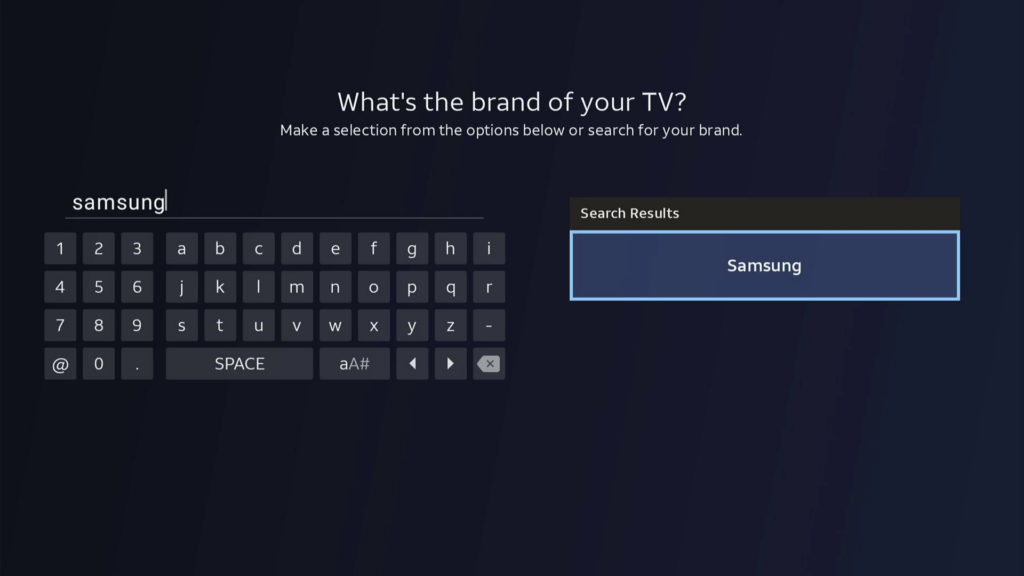
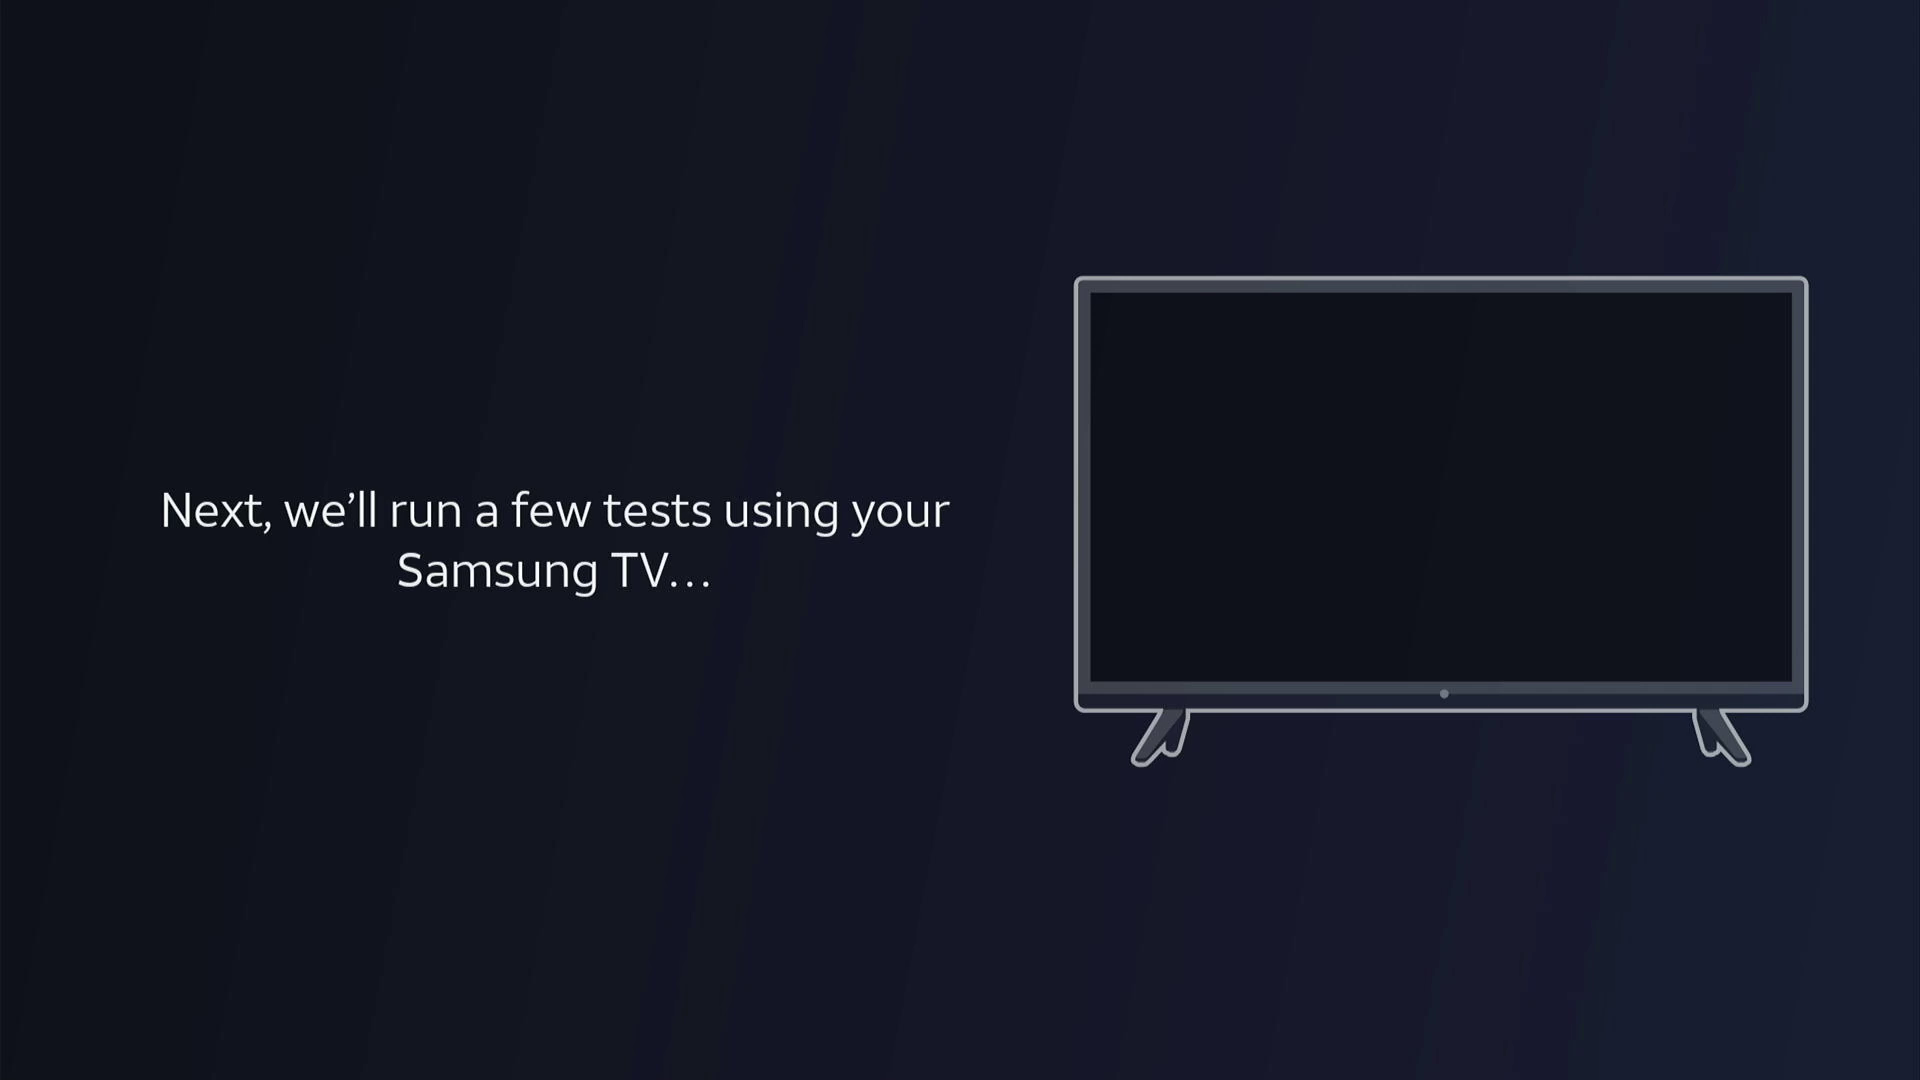
Use the arrows to use the On-Screen keyboard. Start typing your TV’s model. Generally you’ll get a list on the right and you shouldn’t have to press more than the first three letters to find your model. Make sure it’s highlighted and press SELECT.
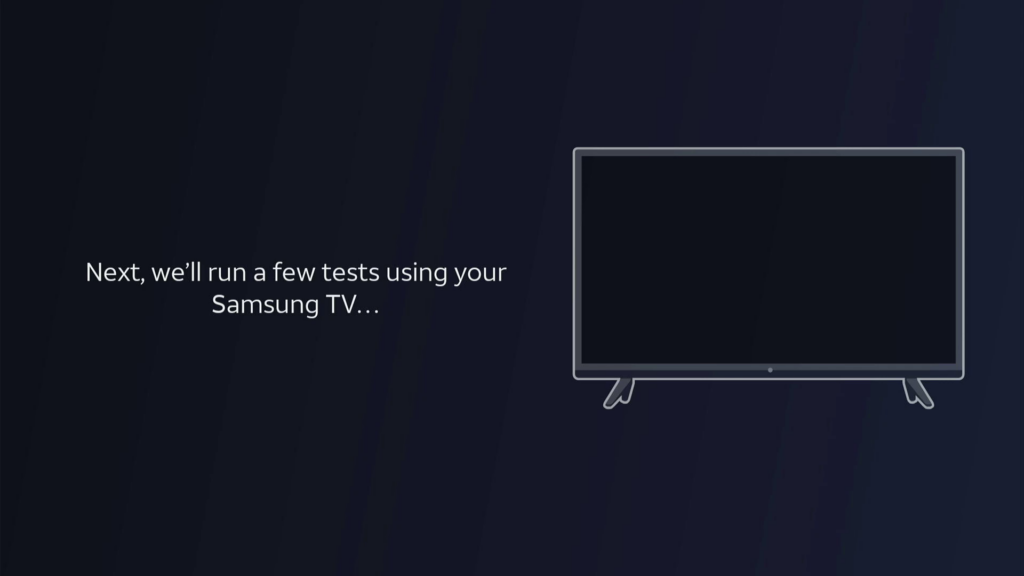
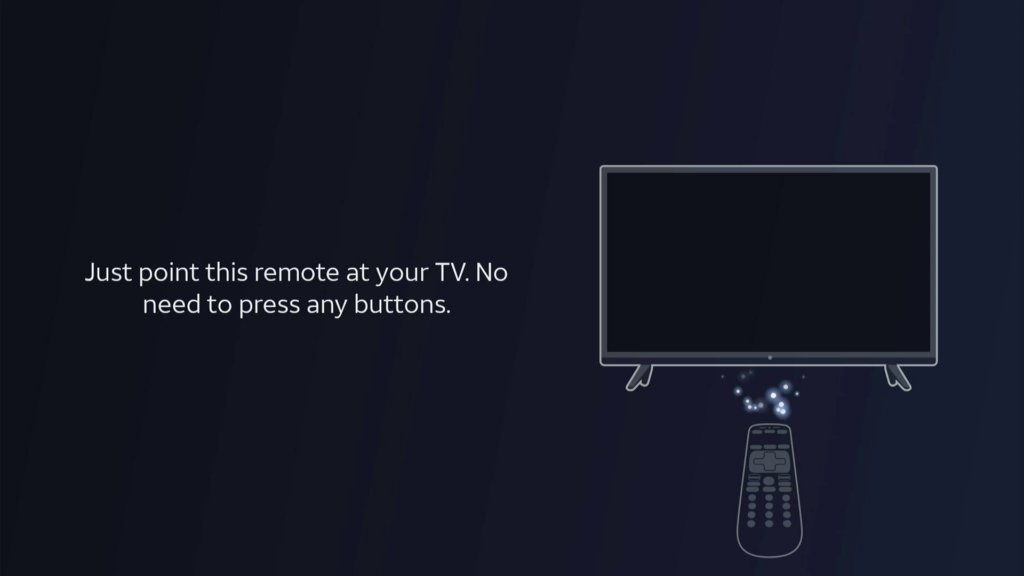
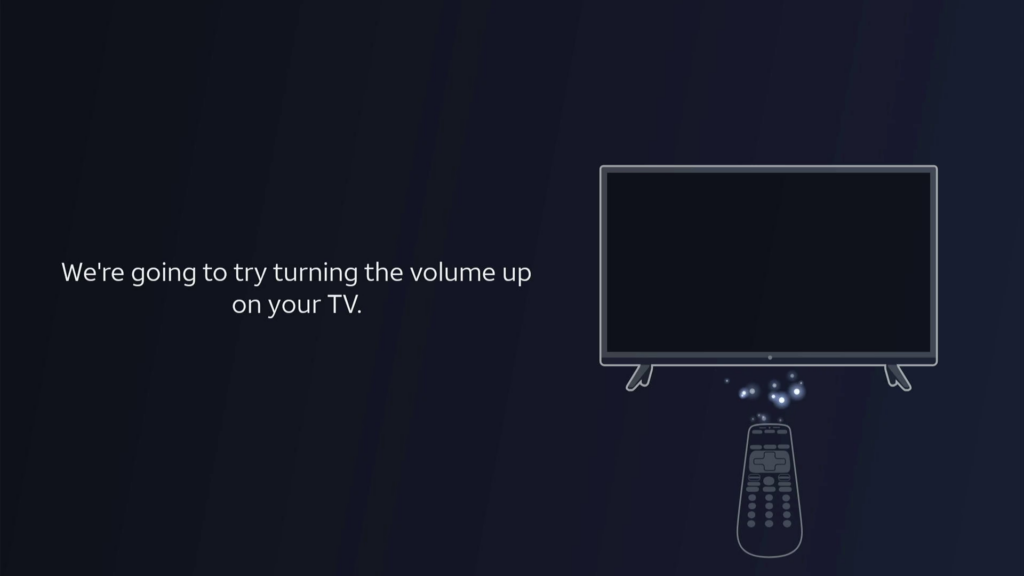

You’ll see a series of screens telling you what to do. You’ll have to point the remote at your TV and Gemini will try turning the volume up for you.
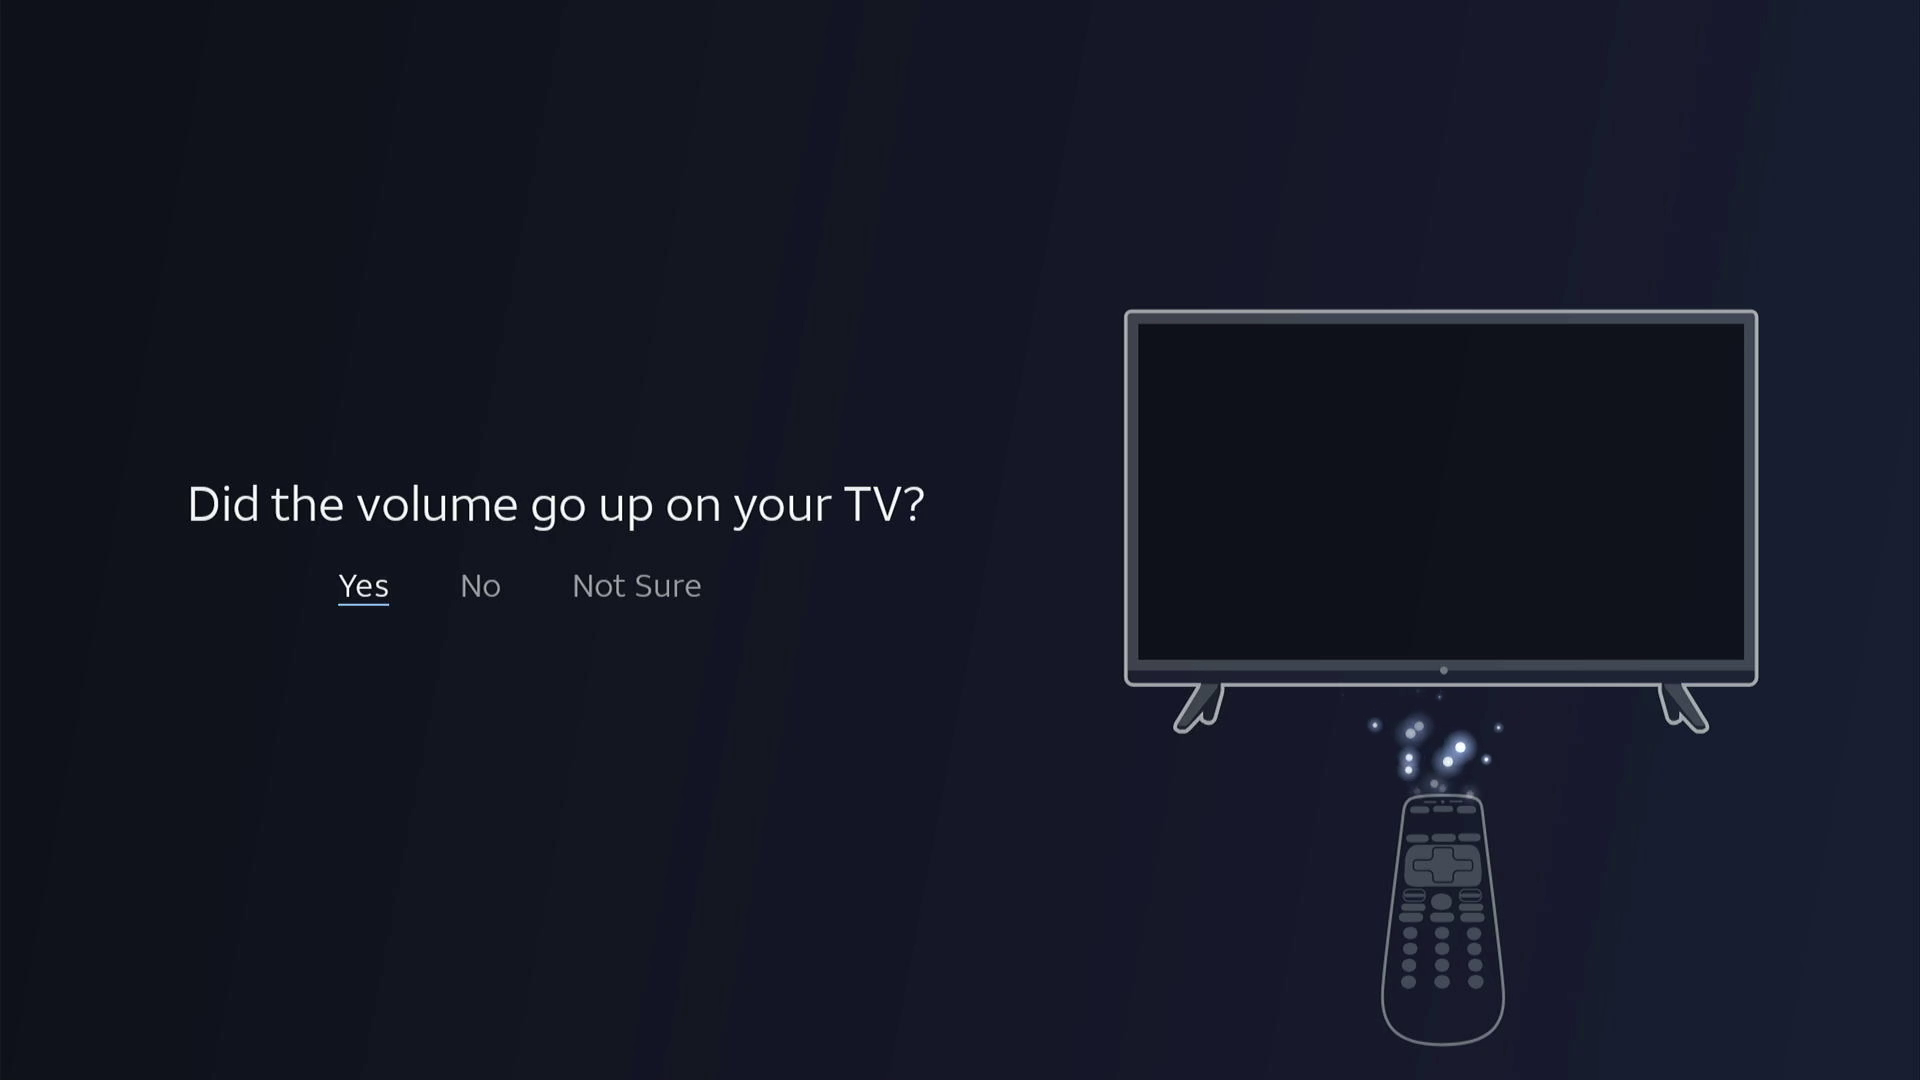
If the volume did go up, make sure Yes is highlighted and press SELECT. If it didn’t or you’re not sure, highlight the right choice and press SELECT. The remote database is pretty huge and so far I haven’t heard of anyone who couldn’t find their model there.
When your TV is programmed, press EXIT until you return to live TV.
Programming your remote to control your TV is easy, and now you know how to do it. If you still have questions, call Solid Signal at 888-233-7563 or fill out the form below.
The post HOW TO DO IT: Set up any DIRECTV remote to control the TV appeared first on The Solid Signal Blog.
Continue reading...
All DIRECTV boxes will prompt you on screen to program the remote if the volume control isn’t programmed. If that happens, just follow the instructions you see on screen.
Note: You might have to reset the remote first
If you are changing TVs or sound equipment, you might need to unpair or reset the remote before programming it. It’s best to try programming before resetting the remote, because it will erase all your custom settings completely. Follow the steps here to learn how to do that.
If you have the RC6 series (“old white remote”)
This remote has been standard for DIRECTV boxes made between 2003 and the present day. If you have a standalone receiver in your home or business or a non-Genie DVR, it uses this remote. It’s unique in the DIRECTV world in that it can control four devices, not just the DIRECTV box and the TV.
Because it’s the oldest remote of the bunch, it’s the hardest to program. But really, it’s still not that hard.
Self-programming remotes
Press MENU then arrow to Settings & Help. When Settings is highlighted, press SELECT.
Arrow down to Remote Control and press SELECT.
Make sure Program Remote is highlighted and press SELECT.
Arrow down to “Setup TV” and press SELECT.
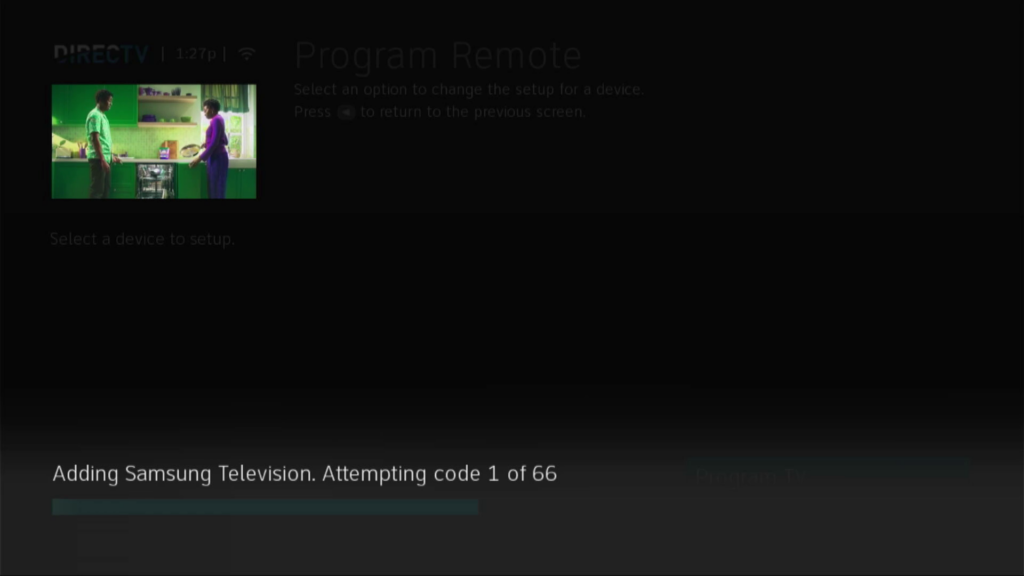
If your remote model ends in an “X” then it’s self programming. You’ll be taken through a series of steps to identify your remote’s brand and model.
If you don’t know the model, just choose “I don’t know my model.” You’ll get on screen instructions on programming. The remote needs to be pointed at the receiver (not the TV) in order for this to work.
Older receivers (pre-2010)
If your receiver doesn’t have the self-programming feature, you’ll see a screen like this giving you all the steps you need to take. It seems like a lot of steps but it’s really not tough at all.
Press EXIT until you return to live TV.
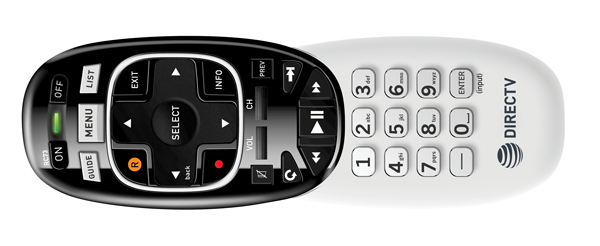
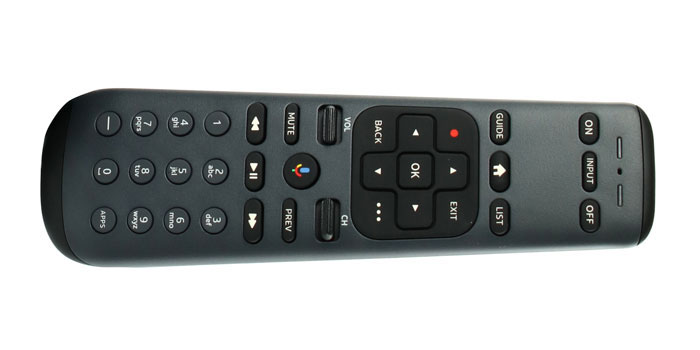
If you have the RC7 series (“Genie Remote”)
This remote is used for all Genie DVRs and clients except the new Gemini. If you have this remote, it’s very easy to program.
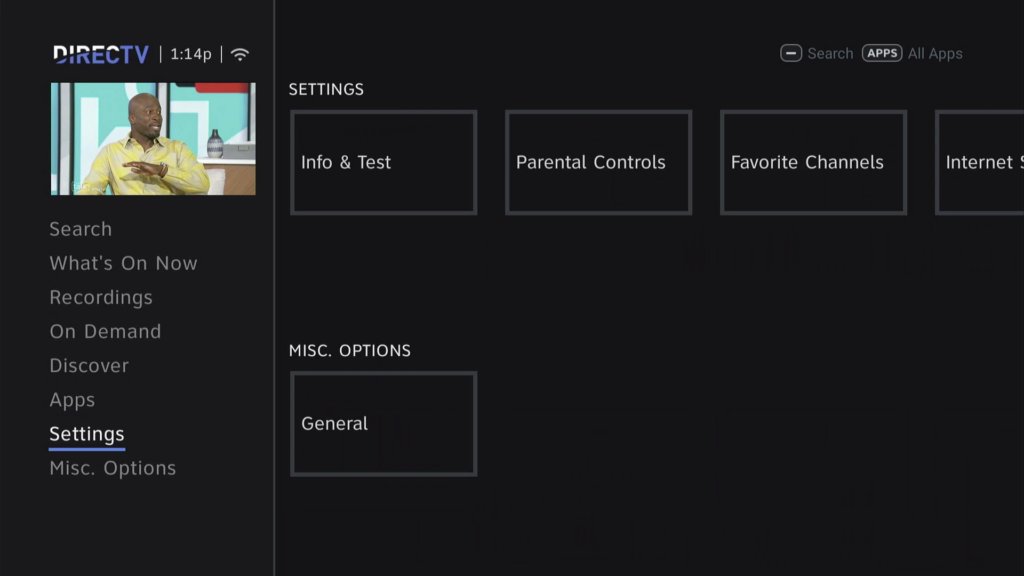
Press MENU then arrow down to Settings then arrow over to Remote Control. Your home screen may look slightly different from this but it should be easy to find the remote settings. Press SELECT to enter remote setup.
Make sure Pair/Program Remote is highlighted and press SELECT.
Arrow down to “Setup TV” and press SELECT.
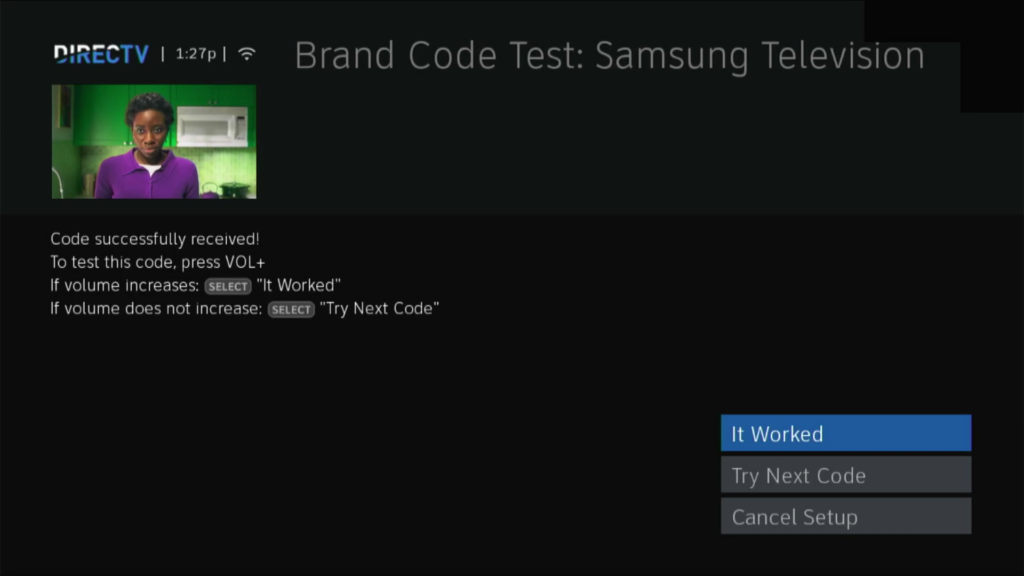
Most of the time the remote will sense the model of television you have and program the code for you. You’ll see this screen:
…asking you to test the volume control of your TV. If it works, just make sure It Worked is highlighted and press SELECT. If it didn’t work, arrow down to Try Next Code and press SELECT.
In some rare cases the client box won’t be able to detect the TV model and you’ll have to input in manually similar to the setup for the RC6 series.
Press EXIT until you return to live TV.
If you have the RC8 series (“Gemini Remote”)
Gemini is DIRECTV’s latest box. It combines a DIRECTV client and the ability to run apps like a streaming box. Generally, you’ll be prompted to set up the TV volume when you first set up the Gemini. However, if you need to reprogram it for a different TV, the steps are very simple.
Press MENU then arrow down to Settings then arrow over to Remote Control. Your home screen may look slightly different from this but it should be easy to find the remote settings. Press SELECT to enter remote setup.
Make sure TV is highlighted and press SELECT.
Gemini is almost always able to program your remote for the TV when you set it up, so it is going to presume you want to make a change here. Most of the time Standard is the right choice. Make sure it’s highlighted and press SELECT.
Use the arrows to use the On-Screen keyboard. Start typing your TV’s model. Generally you’ll get a list on the right and you shouldn’t have to press more than the first three letters to find your model. Make sure it’s highlighted and press SELECT.


You’ll see a series of screens telling you what to do. You’ll have to point the remote at your TV and Gemini will try turning the volume up for you.
If the volume did go up, make sure Yes is highlighted and press SELECT. If it didn’t or you’re not sure, highlight the right choice and press SELECT. The remote database is pretty huge and so far I haven’t heard of anyone who couldn’t find their model there.
When your TV is programmed, press EXIT until you return to live TV.
Questions?
Programming your remote to control your TV is easy, and now you know how to do it. If you still have questions, call Solid Signal at 888-233-7563 or fill out the form below.
The post HOW TO DO IT: Set up any DIRECTV remote to control the TV appeared first on The Solid Signal Blog.
Continue reading...