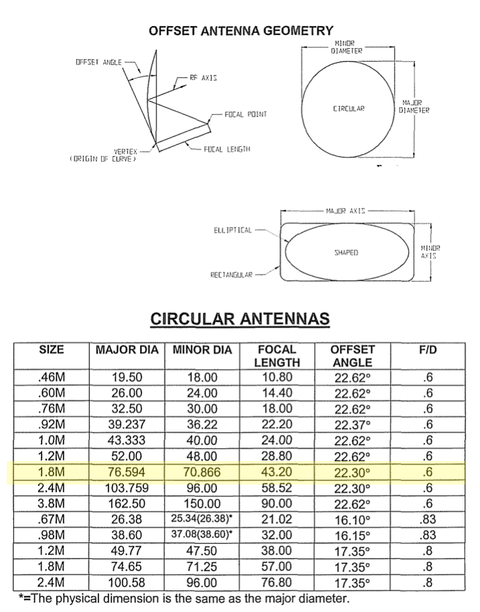
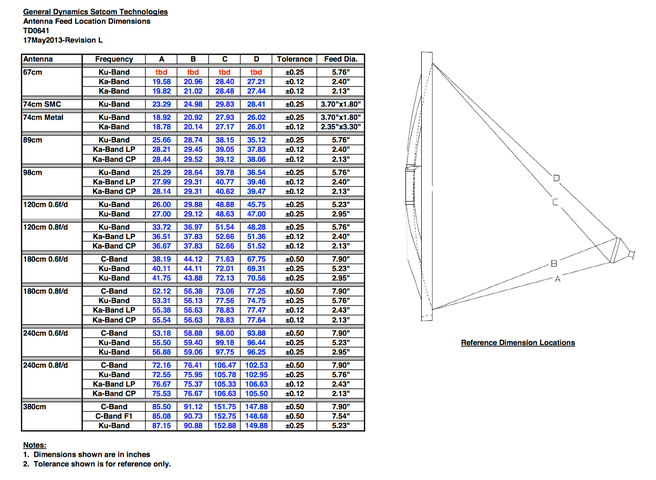
That's the chart I posted in Post#15. Just multiply the inches by 2.54 and you can work with centimetres.
By George you certainly did post that previously! I missed it that time. I must have skimmed past it between my first cup of coffee and finding my glasses.
Or maybe I was looking at it on my iPad outside, in the sun. Sigh.. I feel stupid with an extra serving of stupid.
Converting inches to metric? Nope. I can't deal with the fractions. In class when they were trying to teach me how to convert a fraction to a decimal number all I could think was of was sticking a pencil down my throat so I could go to the nurse to get out of class.
Actually that's how I see pretty much all math.. I hate math.
Math is the devil's handiwork.
ANYWAY........
Ok, now here's some another spate of dumb questions.
I suppose I should go with the easier one first.
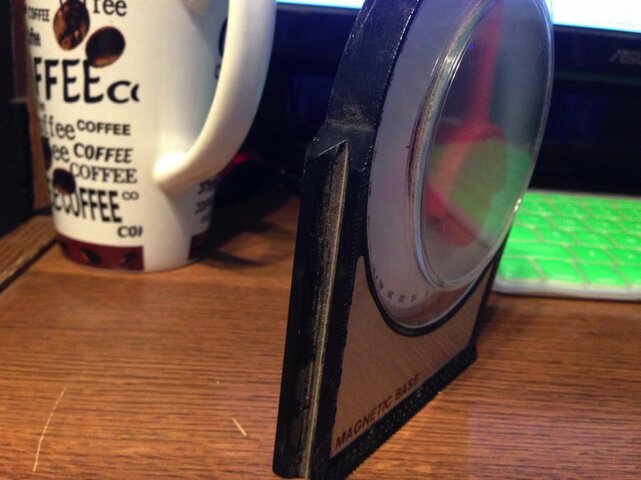
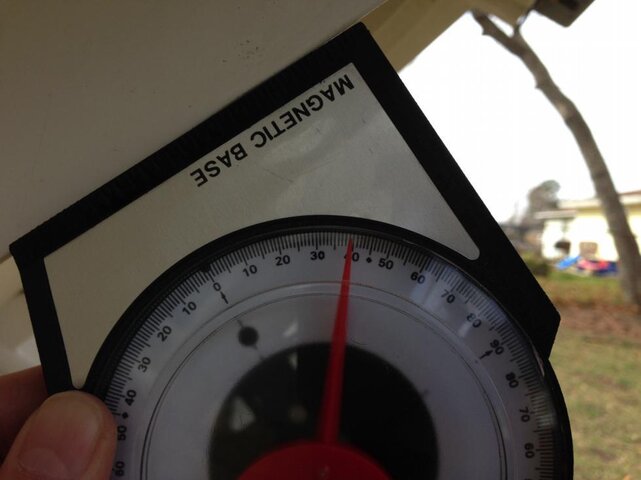
I have this inclinometer my dad gave me. He bought it at Harbor Freight. I don't really want to ask him this question because he'll [STRIKE]think[/STRIKE] KNOW that I'm an idiot.
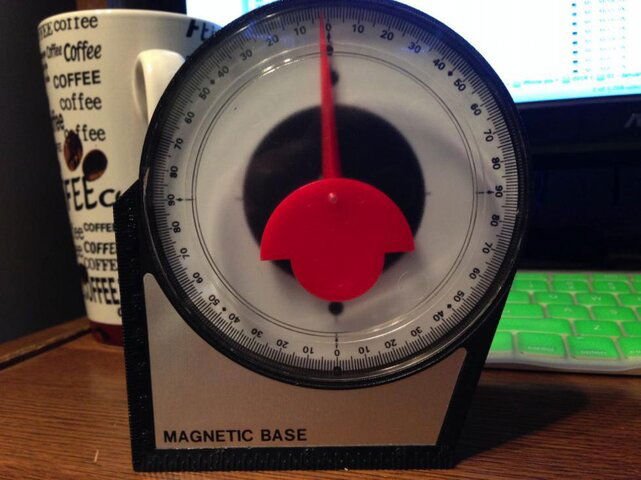
Apparently it has two edges you can use to work from. One has a magnet and one has a valley. When you put it on the desk with the magnet down, ZERO is up and down or, at the 12 O'clock and 6 O'clock positions and 90 is the 3 and 6 O'clock positions.
And naturally when you put it on the desk with the valley side of it to the desk, everything is moved by 90 degrees.
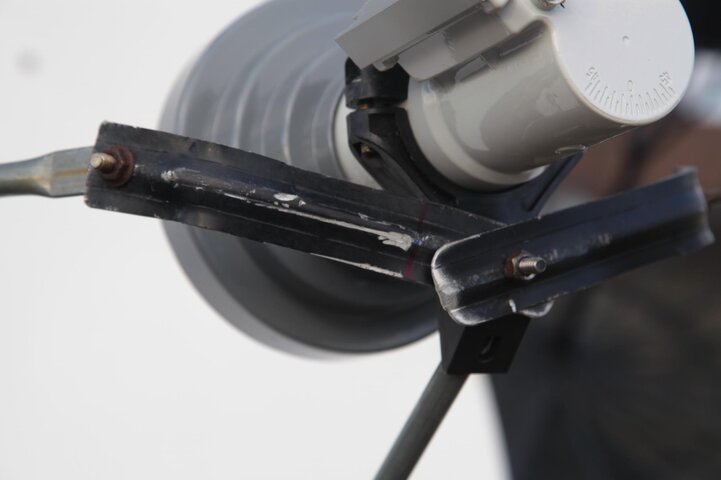
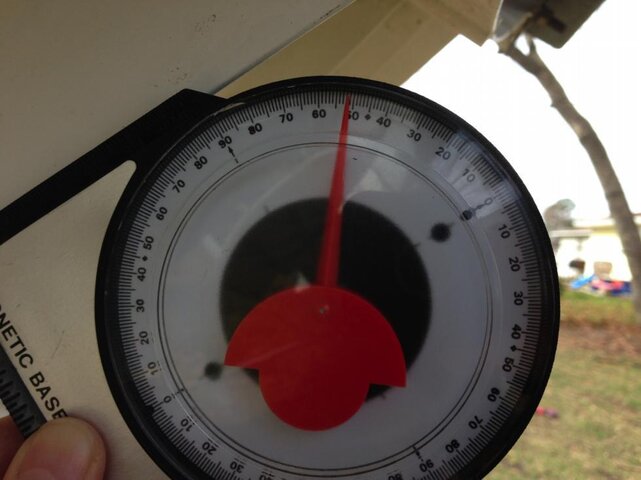
What I do not understand/comprehend is what edge do I use against the dish when I'm setting the inclination? Depending on which edge I use I obviously get different readings.
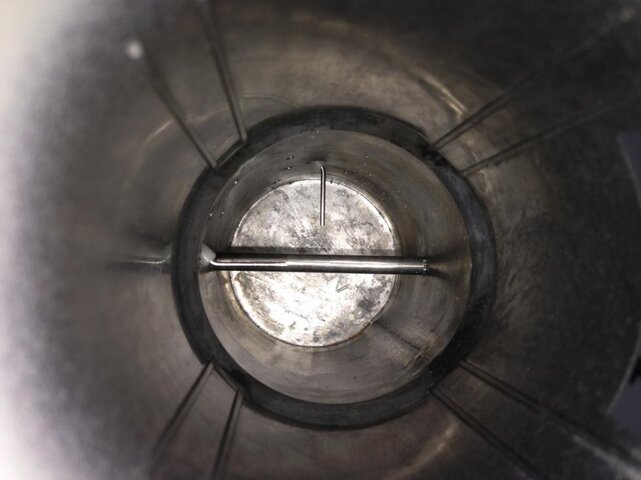
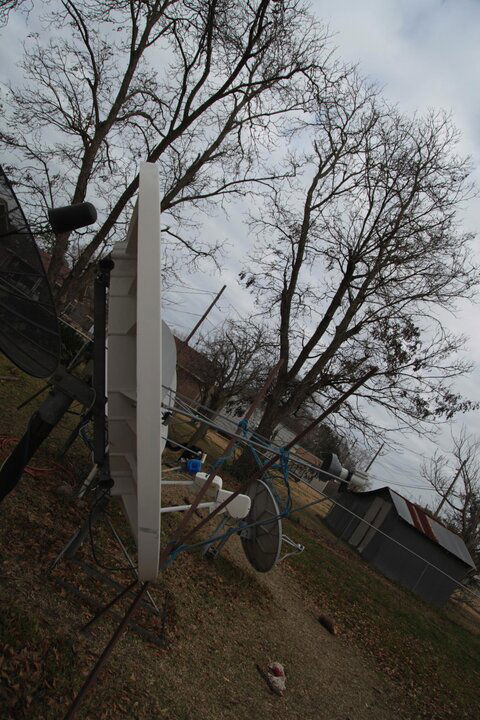
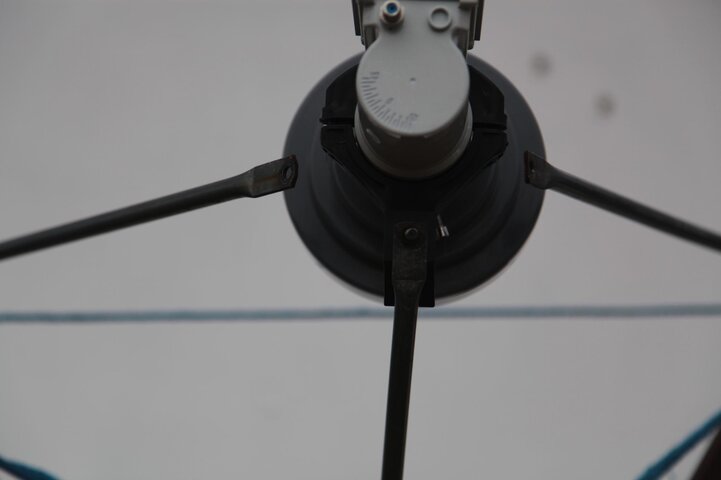
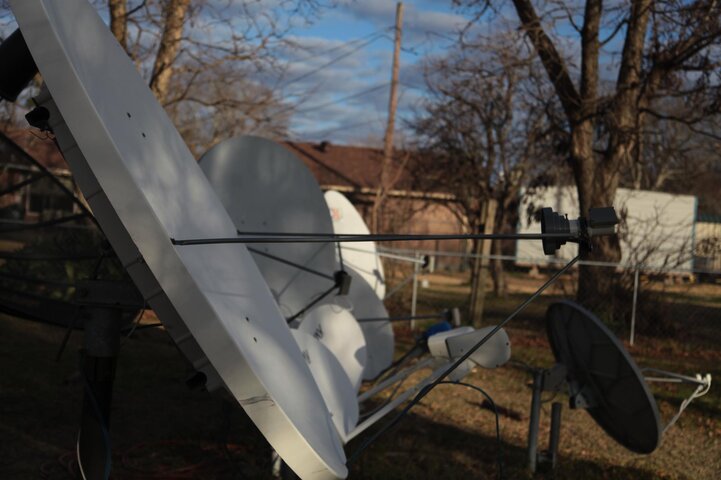
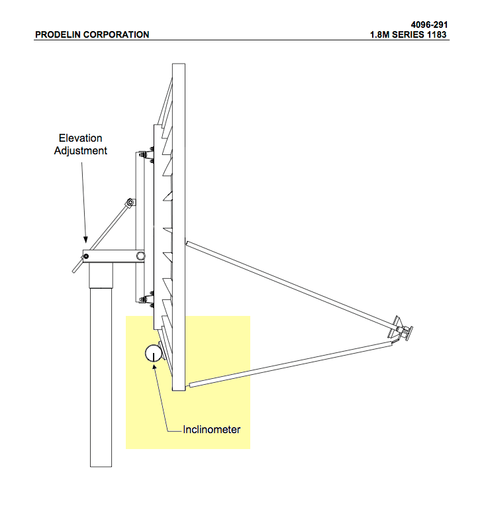
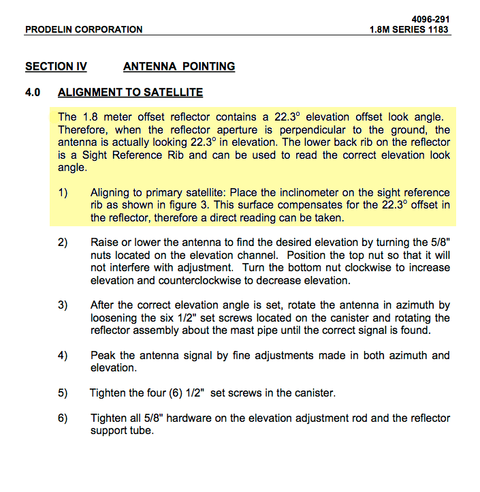
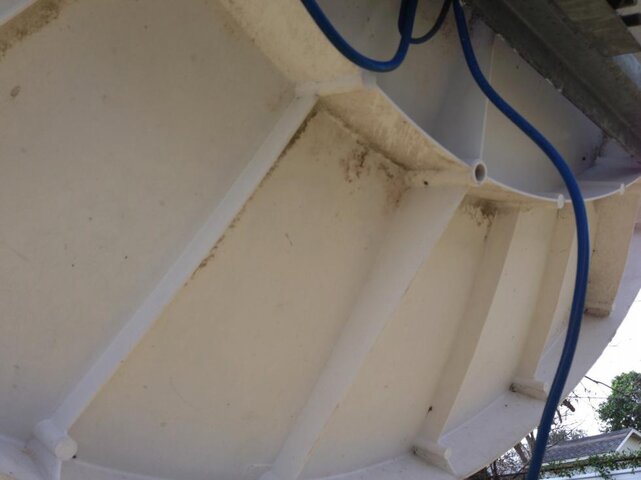
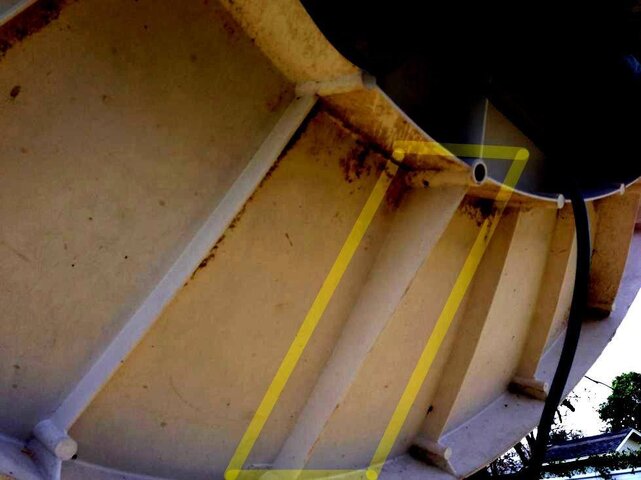
The dish has a special rib on it that you are supposed to use to set the inclination from but they tell you nothing more than that, that the rib is there. (bottom center rib) In a second picture I messed with the contrast and brightness so that it's easier to see this special rib.
Obviously the manual is for trained professionals that do this all day, every day. Not casual idiots like me that stumble into a good deal.
If I put the valley against the rib it's really easy to hold the gauge against the rib. If that's the proper way I'll probably drill holes in some of the other ribs so I can stretch a bungee cord across to hold the gauge in place while I adjust the dish.
If not, I don't know then. Maybe I can glue some metal to the alignment rib so that the gauge will stick to it.
I've looked on youtube and google on how to use one but all I find is like chiropractor videos

wtf
. I guess it's assumed everyone knows how to use one of these.
Is ZERO always up? Or is ZERO the horizons? I honestly don't know this and it has frustrated me from the very first time I ever tried to use one of these.
Now here is the harder, more complicated question. This is another problem that has long given me a great deal of grief.
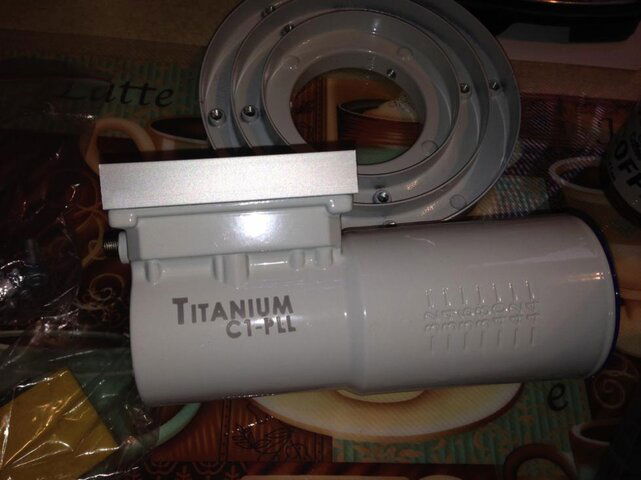
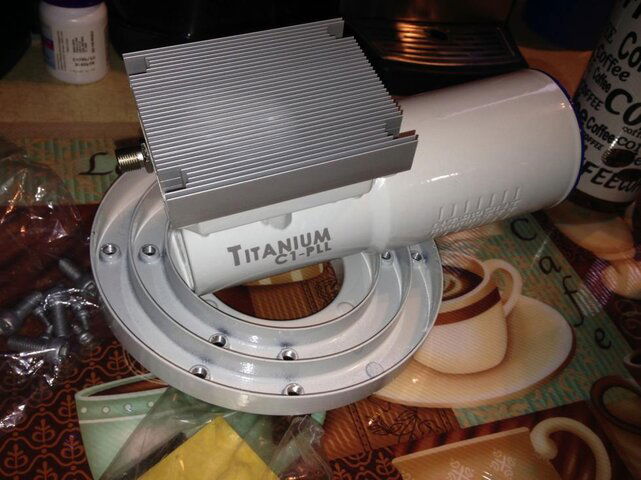
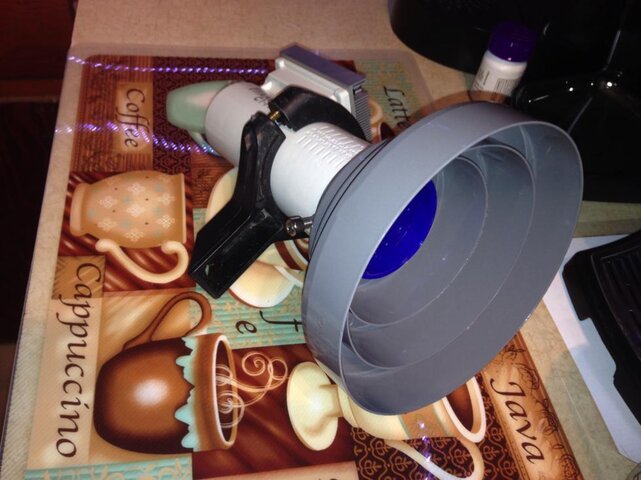
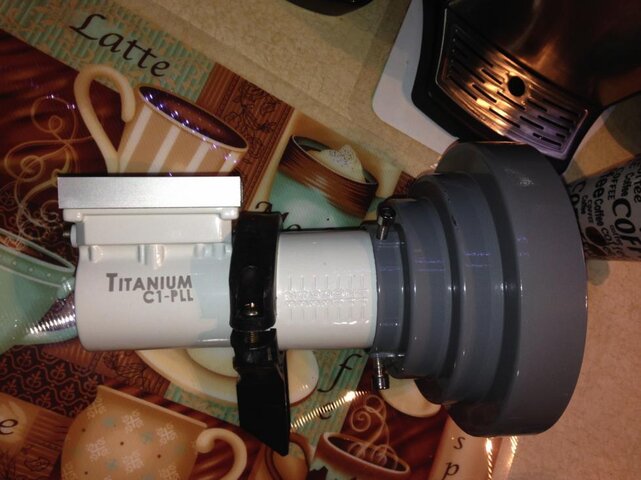
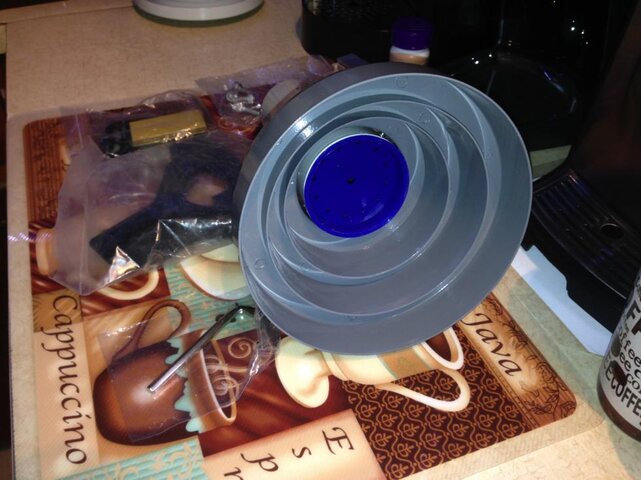
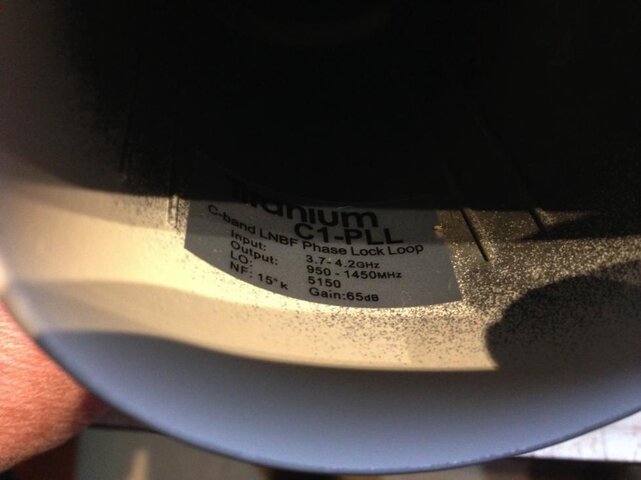
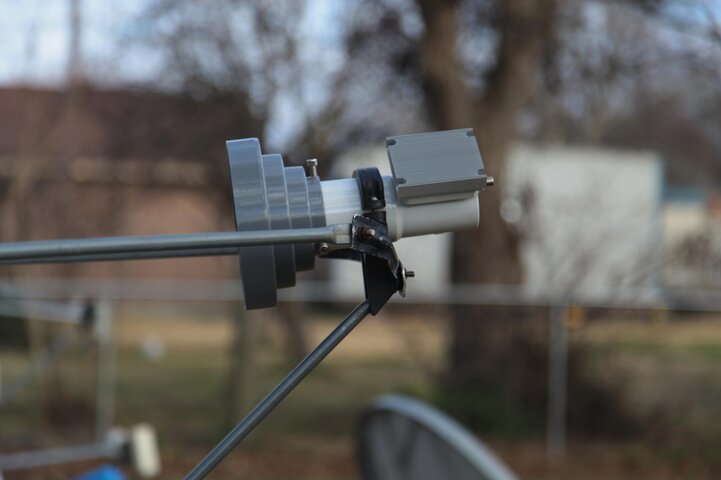
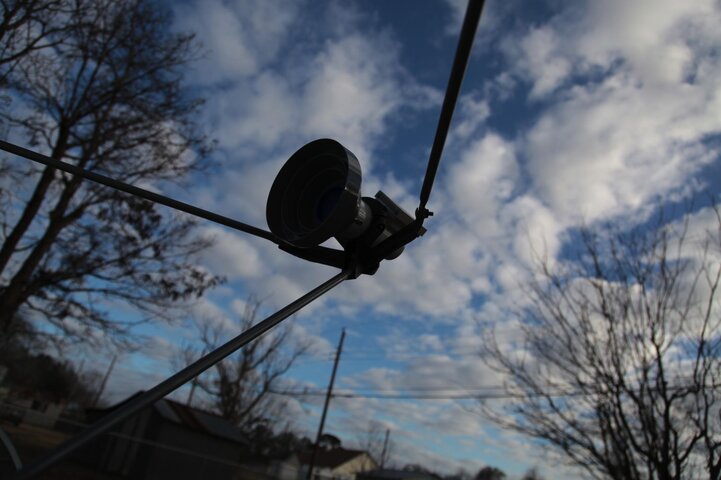
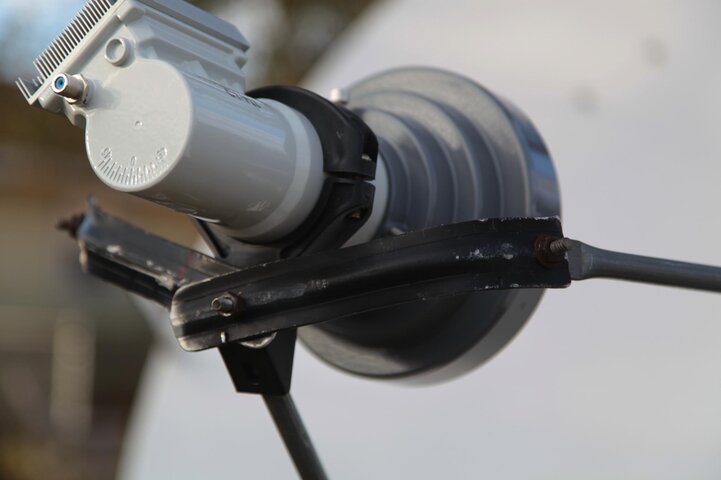
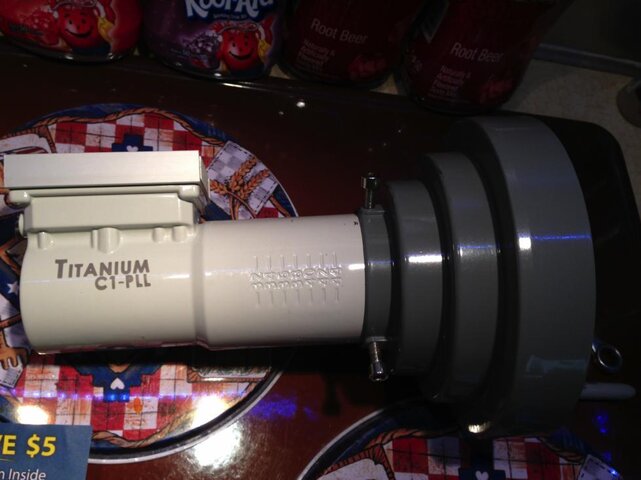
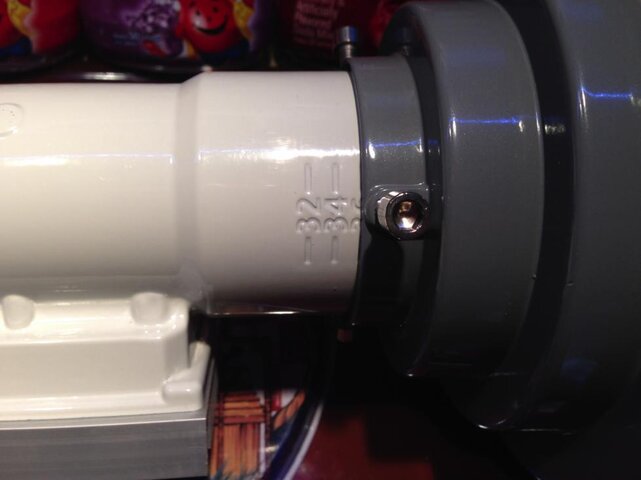
The marks on the LNBF. They are for setting the "focal depth", yes? aka f/d ??
In the documents for this dish I see that they say the dish has an f/d of .6
Um, ok. That's all well and good but I do not understand how that translates to the markings on the LNBF.
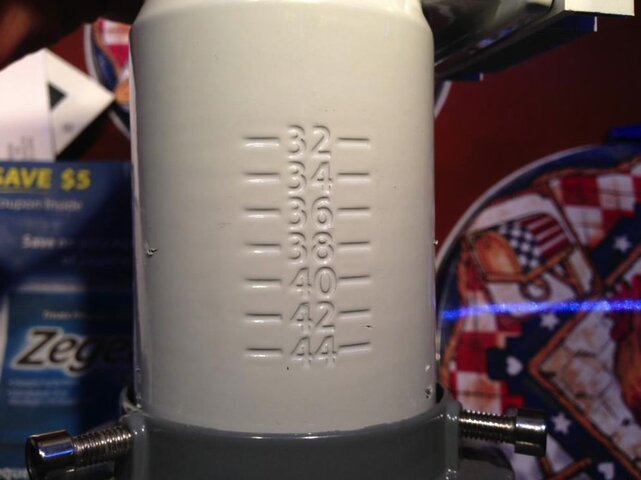
They are just numbers from 32, going by two up to 44.
Everything I've found about the subject involves complicated math and measurements and stuff. But I have the manual saying that I don't have to do any measurements or math, that it's a known .6
As to the LNBF, I've found numerous discussions about this and the general consensus is that "they are all different and it depends on the manufacturer." Well that's helpful.. :cry:
If the f/d is .6, what should I set the scalar to on this? I can not figure out how the .6 figure given would apply to this LNBF that's just marked 32-44.
If I could get that set early on it might save me a great deal of grief.
I'm sure I have some more dumb questions but I need more coffee.
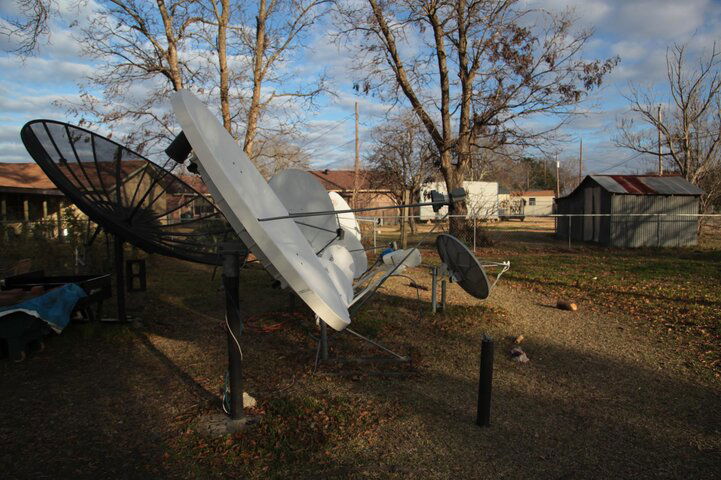
When I tried to setup that WSI "Special" 6' dish a few years ago it was a nightmare and an absolute, dismal failure. I never got it to work right and it ended up in the trash.
When I set up my 10' dish I still didn't know what I was doing but the dish is so big that it was very forgiving of my ineptitude and I bungled my way through it and I have it working, somewhat.
It's far from proper but once I hit MeTV I left it there.
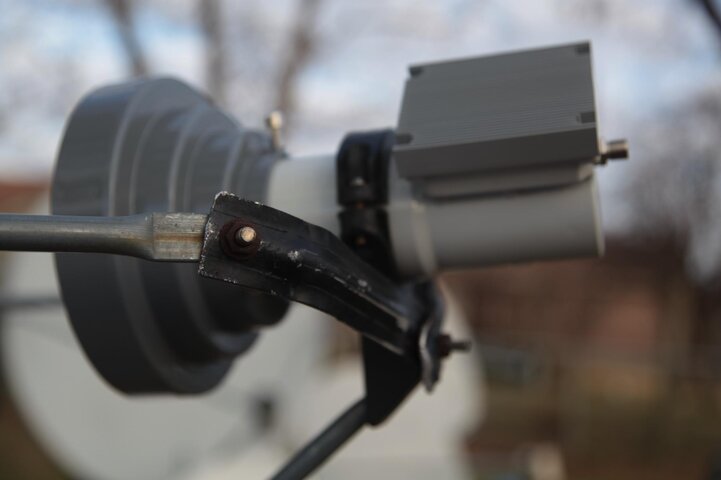
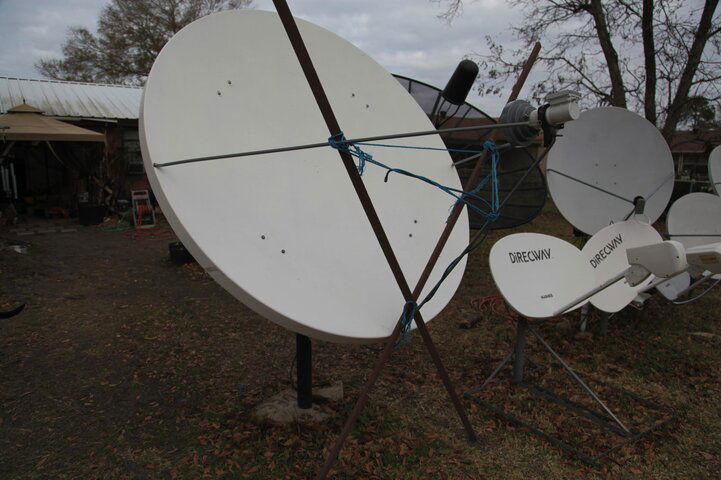
But this little dish will not be forgiving at all, not by any measure. I'm going to have a very difficult time with this one.
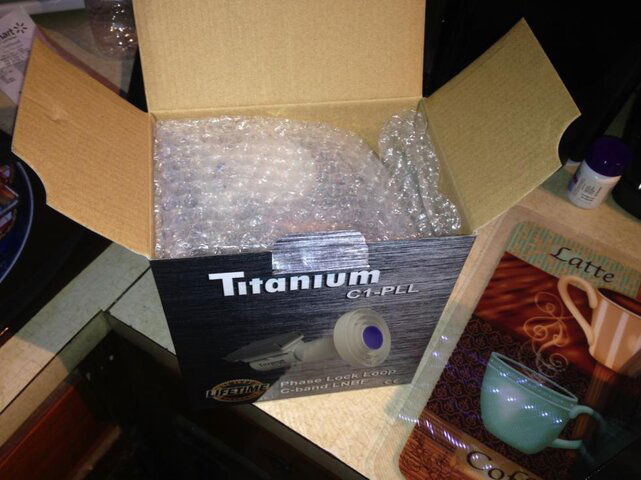
At least I have one thing working in my favor, they sold this dish as a C or a KU so it is 100% confirmed that it is C-band capable.
Thanks..