It's not often you see a new pro-grade signal meter out there. Personally, I'm always looking for a new, easier way to measure the things I measure on my test bench. For TV, I use a Televes spectrum analyzer that does an amazing job. But, it doesn't do ATSC 3.0 and so I generally can't report on the performance of that kind of device.
That's why I was excited to review this Toner Signal Level Meter model TSLM-AI1. It promises to bring a lot of capabilities that I didn't have on the test bench before. To me, the most exciting one is the ability to measure ATSC 3.0 signals. Let's see how this meter shapes up.
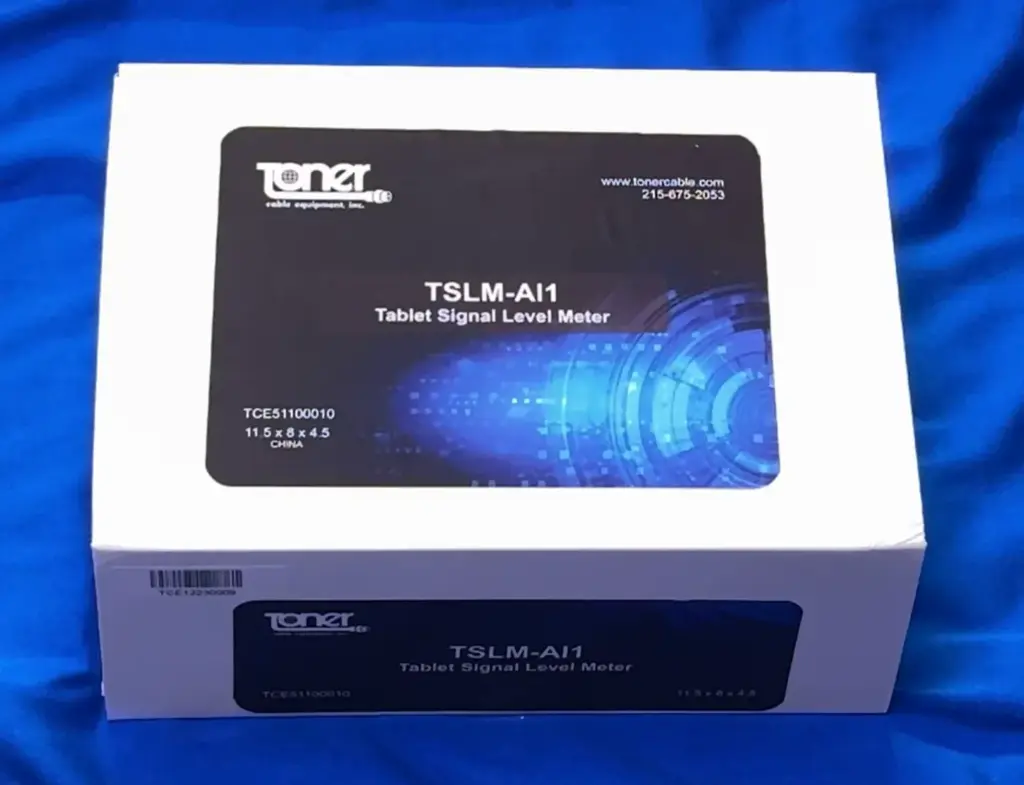
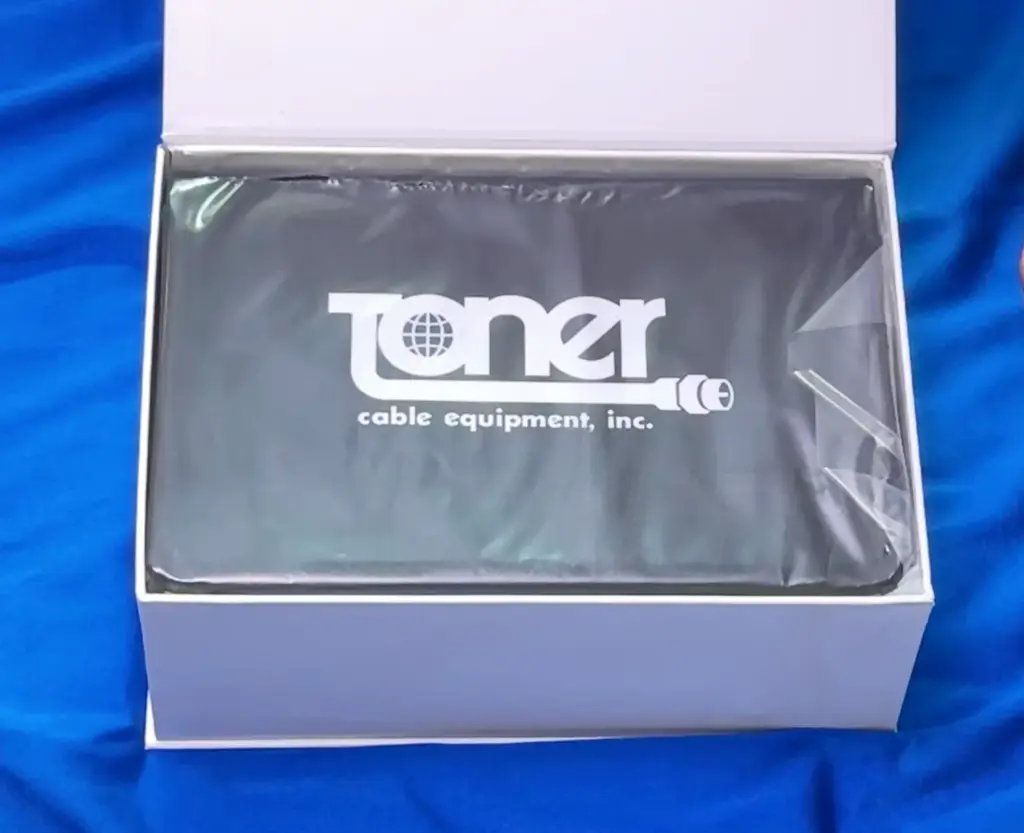
I'm always pleased to see a nice presentation box even when a product isn't going to go to retail. The box is well-made and opens to reveal the meter front and center.
Also included in the box are a selection of accessories:
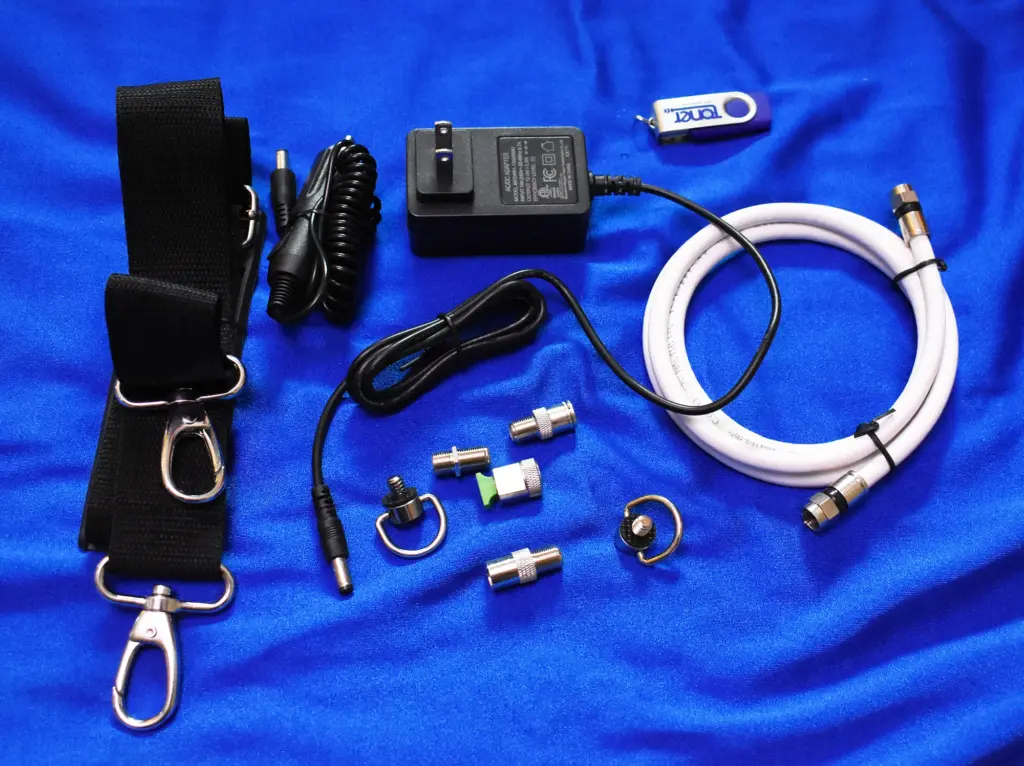
You get a shoulder strap, car charger and wall charger, flash drive (because they're just not that common anymore), well-made RG6 cable, grommets to attach the strap,and the adapters you'll need including one to help you test both common types of fiber. All in all these accessories are top notch, very high quality.
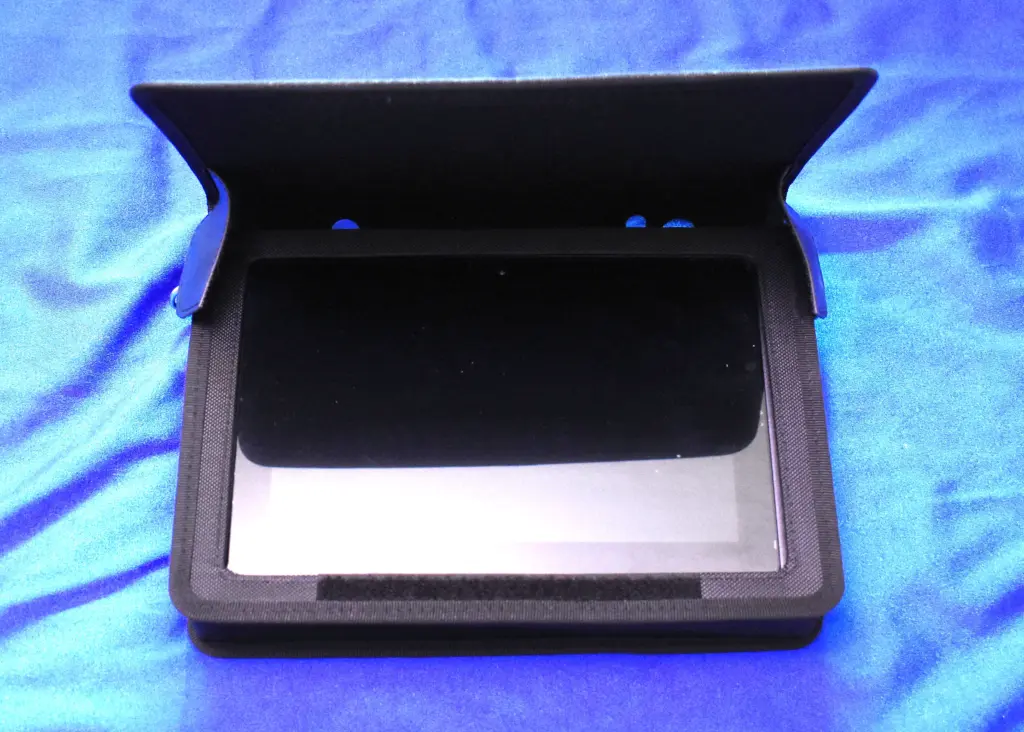
The meter itself is essentially a commercial-grade tablet inside a metal enclosure which has all the connections. There's also an LED on the back to give you a little light in tight spaces.
The case itself is very thick ballistic nylon. It has taps on it which let you use the case as a sunshade or stand it up as you can see on the image at the top of this article.
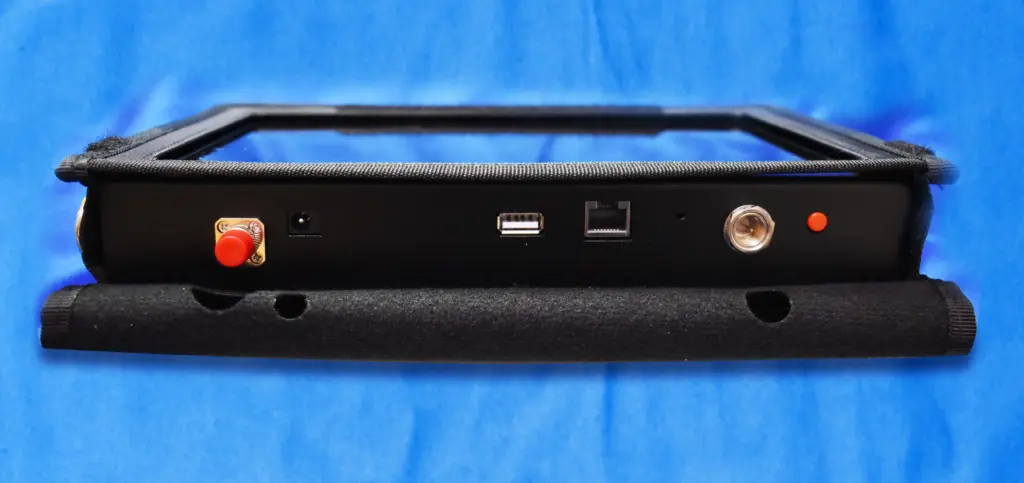
From left to right, you see a fiber connection port, connection for power adapter, USB-A port for the flash drive, Ethernet port for testing IPTV, coaxial cable port, and the red power button. There's also a small hole to the left of the coax port which I'm assuming is a reset button.
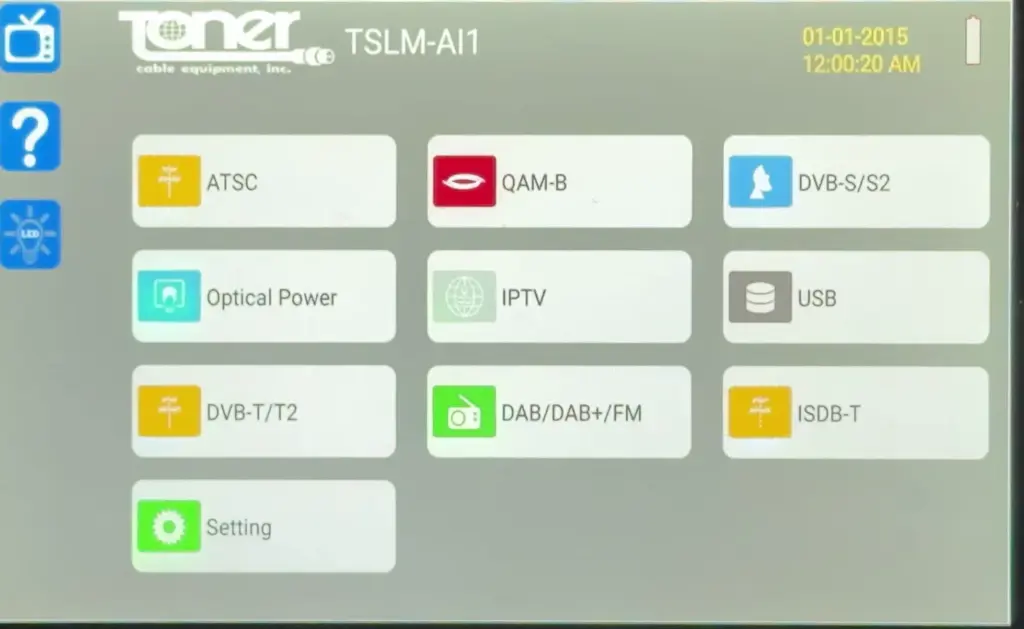
The interface itself is very straightforward, giving you the ability to test whatever you'd like. US users will want to focus on the ATSC, QAM, Optical, and IPTV measurements. DVB, DAB, and ISDB are European standards that you won't find very much here in the US.
I focused my testing on ATSC, which I think is the way most people will use this meter. The screen captures below are all from my simply pointing the camera at the tablet, so I apologize for distortion or reflections.
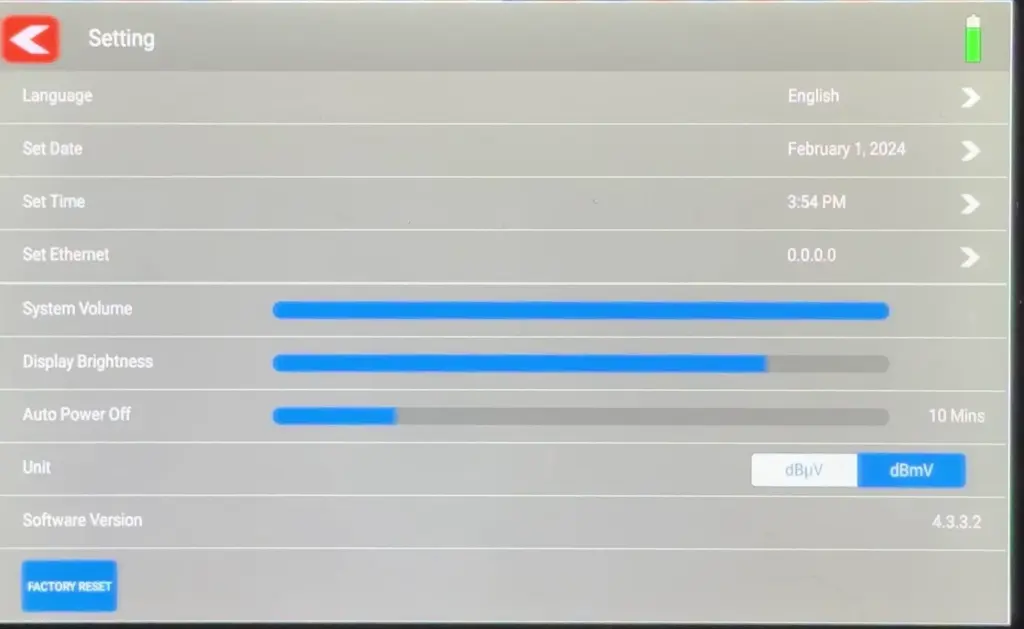
You won't be spending much time in the setting screen, but you can see all the bases are covered here. I do like that you have the option of choosing dBμV or dBmV. In this case dBmV is selected.
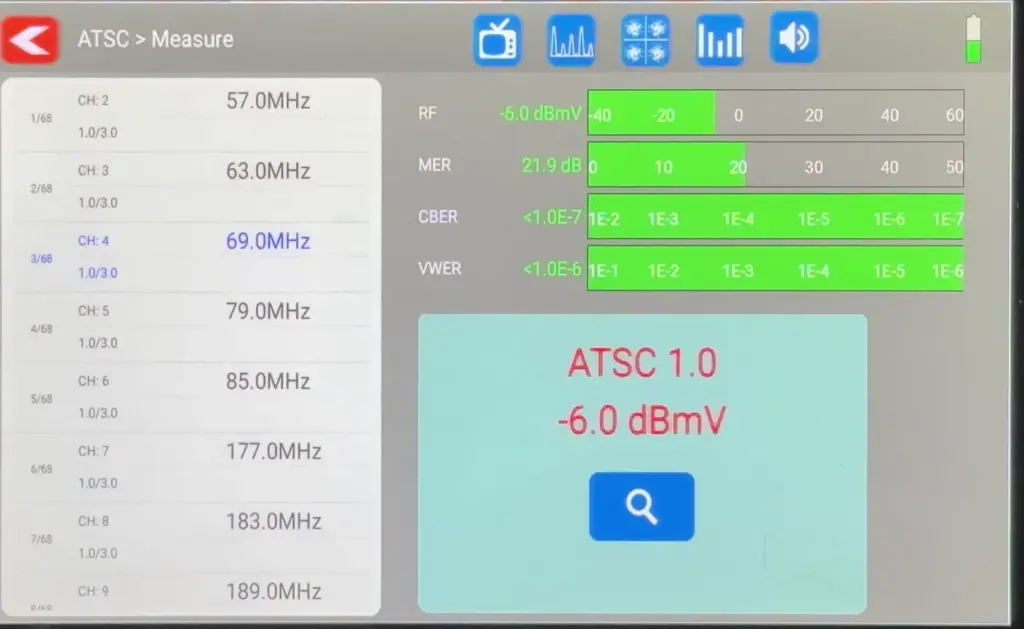
When you go into the ATSC screen you're immediately given a list of frequencies and you can tap on them to get the important measurements. Every channel is listed.
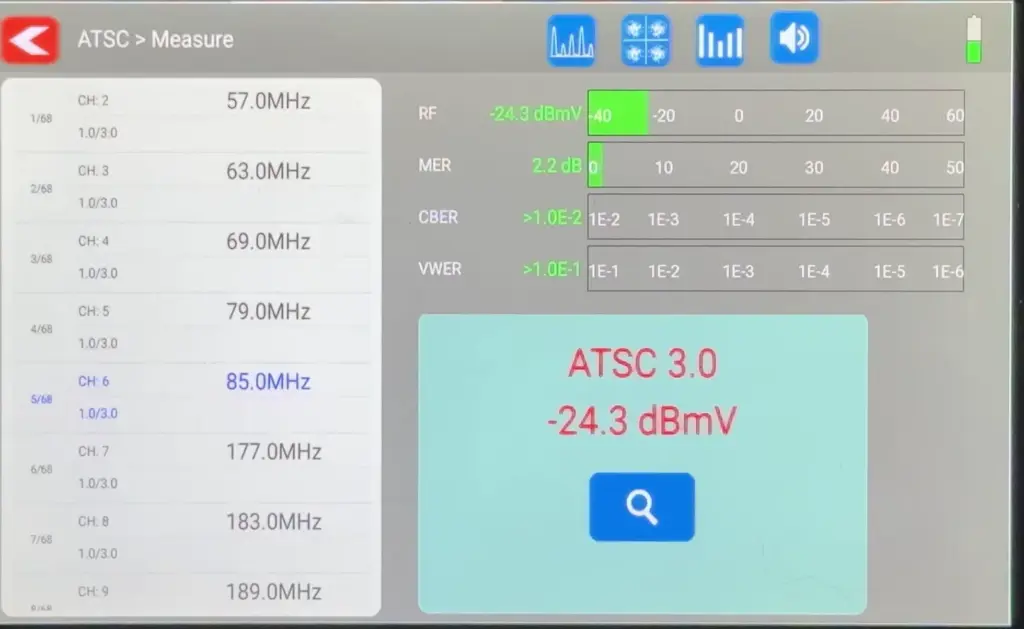
As you can see, this meter does measure ATSC 3.0. This particular frequency was a little too low in signal for me to get a lock but you can see that it does work.
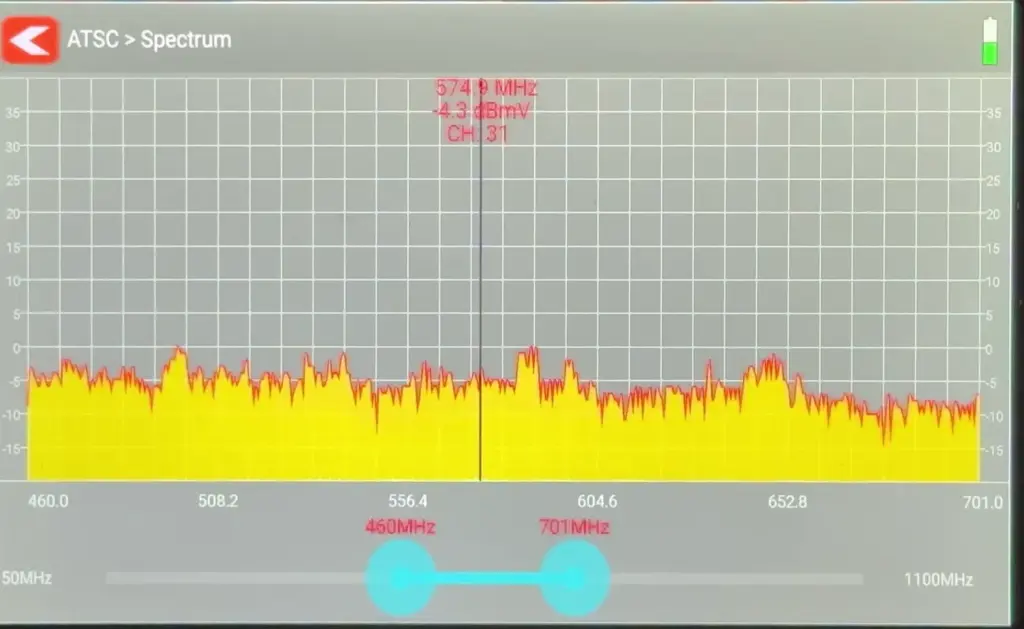
You get basic real-time spectrum analysis with the ability to set a span. I don't know if this is something most people are going to need in the field, but it makes for a nice display.
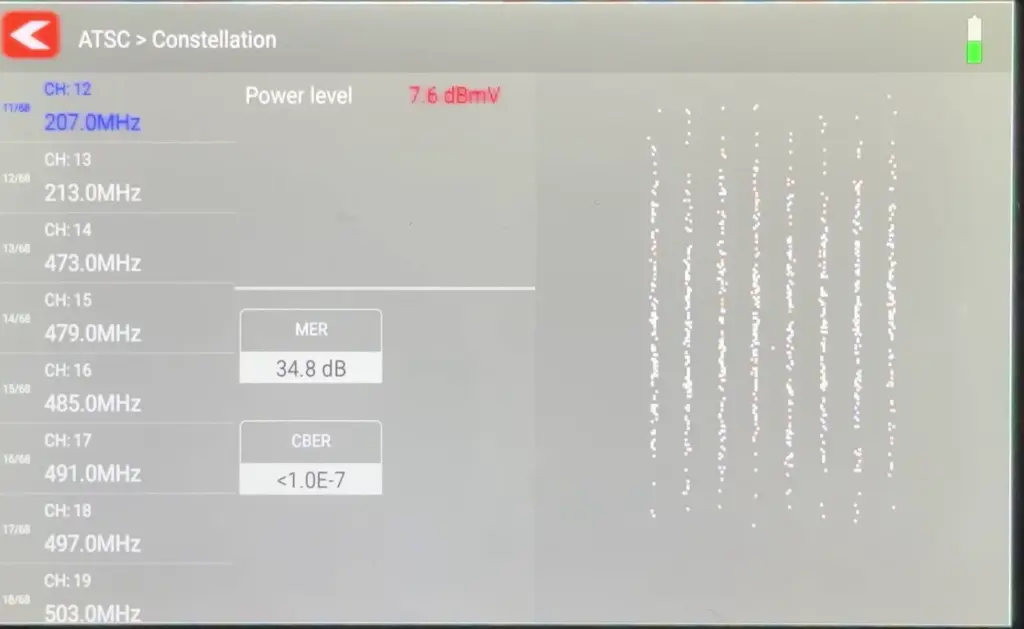
Similarly, I don't think many people are going to need to really analyze the ATSC constellation in the field but it is there if you need it.
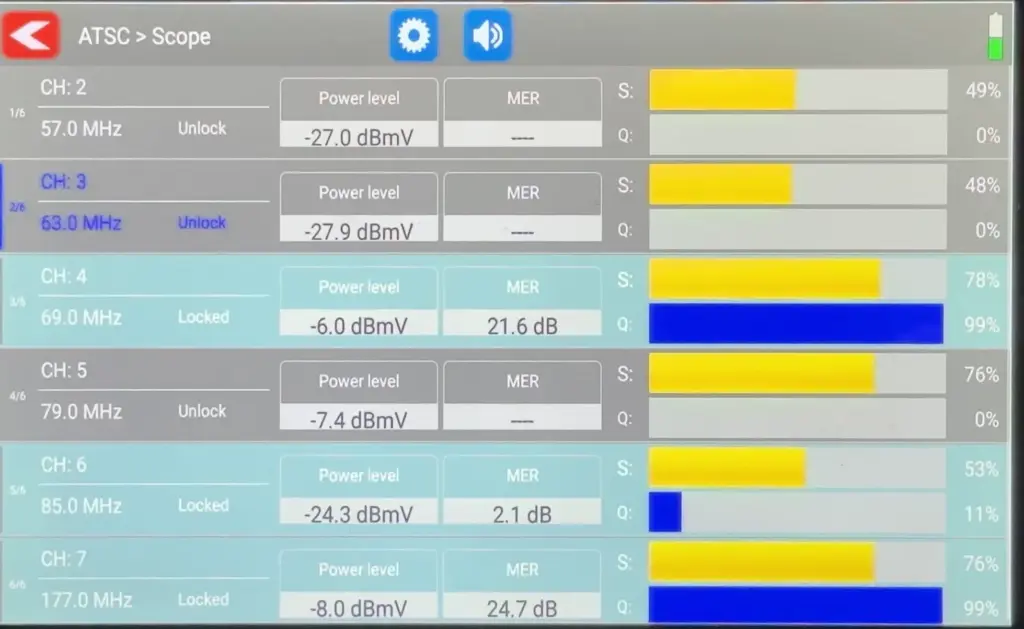
One nice feature is that you can choose any 6 channels to monitor at the same time. That way you can see the effect that moving your antenna will have on channels from different directions.
You'll need to do a channel scan in order to save your data to USB. There's an included flash drive and the procedure is simple.
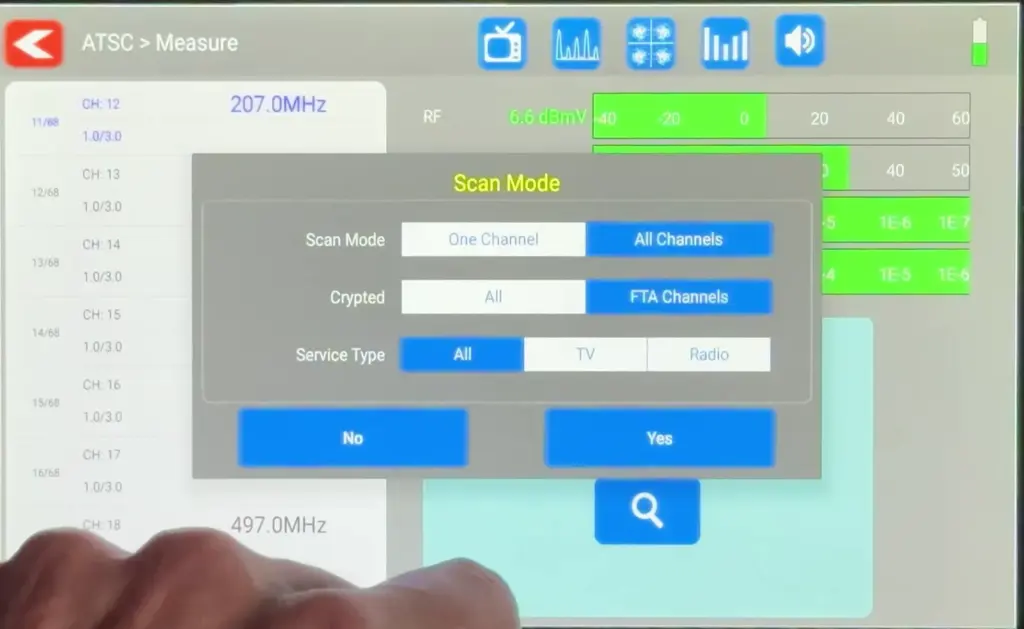
Tap on the magnifying glass while you're on a channel and you get a popup that lets you set up a scan.
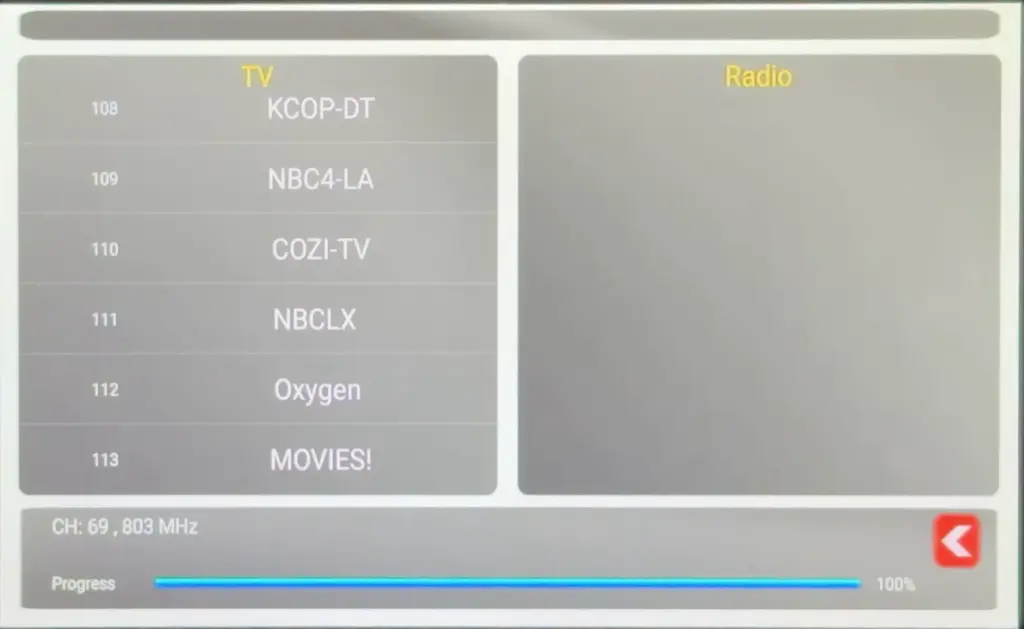
The full scan took under 3 minutes. It goes all the way up to channel 69 although US broadcasting is currently limited to 2-36. However it's so fast that you really won't be worried about the extra time spent scanning.
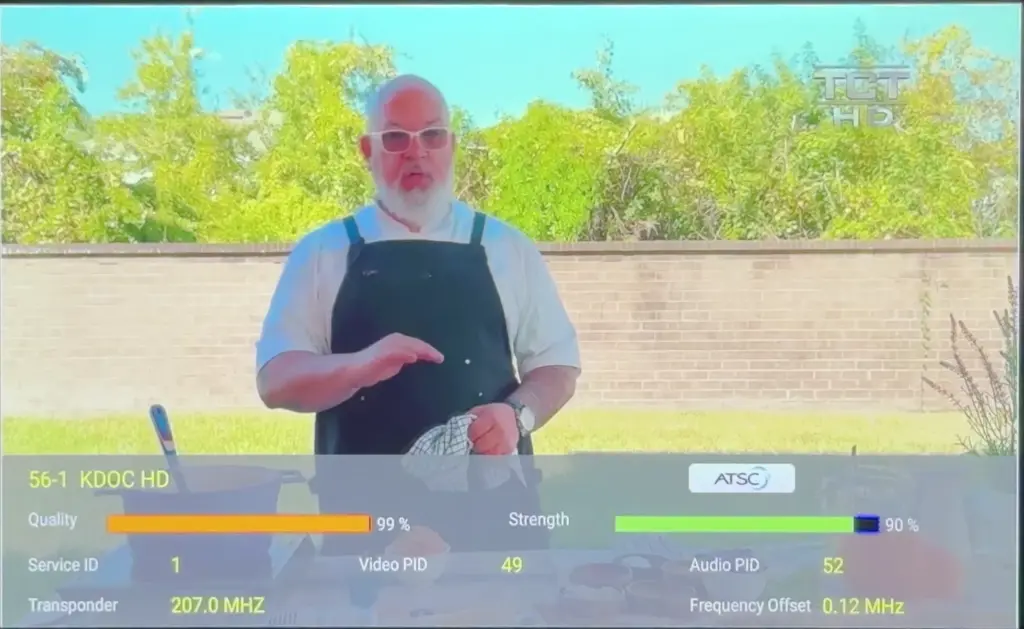
It's a nice added bonus that you get the ability to watch live TV from ATSC channels. The picture quality is excellent, but it is hard to capture using a camera pointed at the screen.
One very unexpected bonus was the addition of the full user manual on the device.
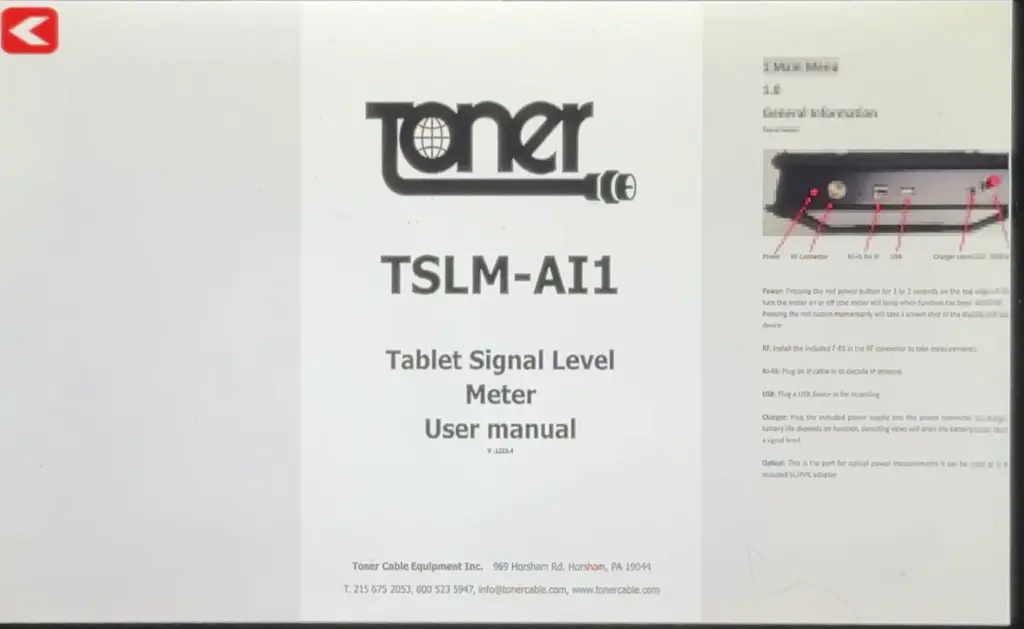
If I had to guess, this is just a PDF of the manual using a built-in app on the tablet. You can pinch and zoom to read closer, or flick to change pages. You'll get every answer you need here. I absolutely was not expecting something like this but it's very welcome.
The first thing that blows me away about this meter is that it's very well built. Everything about it is industrial grade, including the solid metal case. This is something that's going to last as long as you need it to. If you're worried about appearances you can buy a screen protector for any 10″ tablet from Amazon and put it on. I don't think it's really needed.
I appreciated the little touches like including both push-on and screw-on connectors for the meter. Antenna testers will probably use push-on as it's just fine for those frequencies. You even get a flash drive which is great because honestly I can't remember where I put any of mine.
The meter was super-easy to use even without looking at the manual. It responds very quickly and intuitively. Even better, the battery life was really incredible. I tested this thing for almost an entire day and only got about halfway through the battery. This is very unlike other meters which will peter out after an hour or two.
Of course the elephant in the room is price. This is not the least expensive meter. But it has a lot of features to it and you'll especially love it if you're doing mixed ATSC/QAM/IPTV installs where you previously had to bring three different meters. It's built to last and I doubt you'll need anything else in the future.
If you want to know more about this meter, shop at Solid Signal or call the experts at 888-233-7563. If it's after hours, fill out the form below.
Of course I did a video review as well as a written one. Take a look!
The post HANDS-ON REVIEW: Toner Signal Level Meter TSLM-AI1 appeared first on The Solid Signal Blog.
Continue reading...
That's why I was excited to review this Toner Signal Level Meter model TSLM-AI1. It promises to bring a lot of capabilities that I didn't have on the test bench before. To me, the most exciting one is the ability to measure ATSC 3.0 signals. Let's see how this meter shapes up.
Unboxing

I'm always pleased to see a nice presentation box even when a product isn't going to go to retail. The box is well-made and opens to reveal the meter front and center.

Also included in the box are a selection of accessories:

You get a shoulder strap, car charger and wall charger, flash drive (because they're just not that common anymore), well-made RG6 cable, grommets to attach the strap,and the adapters you'll need including one to help you test both common types of fiber. All in all these accessories are top notch, very high quality.
The meter itself

The meter itself is essentially a commercial-grade tablet inside a metal enclosure which has all the connections. There's also an LED on the back to give you a little light in tight spaces.
The case itself is very thick ballistic nylon. It has taps on it which let you use the case as a sunshade or stand it up as you can see on the image at the top of this article.

From left to right, you see a fiber connection port, connection for power adapter, USB-A port for the flash drive, Ethernet port for testing IPTV, coaxial cable port, and the red power button. There's also a small hole to the left of the coax port which I'm assuming is a reset button.
A quick tour of the user interface

The interface itself is very straightforward, giving you the ability to test whatever you'd like. US users will want to focus on the ATSC, QAM, Optical, and IPTV measurements. DVB, DAB, and ISDB are European standards that you won't find very much here in the US.
Using the meter
I focused my testing on ATSC, which I think is the way most people will use this meter. The screen captures below are all from my simply pointing the camera at the tablet, so I apologize for distortion or reflections.

You won't be spending much time in the setting screen, but you can see all the bases are covered here. I do like that you have the option of choosing dBμV or dBmV. In this case dBmV is selected.

When you go into the ATSC screen you're immediately given a list of frequencies and you can tap on them to get the important measurements. Every channel is listed.

As you can see, this meter does measure ATSC 3.0. This particular frequency was a little too low in signal for me to get a lock but you can see that it does work.

You get basic real-time spectrum analysis with the ability to set a span. I don't know if this is something most people are going to need in the field, but it makes for a nice display.

Similarly, I don't think many people are going to need to really analyze the ATSC constellation in the field but it is there if you need it.

One nice feature is that you can choose any 6 channels to monitor at the same time. That way you can see the effect that moving your antenna will have on channels from different directions.
Channel scanning
You'll need to do a channel scan in order to save your data to USB. There's an included flash drive and the procedure is simple.

Tap on the magnifying glass while you're on a channel and you get a popup that lets you set up a scan.

The full scan took under 3 minutes. It goes all the way up to channel 69 although US broadcasting is currently limited to 2-36. However it's so fast that you really won't be worried about the extra time spent scanning.

It's a nice added bonus that you get the ability to watch live TV from ATSC channels. The picture quality is excellent, but it is hard to capture using a camera pointed at the screen.
Added bonus
One very unexpected bonus was the addition of the full user manual on the device.

If I had to guess, this is just a PDF of the manual using a built-in app on the tablet. You can pinch and zoom to read closer, or flick to change pages. You'll get every answer you need here. I absolutely was not expecting something like this but it's very welcome.
Overall impressions
The first thing that blows me away about this meter is that it's very well built. Everything about it is industrial grade, including the solid metal case. This is something that's going to last as long as you need it to. If you're worried about appearances you can buy a screen protector for any 10″ tablet from Amazon and put it on. I don't think it's really needed.
I appreciated the little touches like including both push-on and screw-on connectors for the meter. Antenna testers will probably use push-on as it's just fine for those frequencies. You even get a flash drive which is great because honestly I can't remember where I put any of mine.
The meter was super-easy to use even without looking at the manual. It responds very quickly and intuitively. Even better, the battery life was really incredible. I tested this thing for almost an entire day and only got about halfway through the battery. This is very unlike other meters which will peter out after an hour or two.
Of course the elephant in the room is price. This is not the least expensive meter. But it has a lot of features to it and you'll especially love it if you're doing mixed ATSC/QAM/IPTV installs where you previously had to bring three different meters. It's built to last and I doubt you'll need anything else in the future.
If you want to know more about this meter, shop at Solid Signal or call the experts at 888-233-7563. If it's after hours, fill out the form below.
One more thing
Of course I did a video review as well as a written one. Take a look!
The post HANDS-ON REVIEW: Toner Signal Level Meter TSLM-AI1 appeared first on The Solid Signal Blog.
Continue reading...

