
I'm installing a BUD in my yard, and I used my tractor sub-soiler plow to stitch the cable below the grass. I welded 1-1/4" pipe onto the back of the plow to pull the cable behind the tractor. I tapered the trailing edge of the rigid sweep to minimize snagging, and to let the soil grab the cable. I also left enough turns on the sweep so that it could rotate from side to side on the coupling that was welded to the plow; the play in the sweep minimizes the stress on the weld...
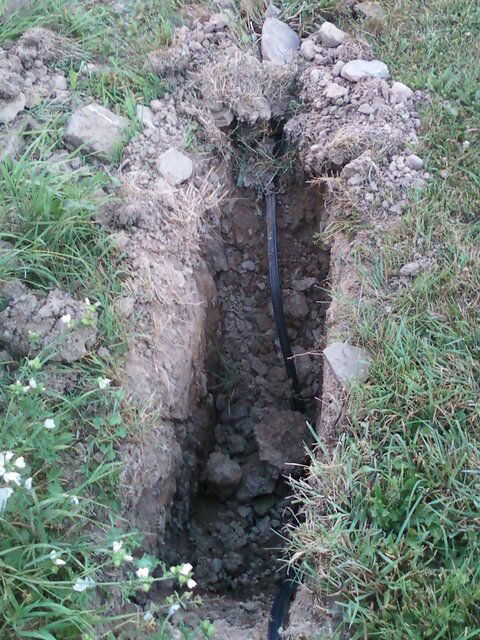
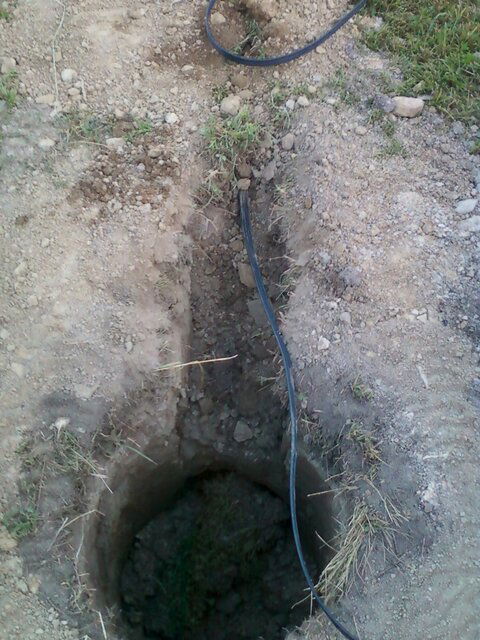
 I used my backhoe to cut two keyhole slots to let me set drop and lift the subsoiler in the soil without damaging the cable.
Our soil is VERY rocky, and the pull strained my tractor, but the finished installation left a very minimal scar that will probably not even be visible next spring. If you have the resources, I strongly recommend this method of putting in your direct burial cables...

I used my backhoe to cut two keyhole slots to let me set drop and lift the subsoiler in the soil without damaging the cable.Our soil is VERY rocky, and the pull strained my tractor, but the finished installation left a very minimal scar that will probably not even be visible next spring. If you have the resources, I strongly recommend this method of putting in your direct burial cables...

")


