Tron and I (and others) have talked about a thread to discuss how to make the overheating Starbox I USB units work better.
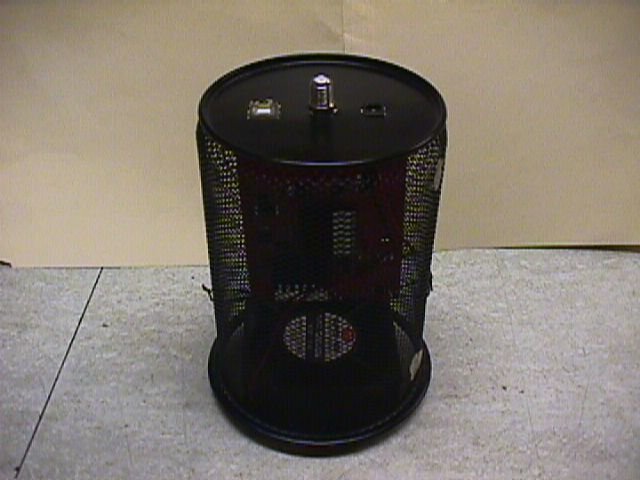
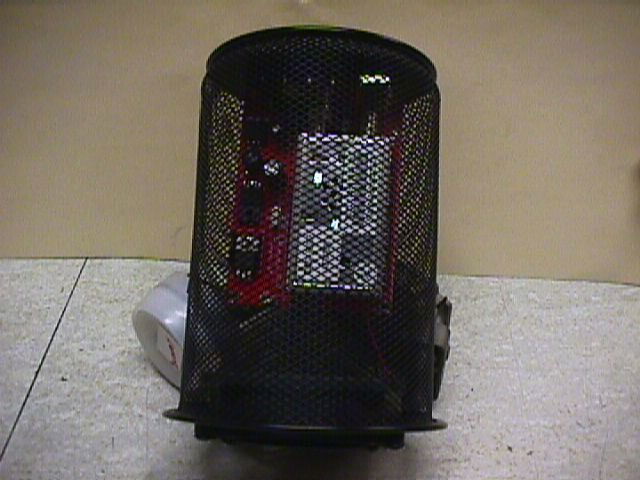
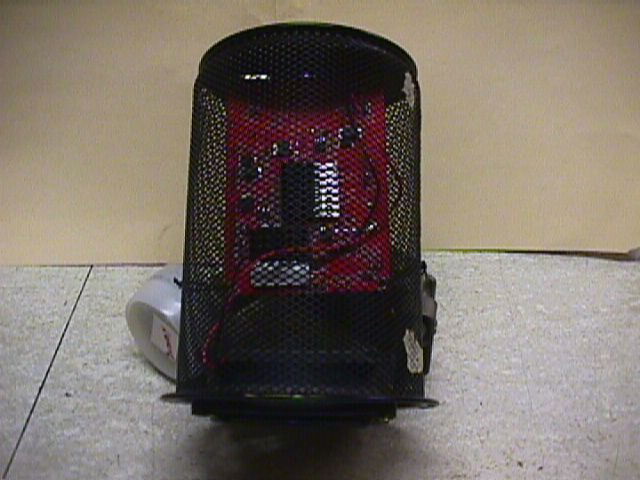
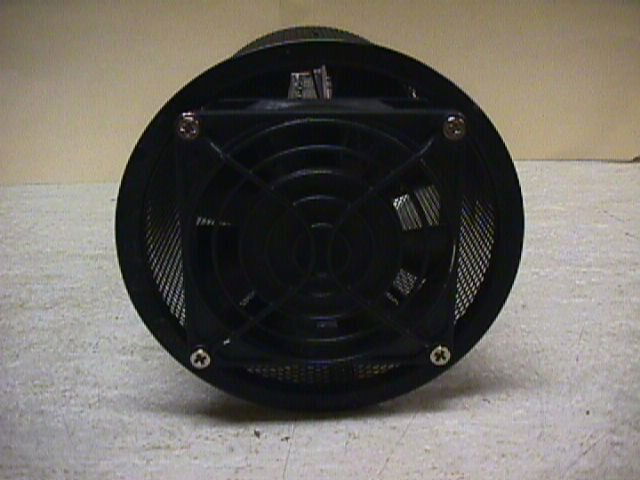
My buddy repackaged his in a little wire-mesh pencil holder.
The fan is in the base, and connectors are on top.
His power supply is external.
He did install heatsinks (not visible), but that's really overkill with the well ventilated case and the fan.")
Hope his pictures do it justice.
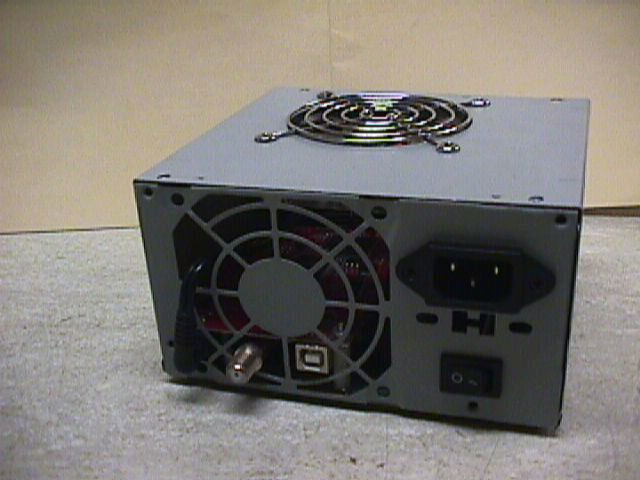
I installed my power supply inside the PC power supply box.
Connectors are readily accessible through existing grill holes (or were enlarged with a nibbler).
The original on/off switch and AC power input connector are used.
Standoffs under the board are nylon, and raise it 3/4 inch above the floor.
The DC power cable is bundled at the end of the board, then is routed outside the case where it plugs into the original connector.
The unit should be easily restored to original condition, if necessary.
Anole said:I have the original Starbox I (7021)
There is a later Starbox II (7021A)
Some people have reported heating problems; some have claimed their unit worked fine.
From what I've read, overheating applied to some Starbox I's, and nobody had any trouble with the Starbox II's.
I had problems with mine, and so did a buddy.
We sent them back, and had them replaced with two more that overheated.
The simple solution was to remount the PC board into a new case where it had adequate ventilation.
There is really no room in the Starbox case for a heatsink or fan.
Once out of the restrictive Starbox case, neither a heatsink nor a fan seemed to be needed.
Remove the label on the underside of the unit.
You'll find some screws there - remove them, and the case will come apart.
The PC board is attached to one case-half with more screws
I used those four screw holes with some plastic standoffs to mount the board into a new metal case.
As you can see, it's an old power supply box.
The top fan isn't actually connected, but it could be if needed.
Problem solved.
Twelve hours of unattended recording worked fine.
Scanning which caused shut-down before, no longer does.
If it had, a fan would have been connected, or a heatsink installed.
The hot chip is easy to locate - use your finger as a heat probe.
My buddy repackaged his in a little wire-mesh pencil holder.
The fan is in the base, and connectors are on top.
His power supply is external.
He did install heatsinks (not visible), but that's really overkill with the well ventilated case and the fan.
Hope his pictures do it justice.
I installed my power supply inside the PC power supply box.
Connectors are readily accessible through existing grill holes (or were enlarged with a nibbler).
The original on/off switch and AC power input connector are used.
Standoffs under the board are nylon, and raise it 3/4 inch above the floor.
The DC power cable is bundled at the end of the board, then is routed outside the case where it plugs into the original connector.
The unit should be easily restored to original condition, if necessary.