[FONT="]I'm not much of a poster kind of guy, but do read everything and I've been using 30" dish and motor and I have been reading about C band and found a 10 foot aluminum dish. I went and picked it up today. Forgot the camera at home so had it down and home before pictures.[/FONT]
[FONT="]
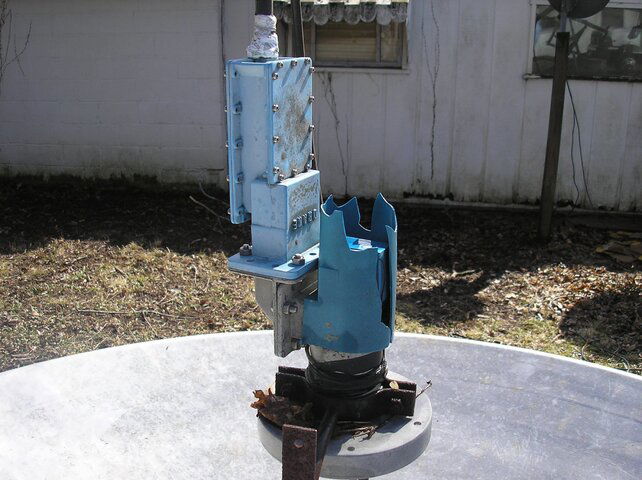
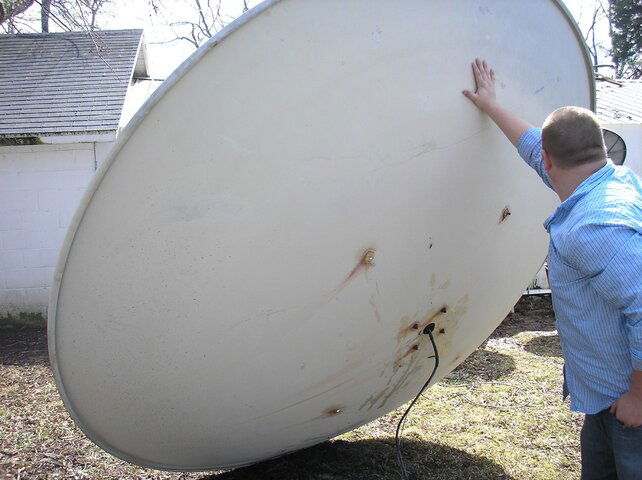
Don't know much about the dish I just wanted a solid dish so I could run ku with a new lnb, I always read that solid dish is better than mesh for ku. The dish was easy for 2 guys to pickup without the mount. Must be heavy aluminum as there is no hail dents and all other mesh dishes around here have dents.[/FONT]
[FONT="]
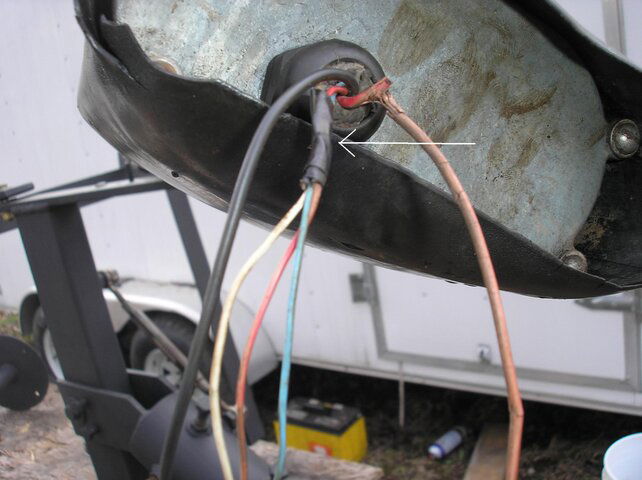
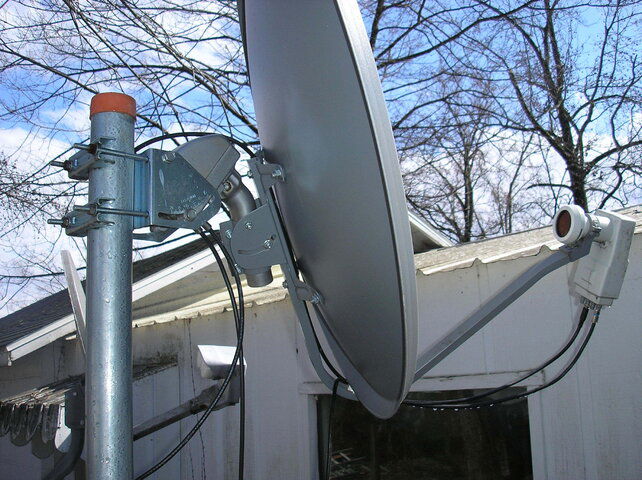
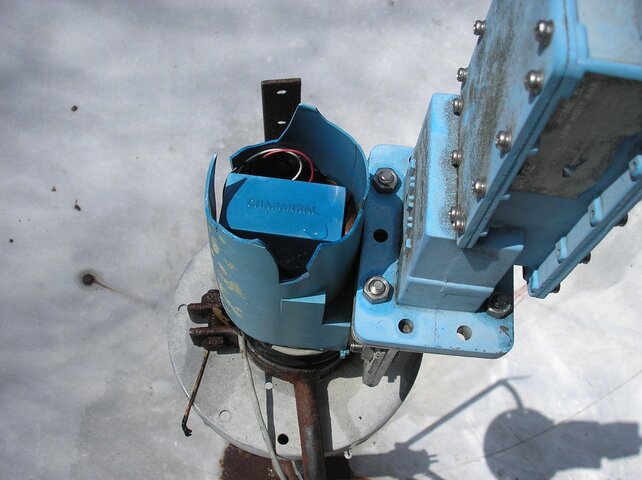
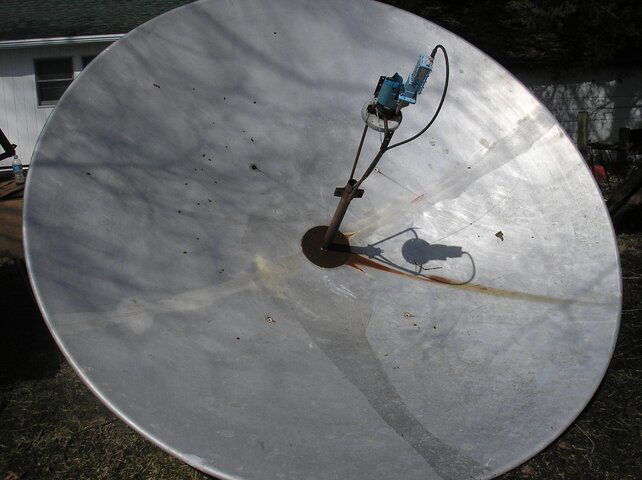
The old c band Lnb looks like it has a broke plastic cover off but looks like it may still work.
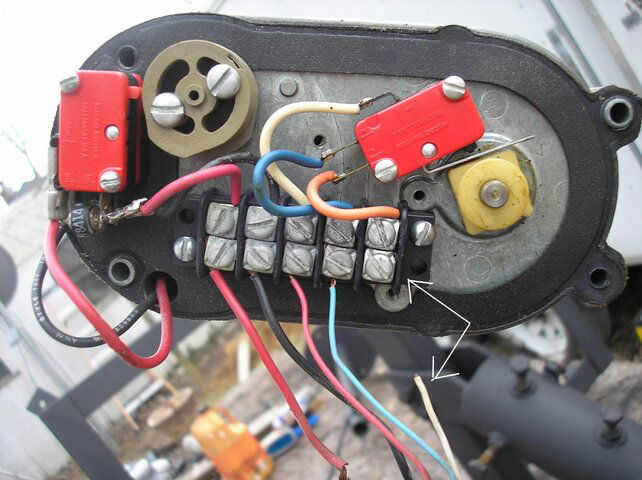
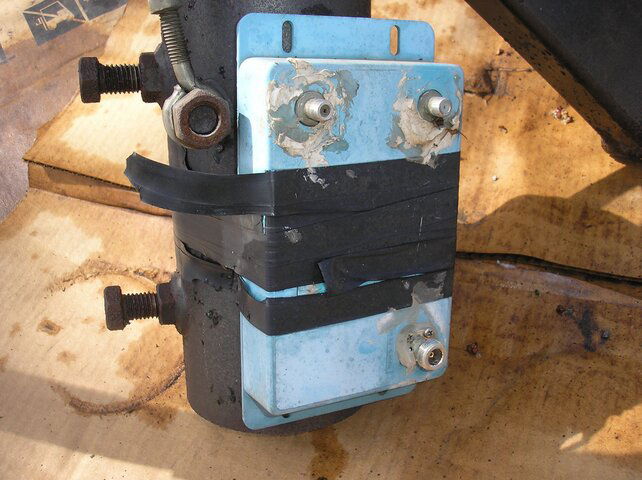
Some info on the blue box would help... polarity switch maybe? im going to order new c/ku lnb soon.[/FONT]
[FONT="]The guy I got the dish from said he had the old analog receiver for the dish but I don't have any info on it yet as he was not home when I picked up the dish, but Im sure I could use it to turn dish and piggy back my pansat 3500 to it. Or just get a vbox/gbox if needed.[/FONT]
[FONT="] [/FONT]
[FONT="]Cable needed? have any of you guys used cat5 network cable for some of the lines not the 2 main power wires for motor but the others…trying to keep from buying the $1.00 per foot ribbin cable. Im about 100 feet from tv.
[/FONT]
[FONT="] [/FONT]
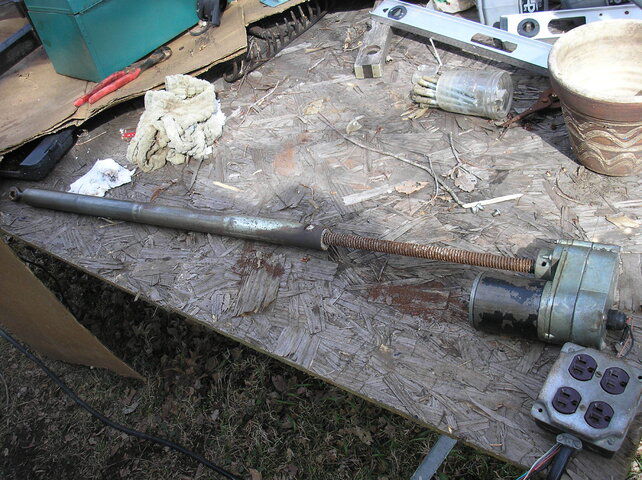
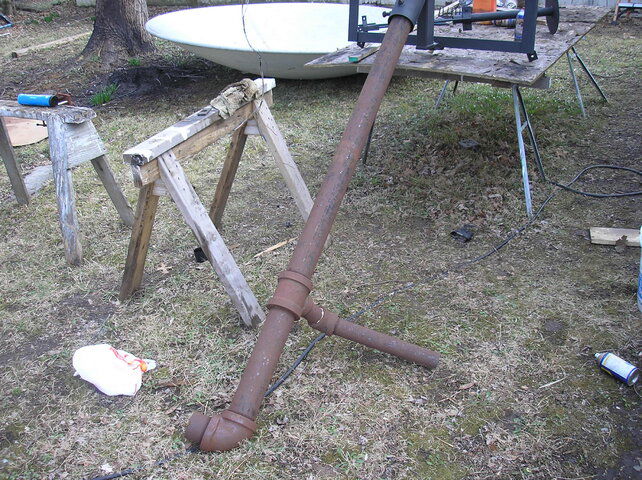
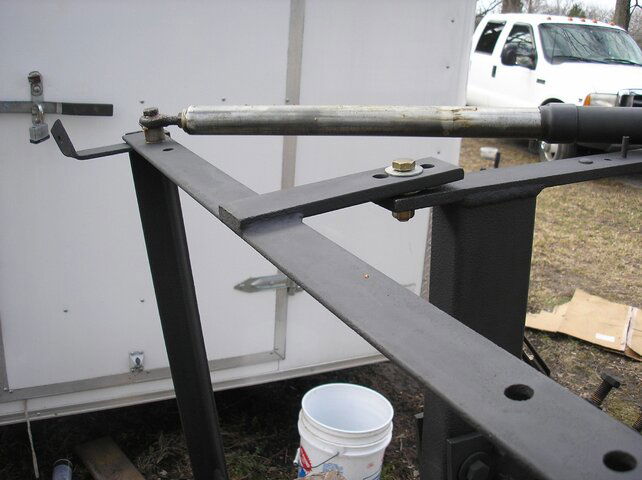
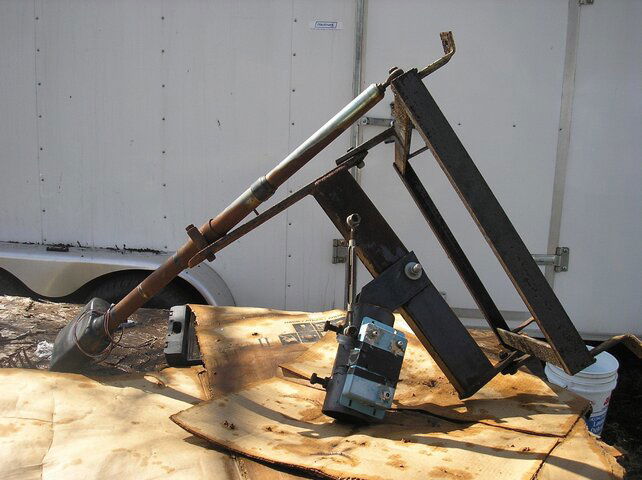
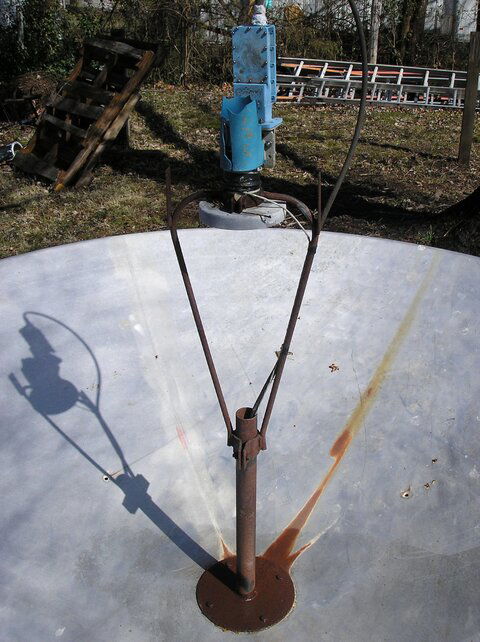
[FONT="]I will start cleaning the rust off the mount this week.
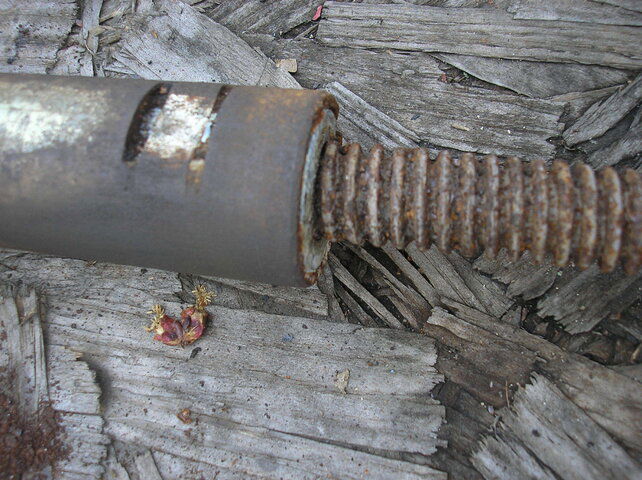
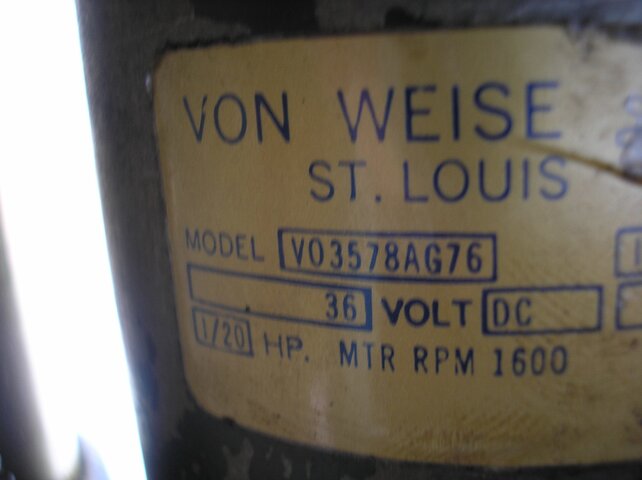
I'm sure Actuater motor and arm are trash will look for another one...rusted and froze up
[/FONT]
[FONT="]I will be getting the dish post sometime this week, guy with hay forks on back of truck said he could pull it for me ...lazy I know but hey he said he has done it before so I will let him. And not sure I can find 4" post around here.[/FONT]
[FONT="]
Anyone have any idle about a name brand on the dish? Looks like it has a weld though middle were it was 2 peace and put to gather and ground smooth[/FONT]
[FONT="]Ok I've added some pictures I always like seeing when I read everyones stories so here they are[/FONT]
[FONT="][/FONT]
[FONT="]
Don't know much about the dish I just wanted a solid dish so I could run ku with a new lnb, I always read that solid dish is better than mesh for ku. The dish was easy for 2 guys to pickup without the mount. Must be heavy aluminum as there is no hail dents and all other mesh dishes around here have dents.[/FONT]
[FONT="]
The old c band Lnb looks like it has a broke plastic cover off but looks like it may still work.
Some info on the blue box would help... polarity switch maybe? im going to order new c/ku lnb soon.[/FONT]
[FONT="]The guy I got the dish from said he had the old analog receiver for the dish but I don't have any info on it yet as he was not home when I picked up the dish, but Im sure I could use it to turn dish and piggy back my pansat 3500 to it. Or just get a vbox/gbox if needed.[/FONT]
[FONT="] [/FONT]
[FONT="]Cable needed? have any of you guys used cat5 network cable for some of the lines not the 2 main power wires for motor but the others…trying to keep from buying the $1.00 per foot ribbin cable. Im about 100 feet from tv.
[/FONT]
[FONT="] [/FONT]
[FONT="]I will start cleaning the rust off the mount this week.
I'm sure Actuater motor and arm are trash will look for another one...rusted and froze up
[/FONT]
[FONT="]I will be getting the dish post sometime this week, guy with hay forks on back of truck said he could pull it for me ...lazy I know but hey he said he has done it before so I will let him. And not sure I can find 4" post around here.[/FONT]
[FONT="]
Anyone have any idle about a name brand on the dish? Looks like it has a weld though middle were it was 2 peace and put to gather and ground smooth[/FONT]
[FONT="]Ok I've added some pictures I always like seeing when I read everyones stories so here they are[/FONT]
[FONT="][/FONT]
Attachments
-
 big dish on ground.JPG345.9 KB · Views: 312
 -
 motor dish.JPG558.1 KB · Views: 333
 -
 mount.JPG564.8 KB · Views: 322
 -
 lnb.JPG493.3 KB · Views: 295
 -
 blue box.JPG570.2 KB · Views: 279
 -
 closeup LNB .JPG561.8 KB · Views: 301
 -
 feed arm.JPG617.3 KB · Views: 305
 -
 back side .JPG576.2 KB · Views: 314
 -
 big dish proped up.JPG564.3 KB · Views: 334
")