How did I get into THIS mess?!

Status
Please reply by conversation.

stogie5150

Crazed Cajun Rebel
Original poster
Pub Member / Supporter
Jan 7, 2007
3,835
74
Slidell,LA
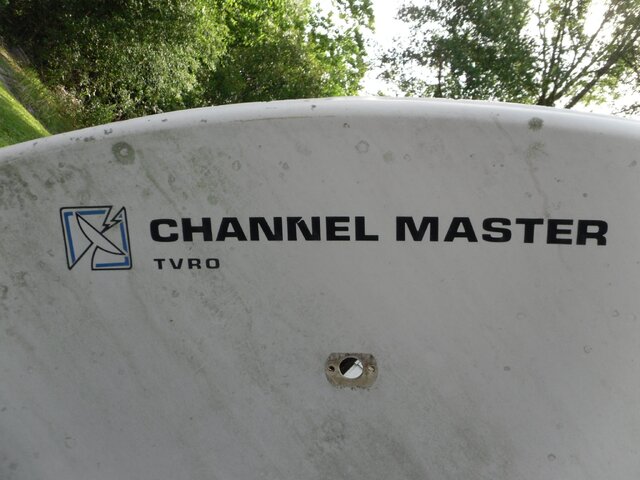
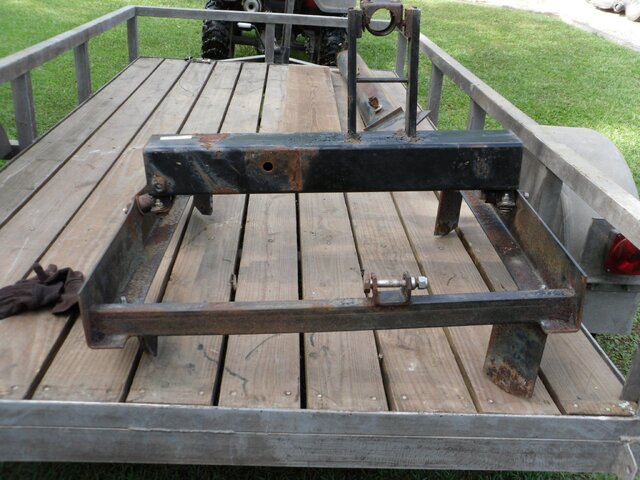
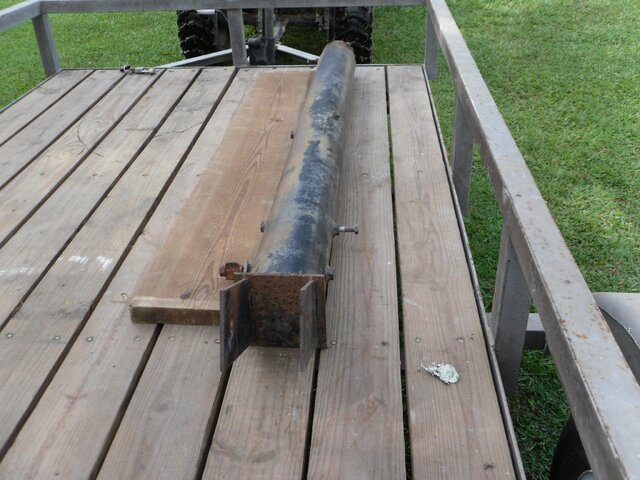
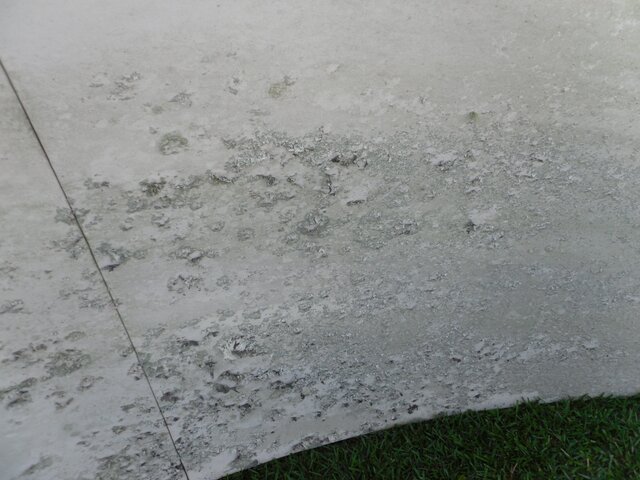
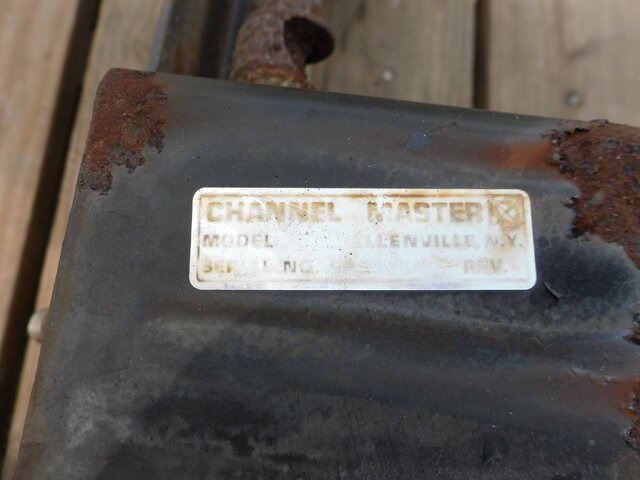
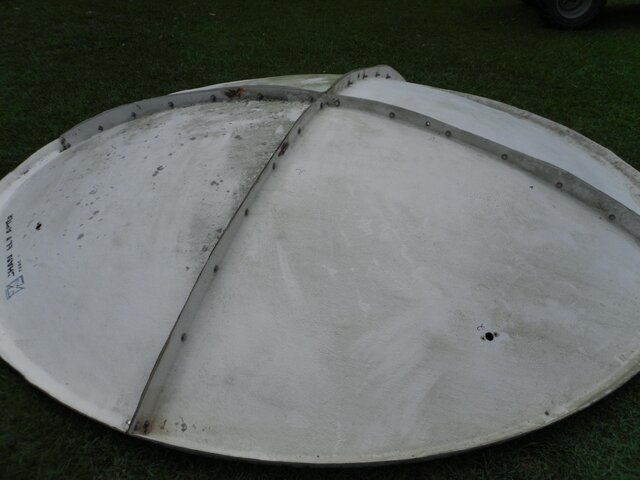
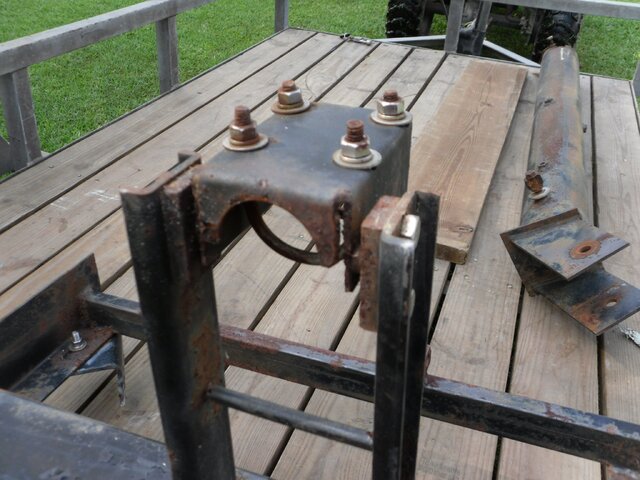
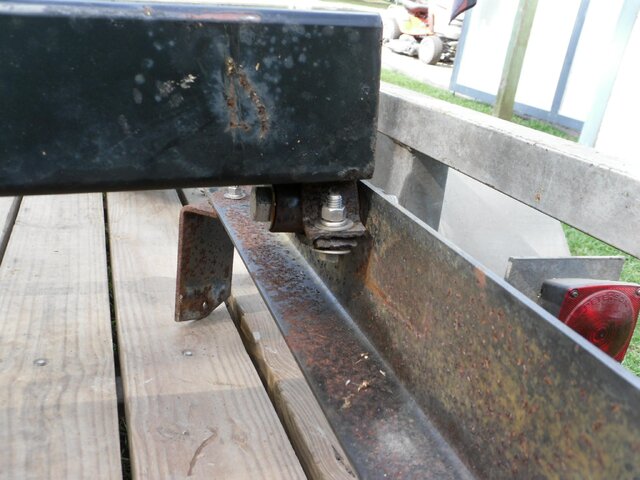
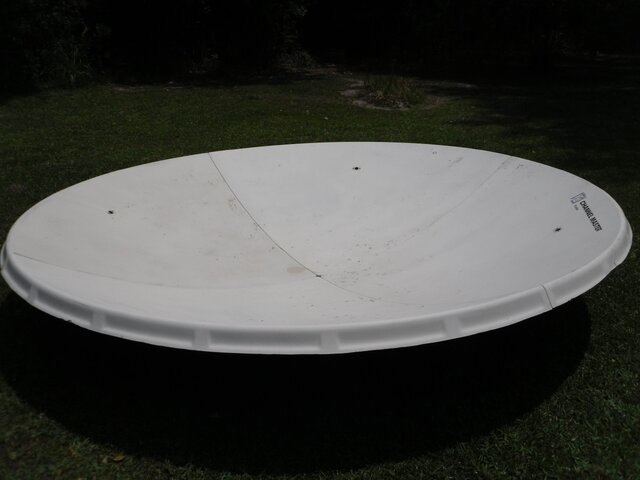
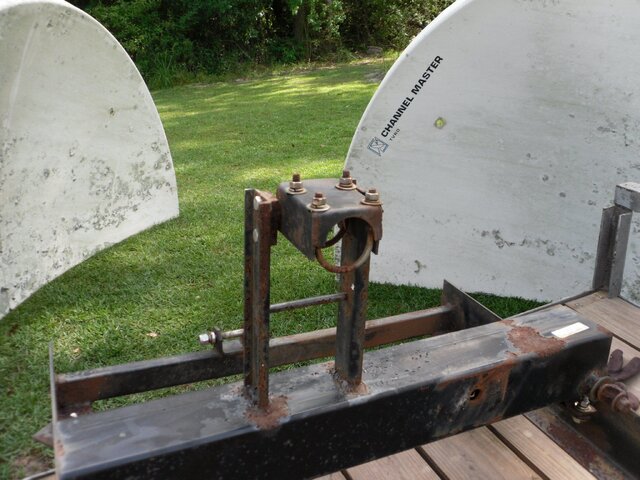
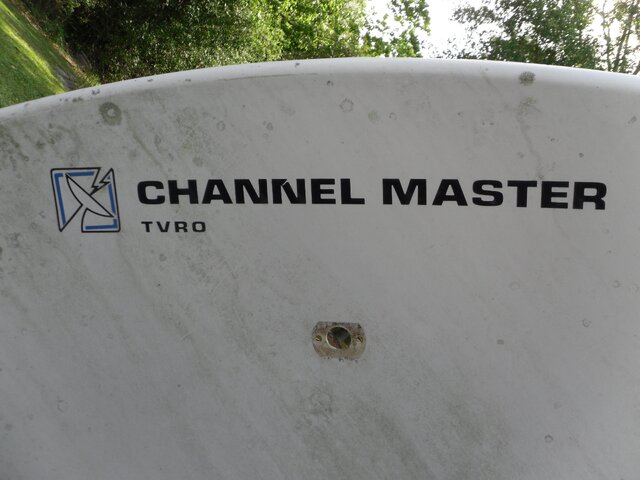
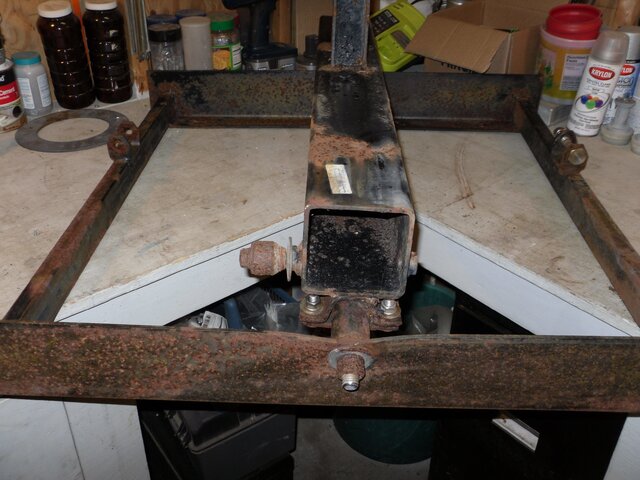
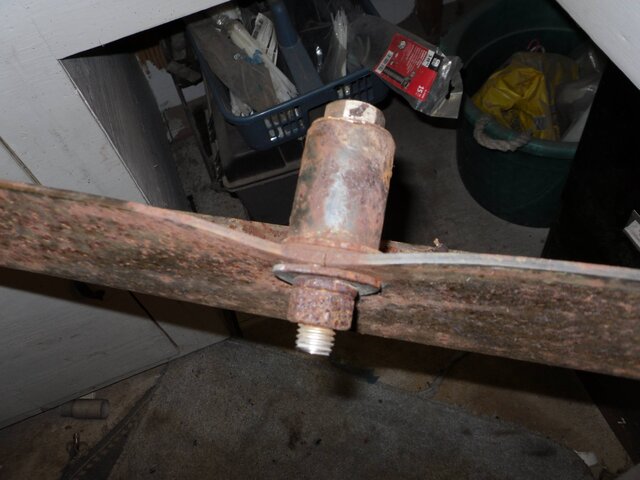
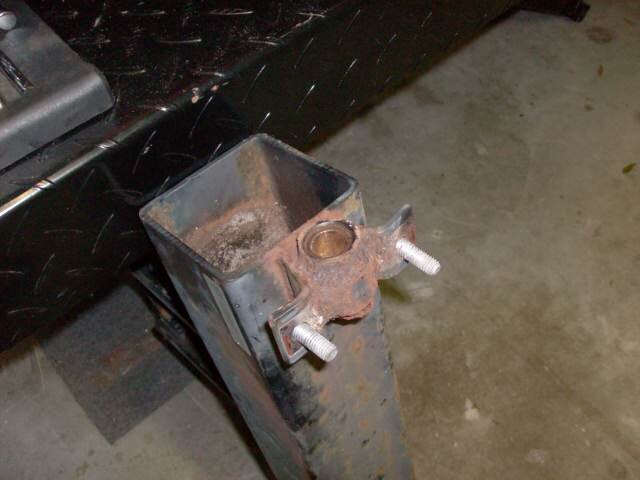
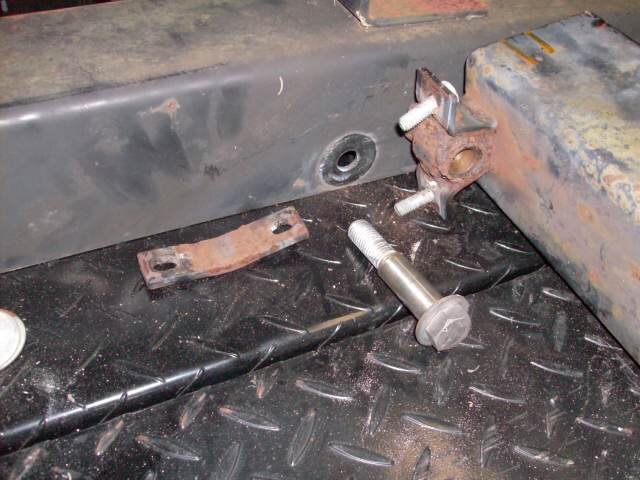
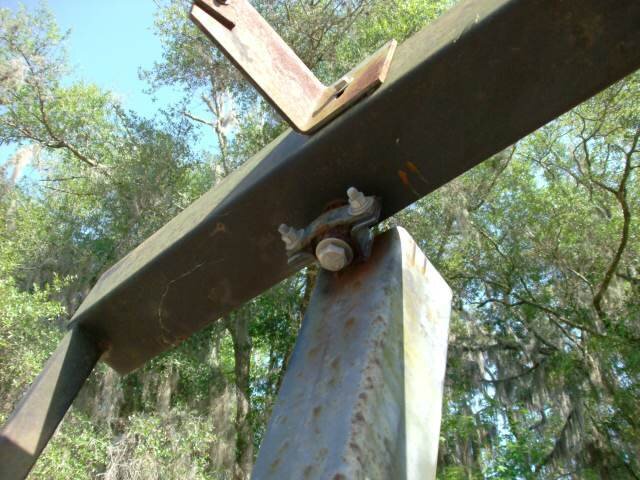
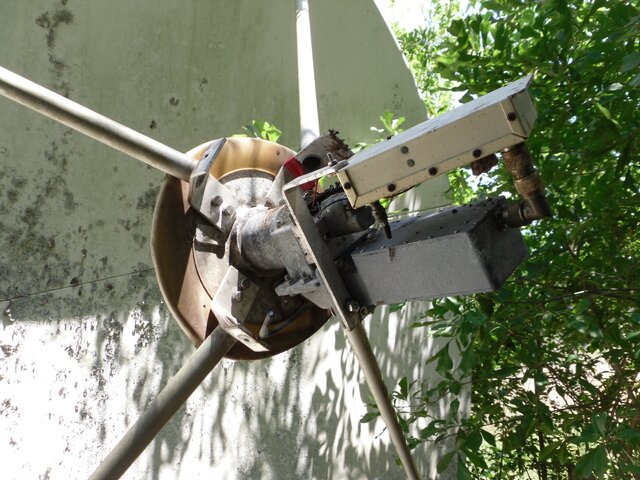
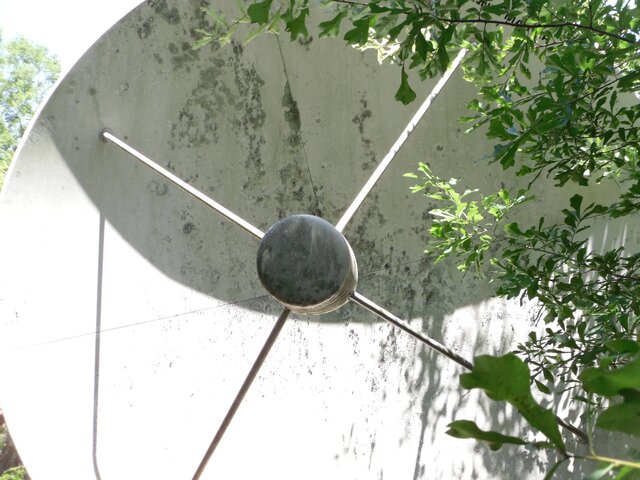
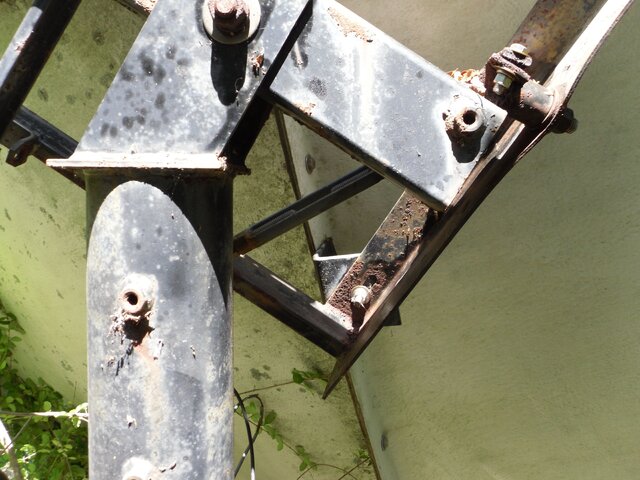
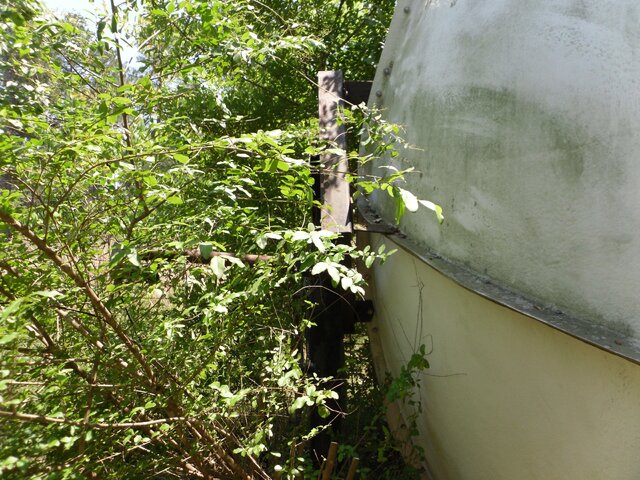
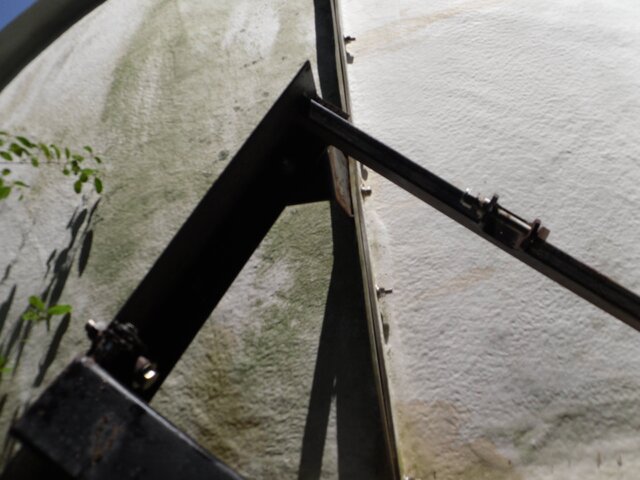
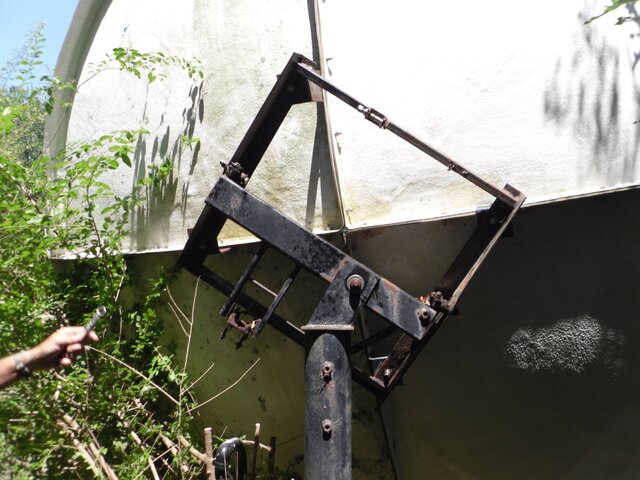
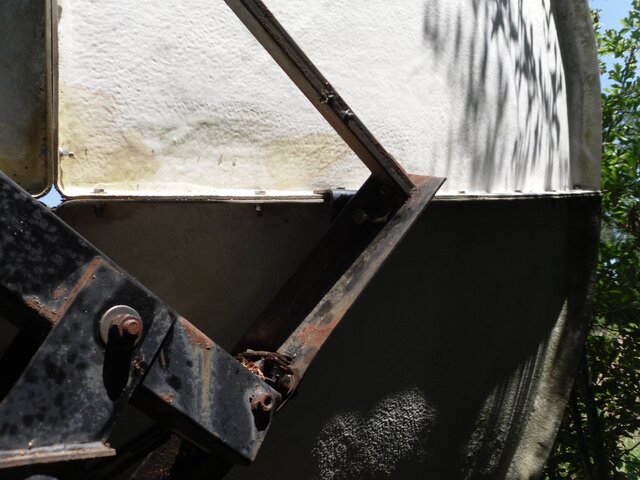
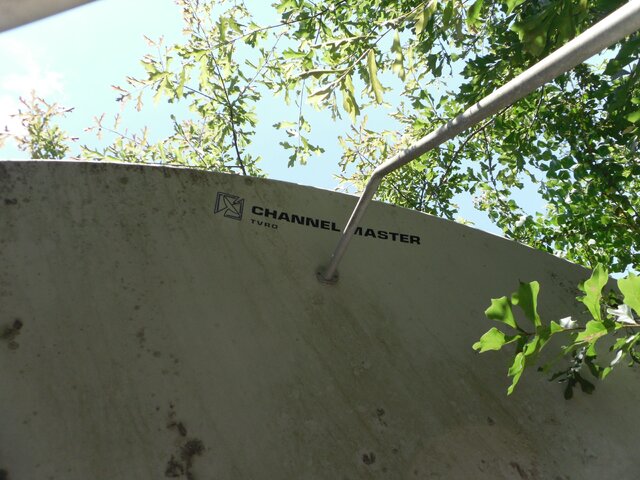
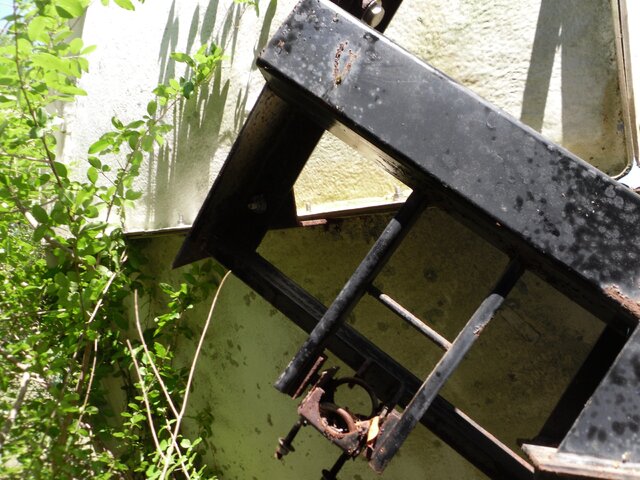
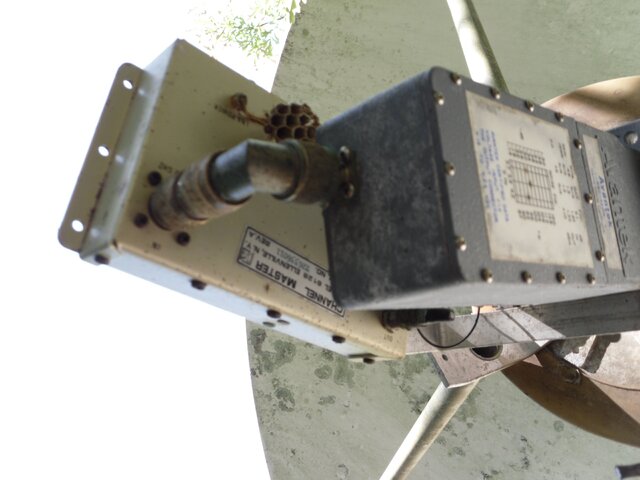
I answered a free ChannelMaster dish ad on freecycle this morning....loaded up the trailer and SUV....and this is what I found....yeah, I still brought it home...call me soft....Yes, thats an LNA in those pictures...with downconverter attached...:D

Like i needed another project. :rolleyes:
 

Attachments

  • SDC10337.JPG
    SDC10337.JPG
    1.3 MB · Views: 399
  • SDC10335.JPG
    SDC10335.JPG
    900.6 KB · Views: 383
  • SDC10342.JPG
    SDC10342.JPG
    1.1 MB · Views: 326
  • SDC10334.JPG
    SDC10334.JPG
    2 MB · Views: 313
  • SDC10341.JPG
    SDC10341.JPG
    523 KB · Views: 297
  • SDC10343.JPG
    SDC10343.JPG
    832.9 KB · Views: 317
  • SDC10339.JPG
    SDC10339.JPG
    744.5 KB · Views: 278
  • SDC10336.JPG
    SDC10336.JPG
    1.3 MB · Views: 290
  • SDC10340.JPG
    SDC10340.JPG
    1.1 MB · Views: 254
  • SDC10338.JPG
    SDC10338.JPG
    480.9 KB · Views: 279
From the pix, I'd have judged it an 8'er.
However, Stogie told me it was 10' across.

I'd never seen a Channel Master 4-segment molded dish that didn't have the ribs on the back side.
Guess it's pretty old. Especially since it's got that LNA, instead of and LNB.

Will have to wait 'till Stogie performs the string test, but I'm sure he'll whip it into shape.
This is not his first rodeo, my friends! :up
 
In my very limited experience with big ChannelMaster dishes, I have not come across one where the panel seams were turned 45 degrees from the square frame mount. Maybe this 2.4 and 3 meter instruction manual will help.

Satellite and Digital TV support forum.

Btw, this manual was originally posted by ACRadio.

I would be very interested in seeing some close up pictures of the mount as I am trying to rehab a mount and figure out how to handle declination on a 3 meter perforated.
 
What size is the dish??

10 foot. Actually 10 foot 2 inches, but who's counting? ;)

I would be very interested in seeing some close up pictures of the mount as I am trying to rehab a mount and figure out how to handle declination on a 3 meter perforated.

They had a turnbuckle on it. which was weird because one end of the turnbuckle had a HOOK on it instead of an eye....might say something about the quality of the original installer... ;):D

But either way you'll have some pics early next week when I unload it all, its going to sit on the trailer for the holiday weekend. :D
 
I've got just what you need to fix your dish right up. :)

I got this mount from a newer model Channel Master SMC a few years ago that was on the roof of a high school in St. Louis county. A construction crew was adding on to the school, and re-doing the roof. They set the dish, NPRM and everything off with a crane destroying the dish in the process. I did get the commercial NPRM, and a patent infringing Co-Rotor out of the deal, but had to scrap the dish.

This mount is all there is left of the dish, but it will fit right on your dish, or as you can see from the holes on the mounting flanges, can be adapted to almost any dish.

It is extremely heavy duty, and is free to you or anyone else who wants to come and get it. :)

channel-master-mount3.jpg channel-master-mount1.jpg channel-master-mount2.jpg
 
Well got to wash the old girl off a bit....and it didnt get much better....LOL...lots of stress cracks where the petals bolt together on the back side, it cleaned up fairly nice for just soap/water/bleach and a brush.

Mount has some bent areas, but I think judicious use of a 12# hammer will straighten that out, I think. Note the corrosion on the sleeve....and that sleeve is closer to 5 feet long instead of four...

Lotta work to come....:cool:
 

Attachments

  • SDC10357.JPG
    SDC10357.JPG
    280.3 KB · Views: 214
  • SDC10349.JPG
    SDC10349.JPG
    441.6 KB · Views: 220
  • SDC10355.JPG
    SDC10355.JPG
    465.6 KB · Views: 211
  • SDC10365.JPG
    SDC10365.JPG
    551 KB · Views: 204
  • SDC10352.JPG
    SDC10352.JPG
    194.9 KB · Views: 201
  • SDC10356.JPG
    SDC10356.JPG
    267 KB · Views: 193
  • SDC10370.JPG
    SDC10370.JPG
    342 KB · Views: 243
  • SDC10353.JPG
    SDC10353.JPG
    353 KB · Views: 196
  • SDC10351.JPG
    SDC10351.JPG
    257.5 KB · Views: 201
  • SDC10374.JPG
    SDC10374.JPG
    198.8 KB · Views: 198
  • SDC10354.JPG
    SDC10354.JPG
    460.3 KB · Views: 187
  • SDC10361.JPG
    SDC10361.JPG
    762.4 KB · Views: 191
  • SDC10350.JPG
    SDC10350.JPG
    305.4 KB · Views: 194
Stogie,

Regarding the last picture, number 13, the connection of the latitude support bar to the back frame. The bushing on the bar, where the bolt goes through, is it a steel clad bushing and welded? Or is it held in place by a metal strap and two bolts?

On my 3 meter perforated, which has a bar and back frame much like yours, that area is so badly rusted I can not tell what is going on there.

The sleeve isn't for light weights is it? Fortunately the pipe it was over was only sticking up 3'.

Thank you sir.

Metal strap and bolts. In the next few days, IF everything goes right, I'll have it on the bench taking it apart, and I'll take some more pics for ya. I am kind of interested in how that bushing thing works too, especially since that one end is all bent up. Might have to improvise, which I don't have a problem with whatsoever...LOL


The pole that this dish was on was about 4' out of the ground, AND filled with concrete. 5"OD pipe. I bet that cost plenty.

I'll look forward to the pics. Thanks.

Yep, the in the ground pipe was filled with concrete too. The pad it was encased in was 4' square and I don't know how deep. Its still right there where I left it :) I'll probably have to do something similar and I am not looking forward to it.
 
Ok I took it apart, wire brushed it, and painted it with rust converter. once that dries, I'll put the topcoat on it.

Here's ya pics mjac. The bolts are special stainless ones that the bushing rides on. Otherwise it came apart ok, they used all stainless hardware so it came apart real easy.
 

Attachments

  • SDC10385.JPG
    SDC10385.JPG
    544 KB · Views: 180
  • SDC10388.JPG
    SDC10388.JPG
    255.1 KB · Views: 195
  • SDC10387.JPG
    SDC10387.JPG
    234.7 KB · Views: 185
  • SDC10383.JPG
    SDC10383.JPG
    361.2 KB · Views: 190
  • SDC10386.JPG
    SDC10386.JPG
    299.3 KB · Views: 173
  • SDC10384.JPG
    SDC10384.JPG
    210 KB · Views: 179
Thanks Stogie. Very nice pictures.

All the fasteners on mine are SS also and they came loose with very little effort.

Regarding pics 4 and 6, I removed each of the two straps held in place by two nuts and bolts but the brass/bronze bushing did not come out as yours did as shown in pic 3.
The steel round stock encasing the brass/bronze bushing has rusted to the point it is stuck in the u shaped bracket in pic 4. In spite of the rusted condition, whats left of the brass/bronze bushing and round stock is still usable, but I don't know for how long. Actually the brass/bronze bushing is quite intact. However most of the steel round stock has corroded away. I suppose I could tap the brass/bronze bushing and round stock out and free it but without something to replace it with, I haven't tried.
I have no idea where to start looking for replacement materials. Any suggestions?
 
Well, from my shipyard days, any industrial tooling company should have something that would work. Back in the 90's they used McMaster-Carr, I believe, to get a lot of tooling supplies. Since I have some intact ones, as soon as I get them painted I'll take my calipers and measure them so we'll know what you need.

As far as removing it, if you can drive it off the bolt that would be good, I would at all costs NOT damage that bolt, because I don't know where you would find another one. THEN you would have something else to jury-rig. LOL

Actually the company is CARR-LANE....see at 41 my memory is already going....LOL

One of these should work, wont be bronze, but you can remember to spray some spray grease on them can't ya?

"support cylinders" whatever the hell THAT is...but:

http://www.carrlane.com/catalog/ind...20609090C0015482013180B041D1E173C3B2853514355


Drill bushings:

http://www.carrlane.com/catalog/ind...20609090C0015482013180B041D1E173C3B285351435D
 
Last edited:
Ok thanks, the dimensions will be a great help. A quick glance at the second link, looks like I'll be able to come up with something from the drill bushing page.

To clarify, in my case, the bolt that passes through the bushing and connects to the back frame, was removable. All that remained, rusted and apparently stuck in the u shaped bracket, is what appears to have been a short length of round stock with some sort of bushing inside. A drill bushing might work there with a little grease now and then :)

I forgot I had some pics on another computer.............
 

Attachments

  • Under the hood 006.jpg
    Under the hood 006.jpg
    27.1 KB · Views: 185
  • Under the hood 003.jpg
    Under the hood 003.jpg
    43.3 KB · Views: 185
  • Under the hood 004.jpg
    Under the hood 004.jpg
    53.6 KB · Views: 169
Last edited:
Nice find Stogie, thanks for the pics.

Heh I dont know how nice it is, but I did find it...LOL...thanks...LOL


And to satisfy Anole and Linuxman, who have incessantly aggravated the SNOT out of me to get a night pic so we could see what size the mesh in the fiberglass is so we would know if it will work on Ku or not... looks like its just a little bit bigger than screen wire.
 

Attachments

  • SDC10395.JPG
    SDC10395.JPG
    213.8 KB · Views: 195
Last edited:
I didn't know whether the flashlight trick would work or not, but I figured it was worth a try.

Now you can rest easy, and as long as it ain't warped, you have a heck of a dish. :cool:
 
Ok thanks, the dimensions will be a great help. A quick glance at the second link, looks like I'll be able to come up with something from the drill bushing page.

To clarify, in my case, the bolt that passes through the bushing and connects to the back frame, was removable. All that remained, rusted and apparently stuck in the u shaped bracket, is what appears to have been a short length of round stock with some sort of bushing inside. A drill bushing might work there with a little grease now and then :)

I forgot I had some pics on another computer.............

Ok....the Diameter is 1.500OD, the hole in the middle is .750 ID, plus or minus a few thousanths. So its an inch and a half sleeve with a three-quarter hole in the middle. I forgot to measure the length, do you need that?
 

Attachments

  • SDC10433.JPG
    SDC10433.JPG
    268.9 KB · Views: 140
Status
Please reply by conversation.

Users Who Are Viewing This Thread (Total: 0, Members: 0, Guests: 0)

Who Read This Thread (Total Members: 1)