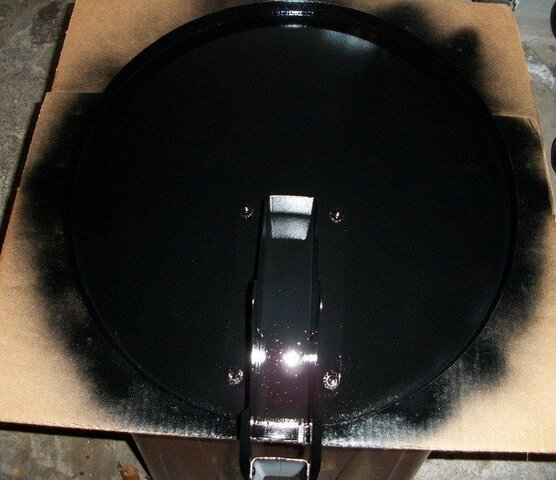
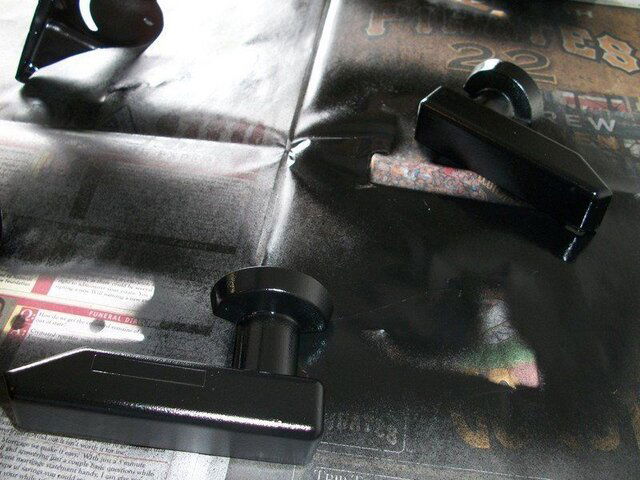
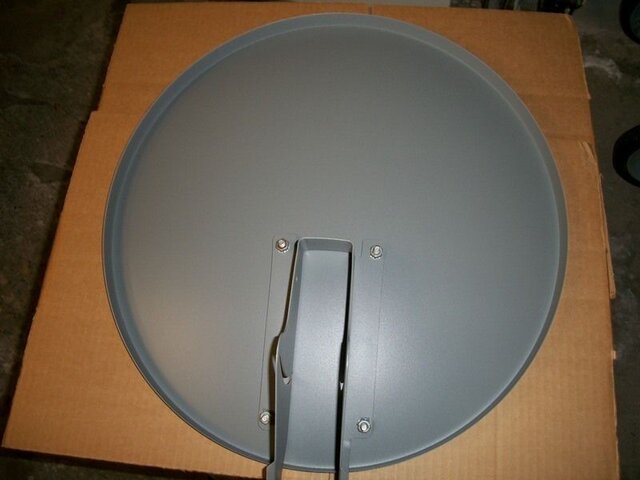
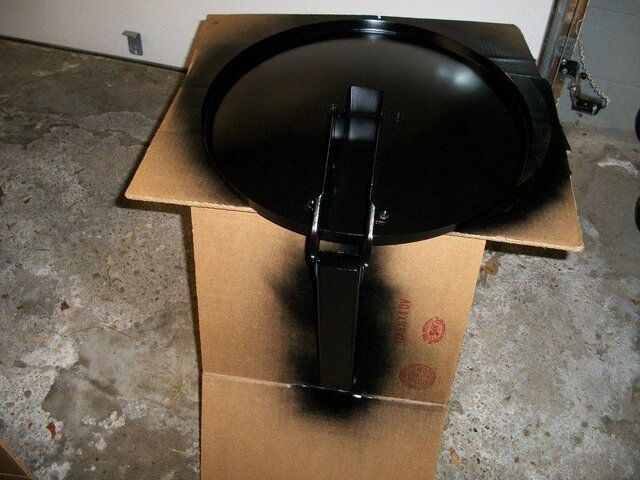
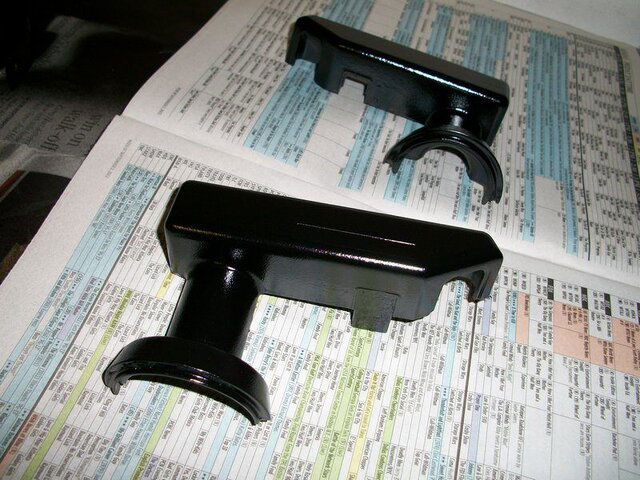
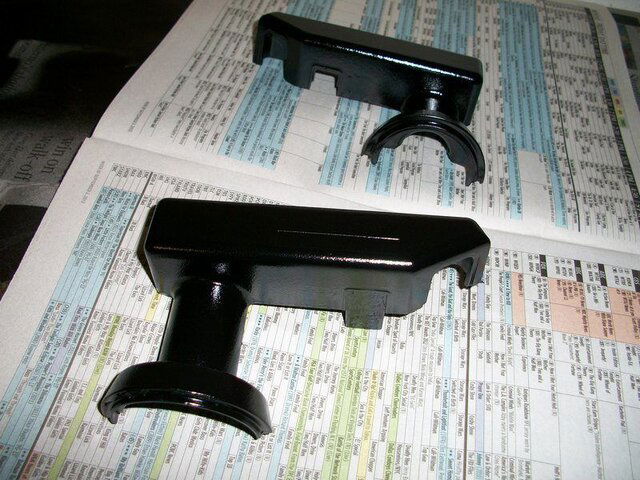
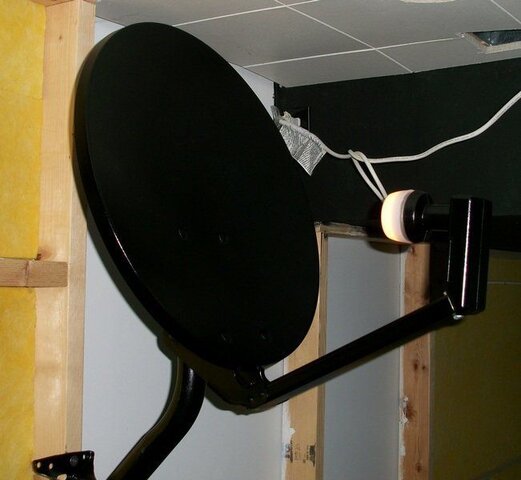
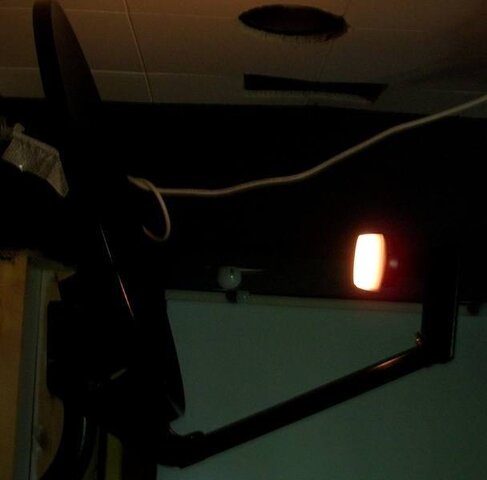
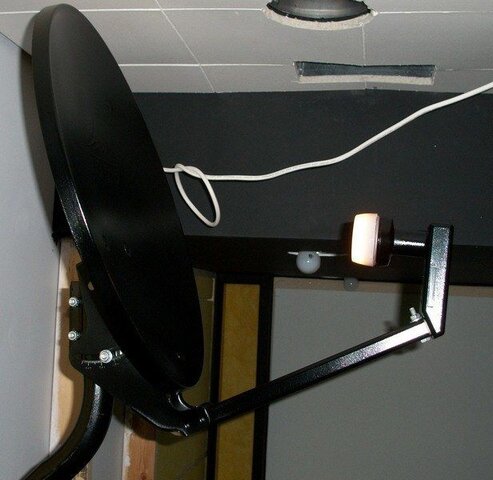
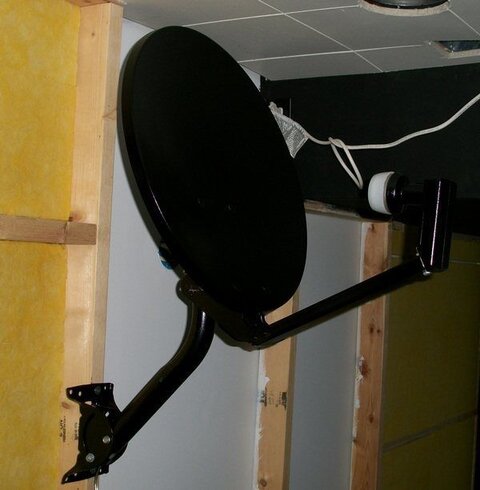
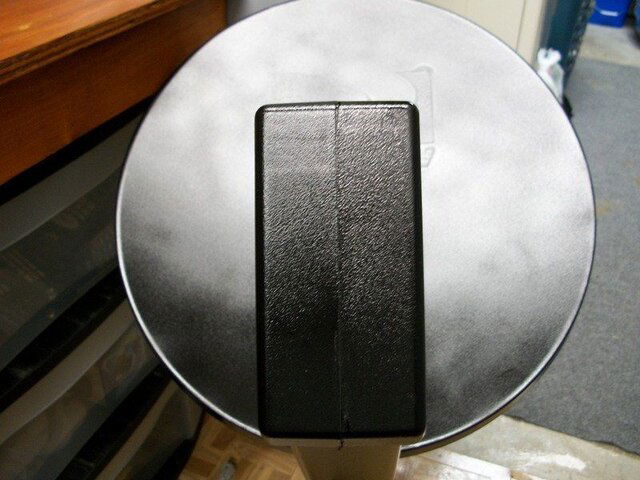
This weekend I'll be working on a project that I have been wanting to work on now for over 5 years and that is turning 2 Directv dishes in wall sconces for our home theater.
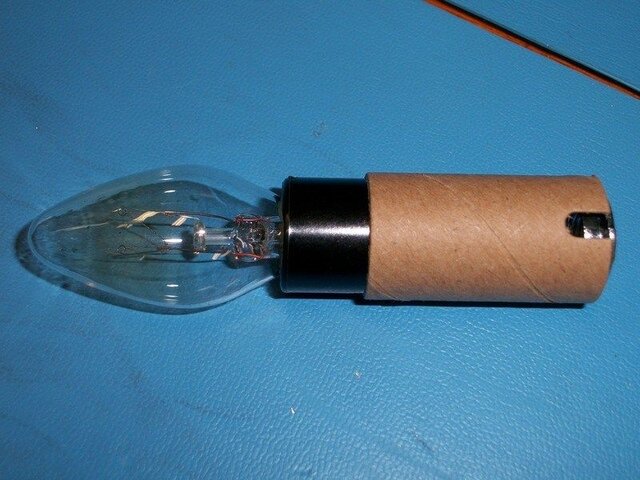
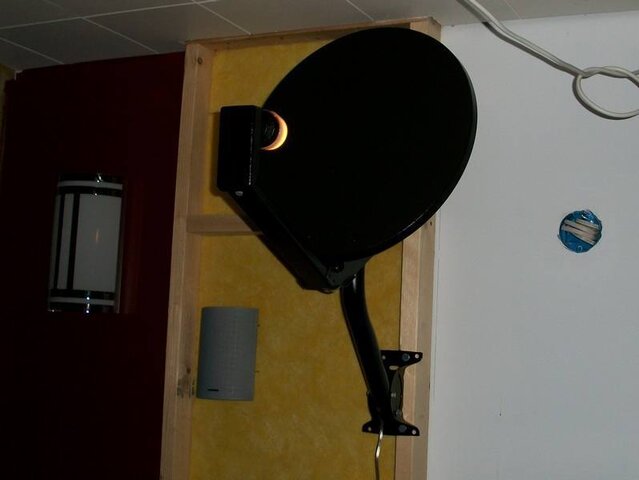
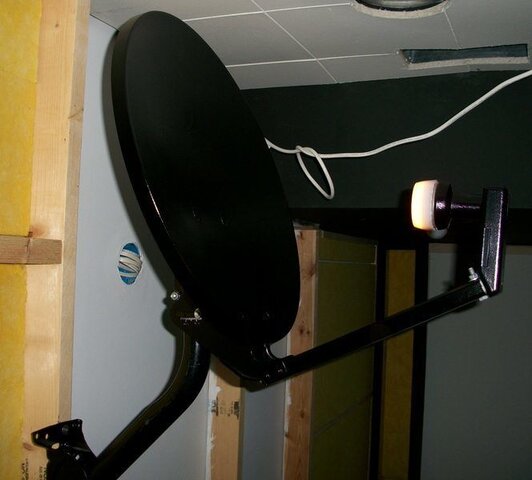
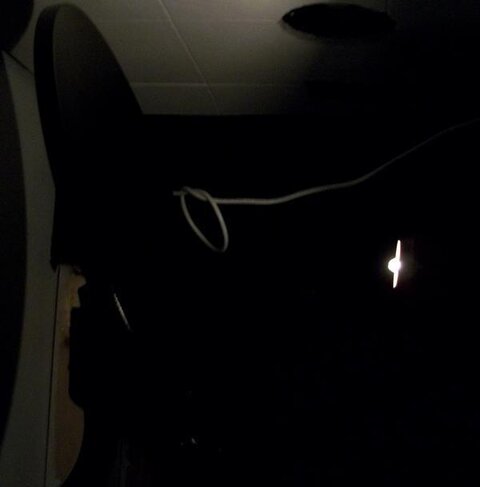
I plan on painting the dishes black as well as the LNBs and then running lamp cord up the LNB arm and placing a 10w candelabra bulb and socket into the LNB housing. The light will then reflect into the dish illuminating the area.
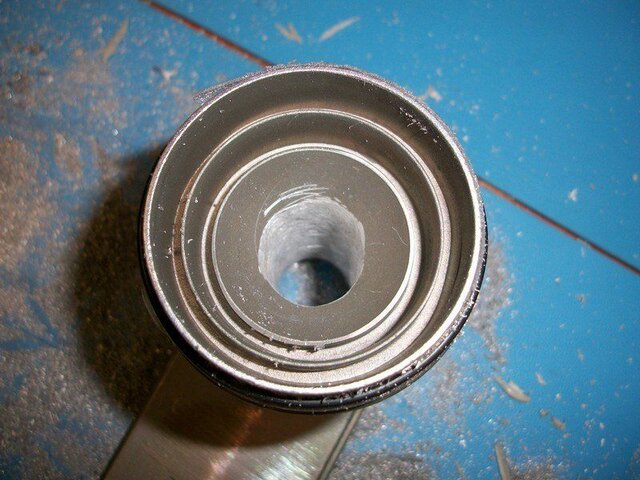
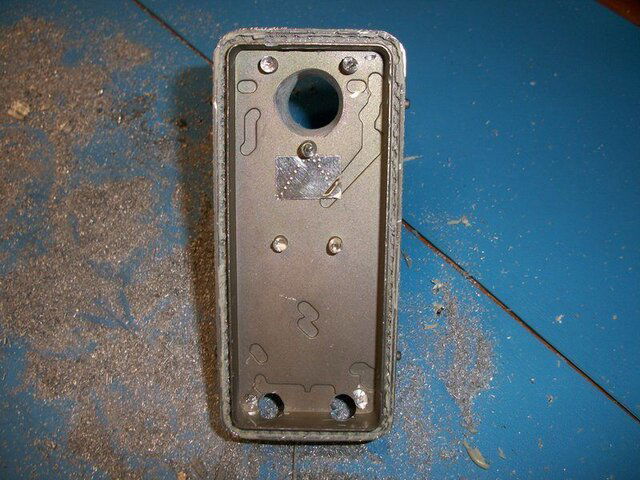
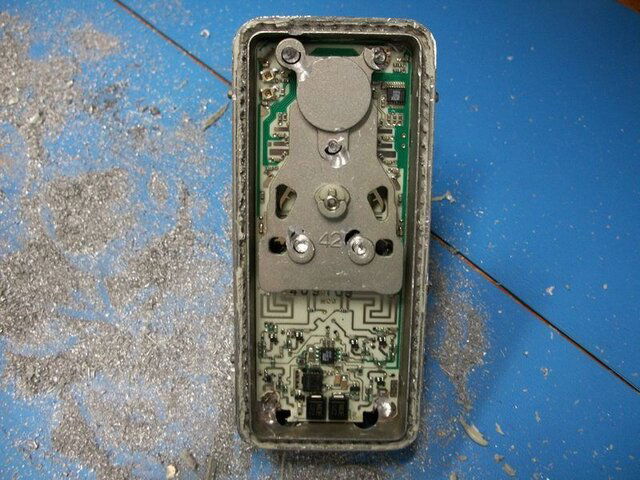
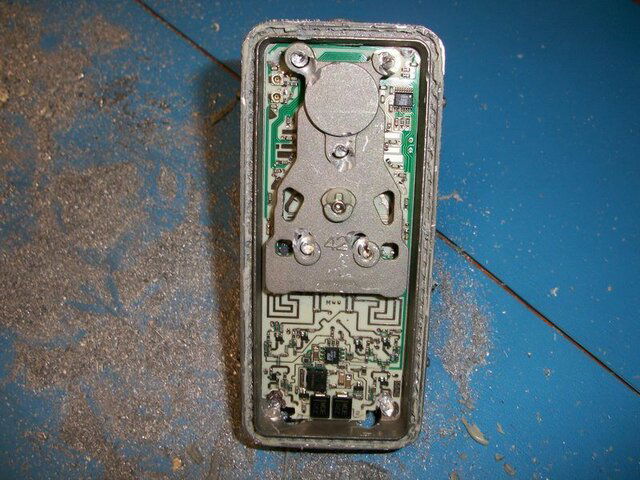
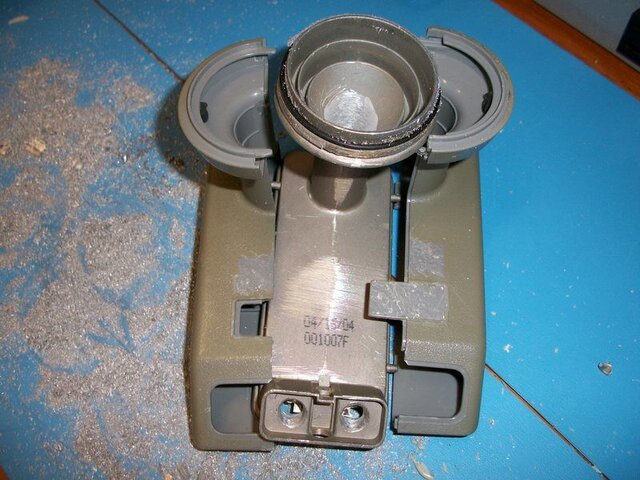
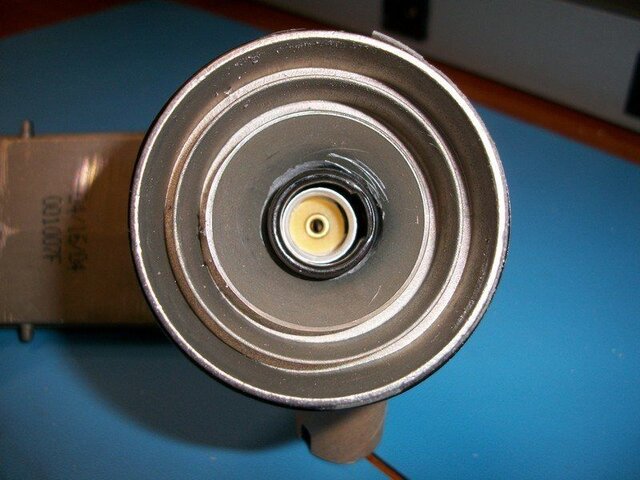
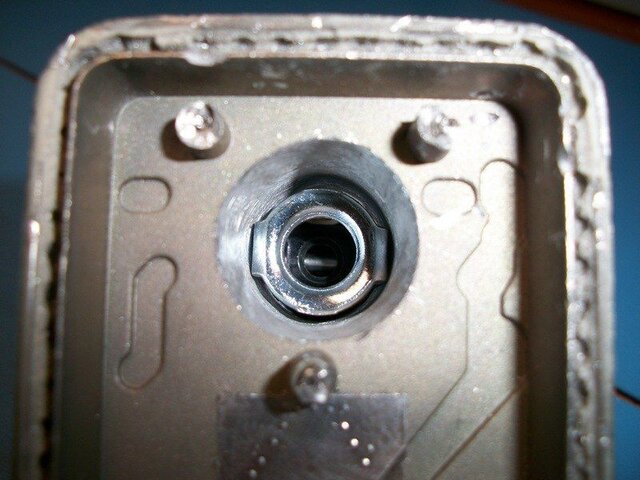
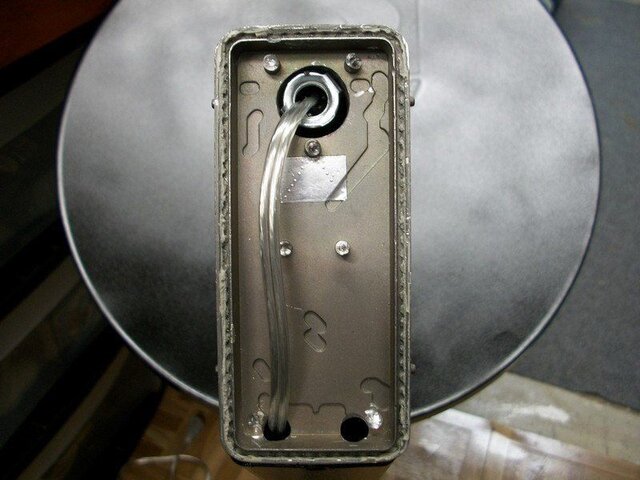
Tonight I purchased the sockets, bulbs, lamp cords and black spray paint. I also removed the housings from each of the LNBs and removed the back metal cover plates. Tomorrow I'm going to remove the circuit board and "F" connectors and install the bulb and socket which fit perfectly and get the dishes painted. I'm going to take many pictures and will post this weekend.
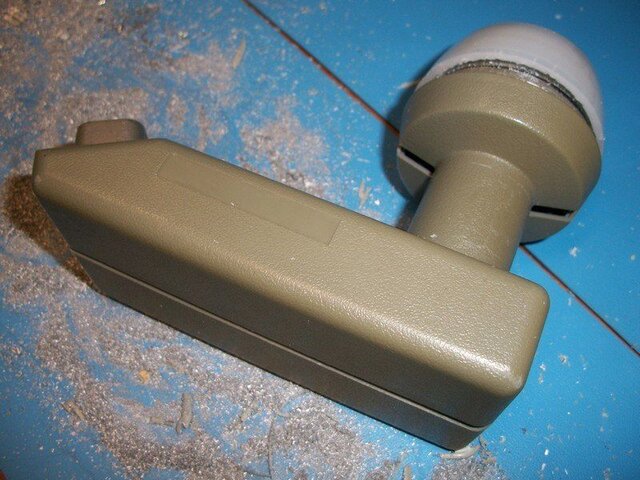
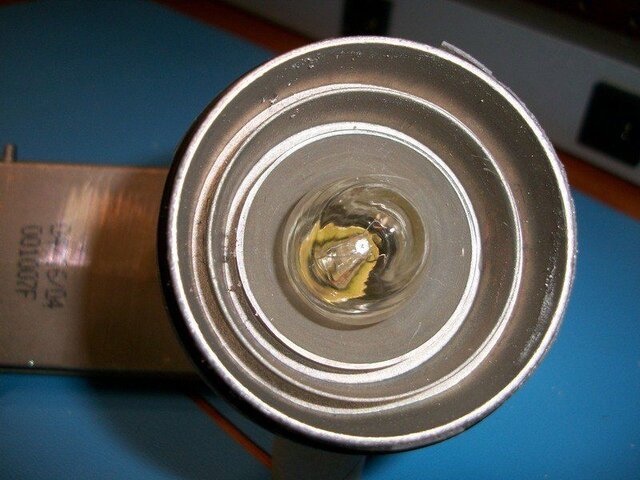
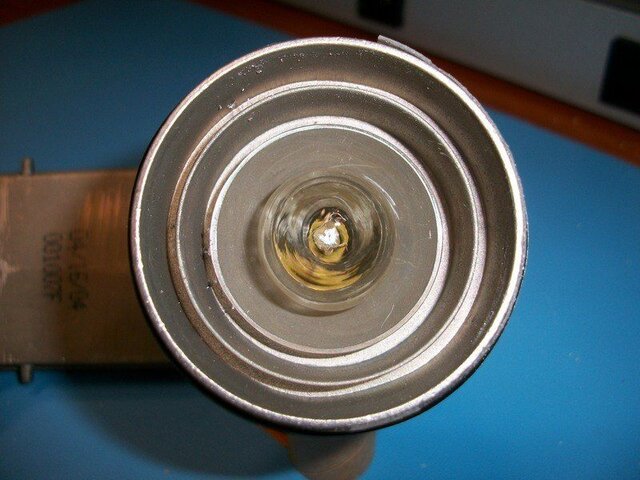
My only problem is how does the plastic LNB cover get removed? I've tried turning and pushing with no success. I didn't want to pry with a screwdriver in fear of damaging the cover. Once the LNB housing is painted and the socket and bulb installed the cover will be put back into place.
I plan on painting the dishes black as well as the LNBs and then running lamp cord up the LNB arm and placing a 10w candelabra bulb and socket into the LNB housing. The light will then reflect into the dish illuminating the area.
Tonight I purchased the sockets, bulbs, lamp cords and black spray paint. I also removed the housings from each of the LNBs and removed the back metal cover plates. Tomorrow I'm going to remove the circuit board and "F" connectors and install the bulb and socket which fit perfectly and get the dishes painted. I'm going to take many pictures and will post this weekend.
My only problem is how does the plastic LNB cover get removed? I've tried turning and pushing with no success. I didn't want to pry with a screwdriver in fear of damaging the cover. Once the LNB housing is painted and the socket and bulb installed the cover will be put back into place.
")