
Is that a FLAT roof? If it is there's no way I'd rent a boom truck. I'd get a couple hands, take the dish off the pole, lay it on the roof, remove just enough bolts to break it in two pieces, and lower the two halves down with a couple ropes with a man on each rope. I broke mine in half in 20 minutes after I got it on the ground, with just a ratchet and open-end wrench, and some pliers.
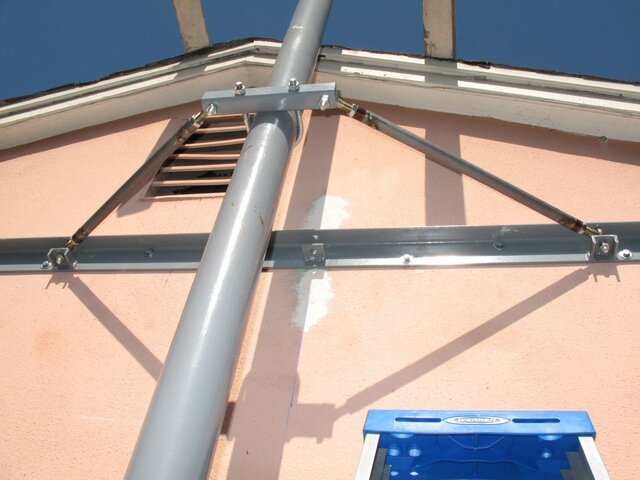
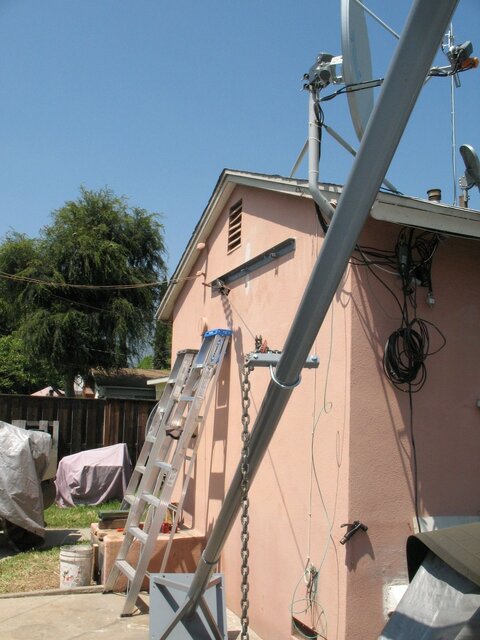
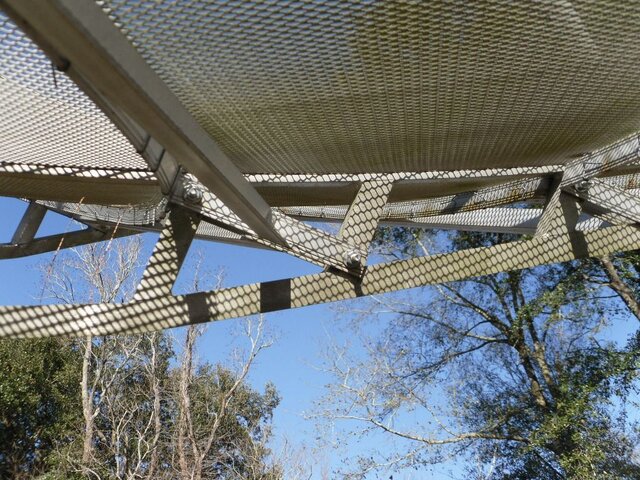
Yes it is a relatively flat roof-just a little crown to it with parapet walls.
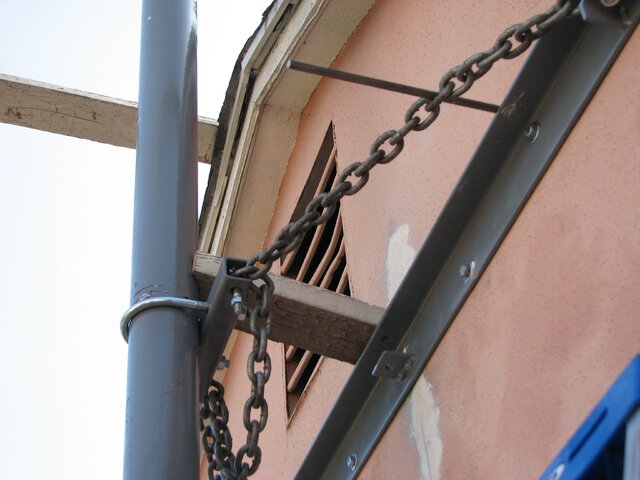
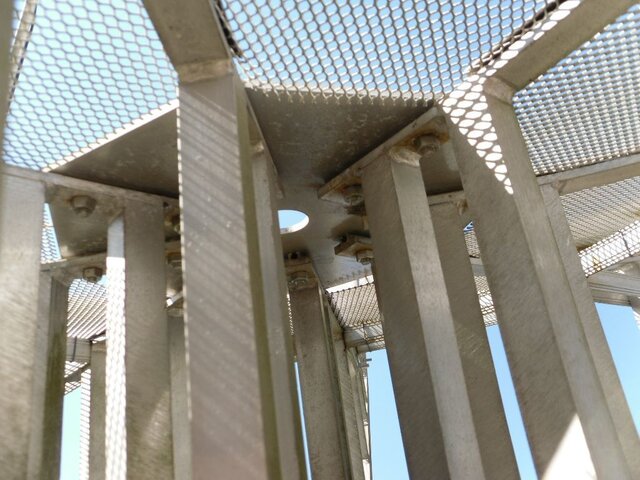
I didn't want to show too much of the building because some scrap metal guy might take advantage of the pics to locate the dish. The property owner did assure me that I would have first claim on this dish but then again some 'salvage' guys saw the feet off the bronze statues in the parks to steal metal around here.:rant:

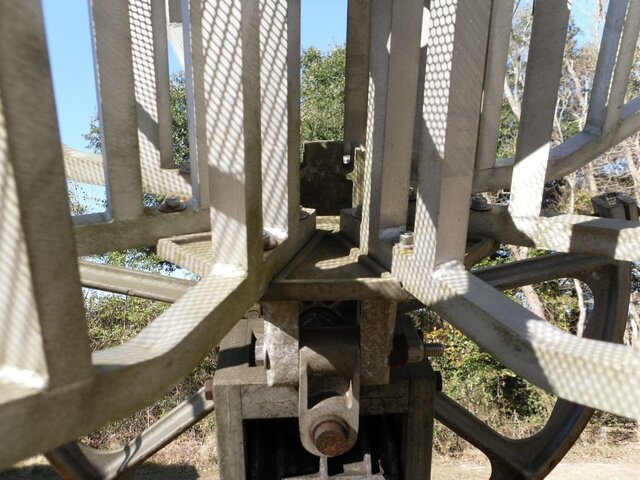
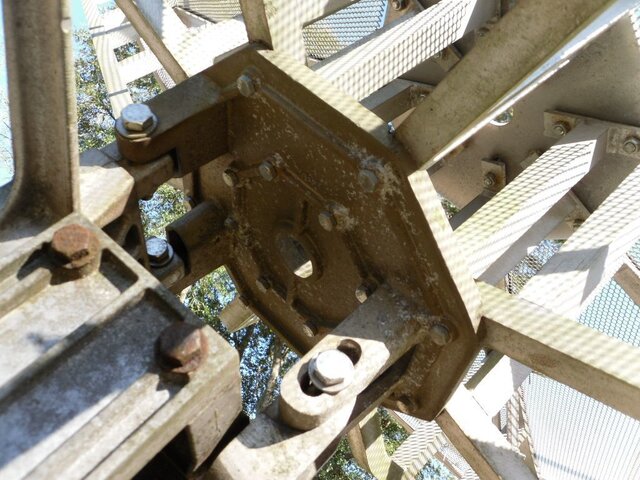
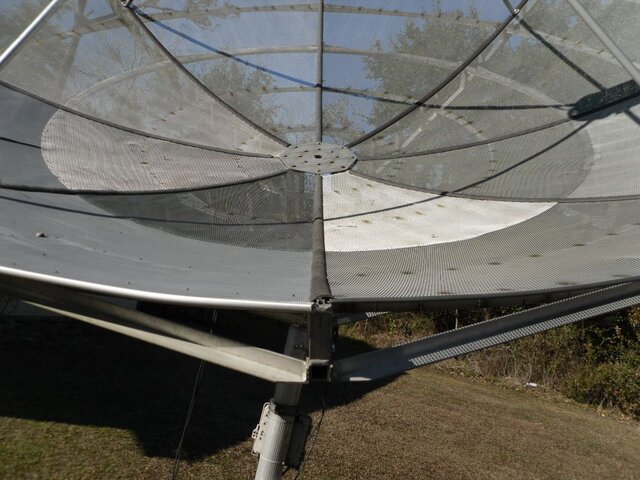
So how did you break the dish down in halves?
One half of the frames attached to the inner center plate & the others attached to the outer plate?
Last edited:
")

")
