Tek2000 10' Mesh Dish Install & Initial Review

Arion

SatelliteGuys Pro
Original poster
Jul 23, 2005
500
225
Hi all;

I'm pretty much a total C-Band noob although I've installed a number of motorized KU band dishes and experimented with a 'mini' bud with a C-Band LNB on a 1.2 meter dish. I've had the hankering for many years to get into a real C-Band dish and I wanted new and at a decent price point so of course that limited the choices. After reading threads here, at Rick's and other forums I decided to purchase from Tek and this thread will be the ongoing saga of a 'noob' and what happens. I'll do an overall review at the end and the purpose of the thread is to also ask questions along the way to solicit help from the local experts and perhaps this will benefit someone else down the line.

To begin with I ordered one of Tek's complete 10' mesh kits which includes;

  • 300cm (10ft) Mesh Dish
  • C/Ku Combo LNBF (Pro Broadband)
  • 36-inch QARL Heavy-Duty Actuator (2-inch Tube) with weather boot
  • SuperJack DiseqC1.2 Positioner
  • Openbox Z5 HD PVR Receiver
  • Digital Inclinometer
In addition I ordered a mounting pole as well as 200' of 18-4 actuator cable. No, I'm not using the whole 200' of cable for one run. I stay in my 5th wheel RV in the summer so that is one run of about 75' and the other one is to my cabin and that is about 50'.

The total including shipping was about $1350 and you can imagine that shipping ate up a good chunk of that. The pole was $150 and the shipping was about that much as well. I looked around locally to see if I could get that size pipe and I couldn't.

I paid with Paypal and that was seamless and I received everything undamaged within the shipping times referenced on Tek's webpage. I had a bit of a problem getting a box through customs and had to answer some questions before it would pass thru and they asked some dumb questions but I digress. In addition I've been in email contact with Tek on a few questions and he has always responded back within 24 hours.

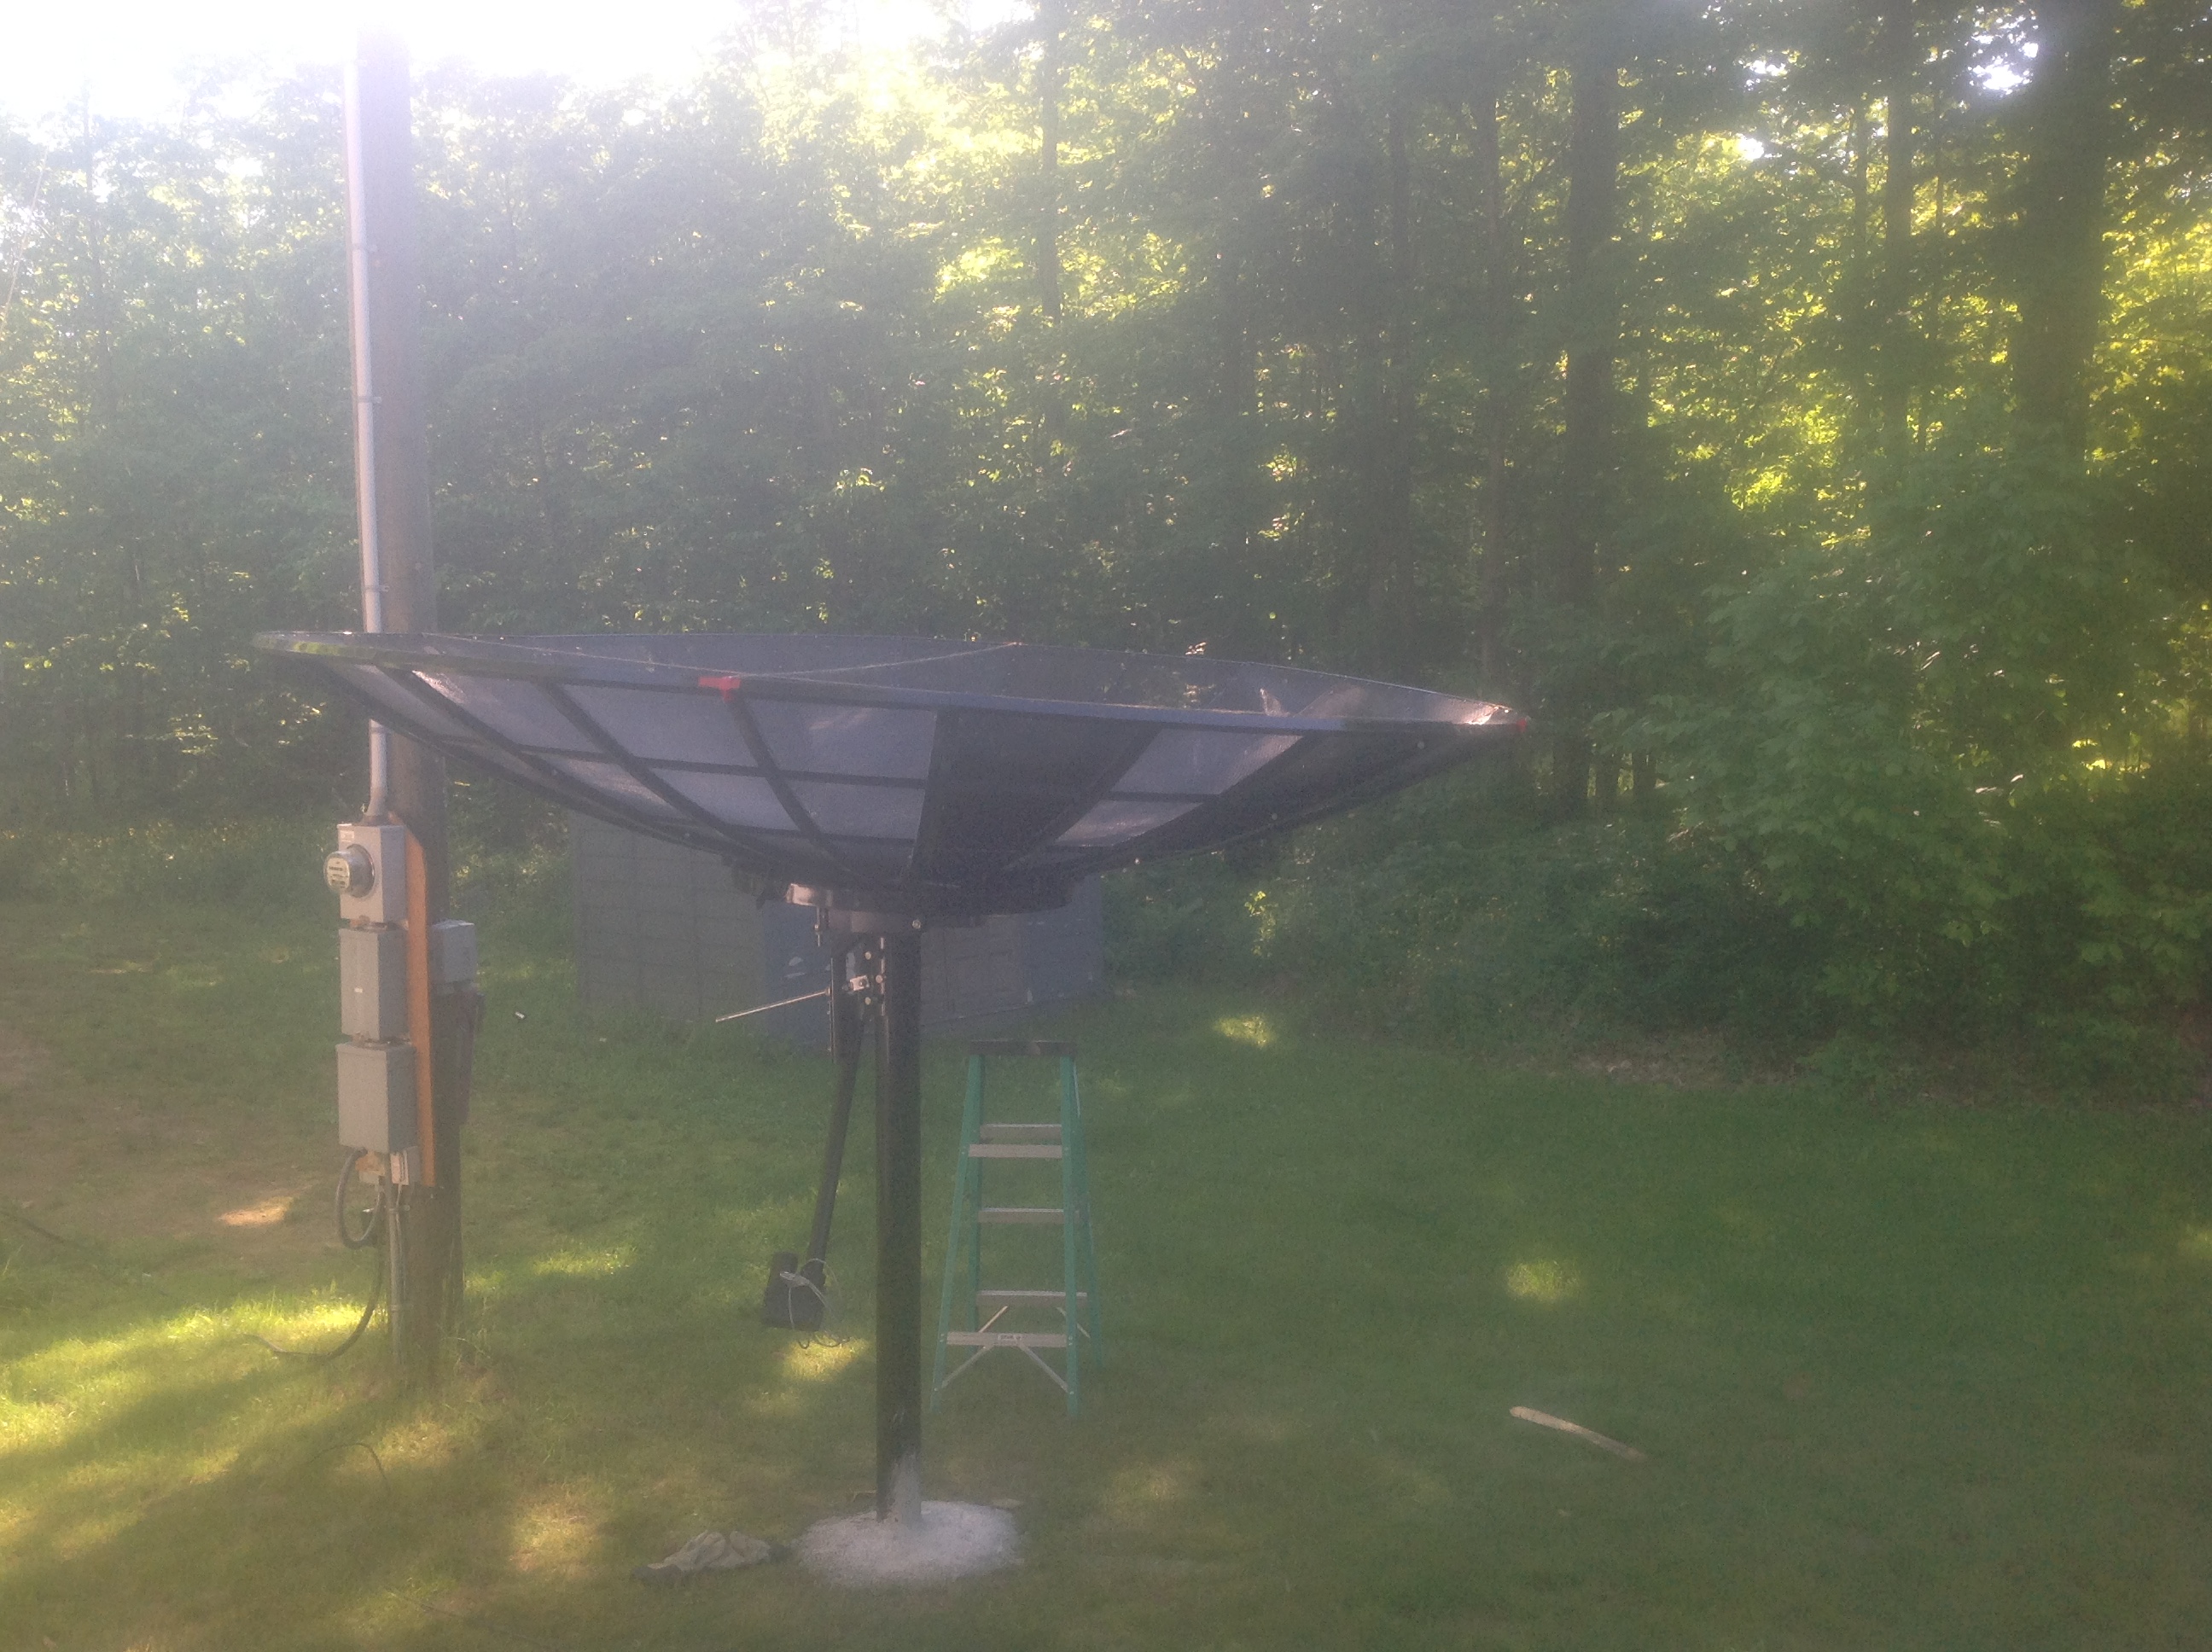
The dish came in two boxes and when shipped they used the boxes that it came in from China but then used additional boxes on everything including styro peanuts and bubble wrap and copious amounts of tape. Very well shipped and protected. They even boxed the pole and covered that with bubble wrap as well. Appears to be only schedule 40 pipe so that it a 'bit' of a concern but it's rare to get wind gusts about 30mph. I installed the pole yesterday and used #500 of cement with an additional #50 down the pole to reinforce it on the inside. A big round bubble level was included with the pole so that was a nice touch.

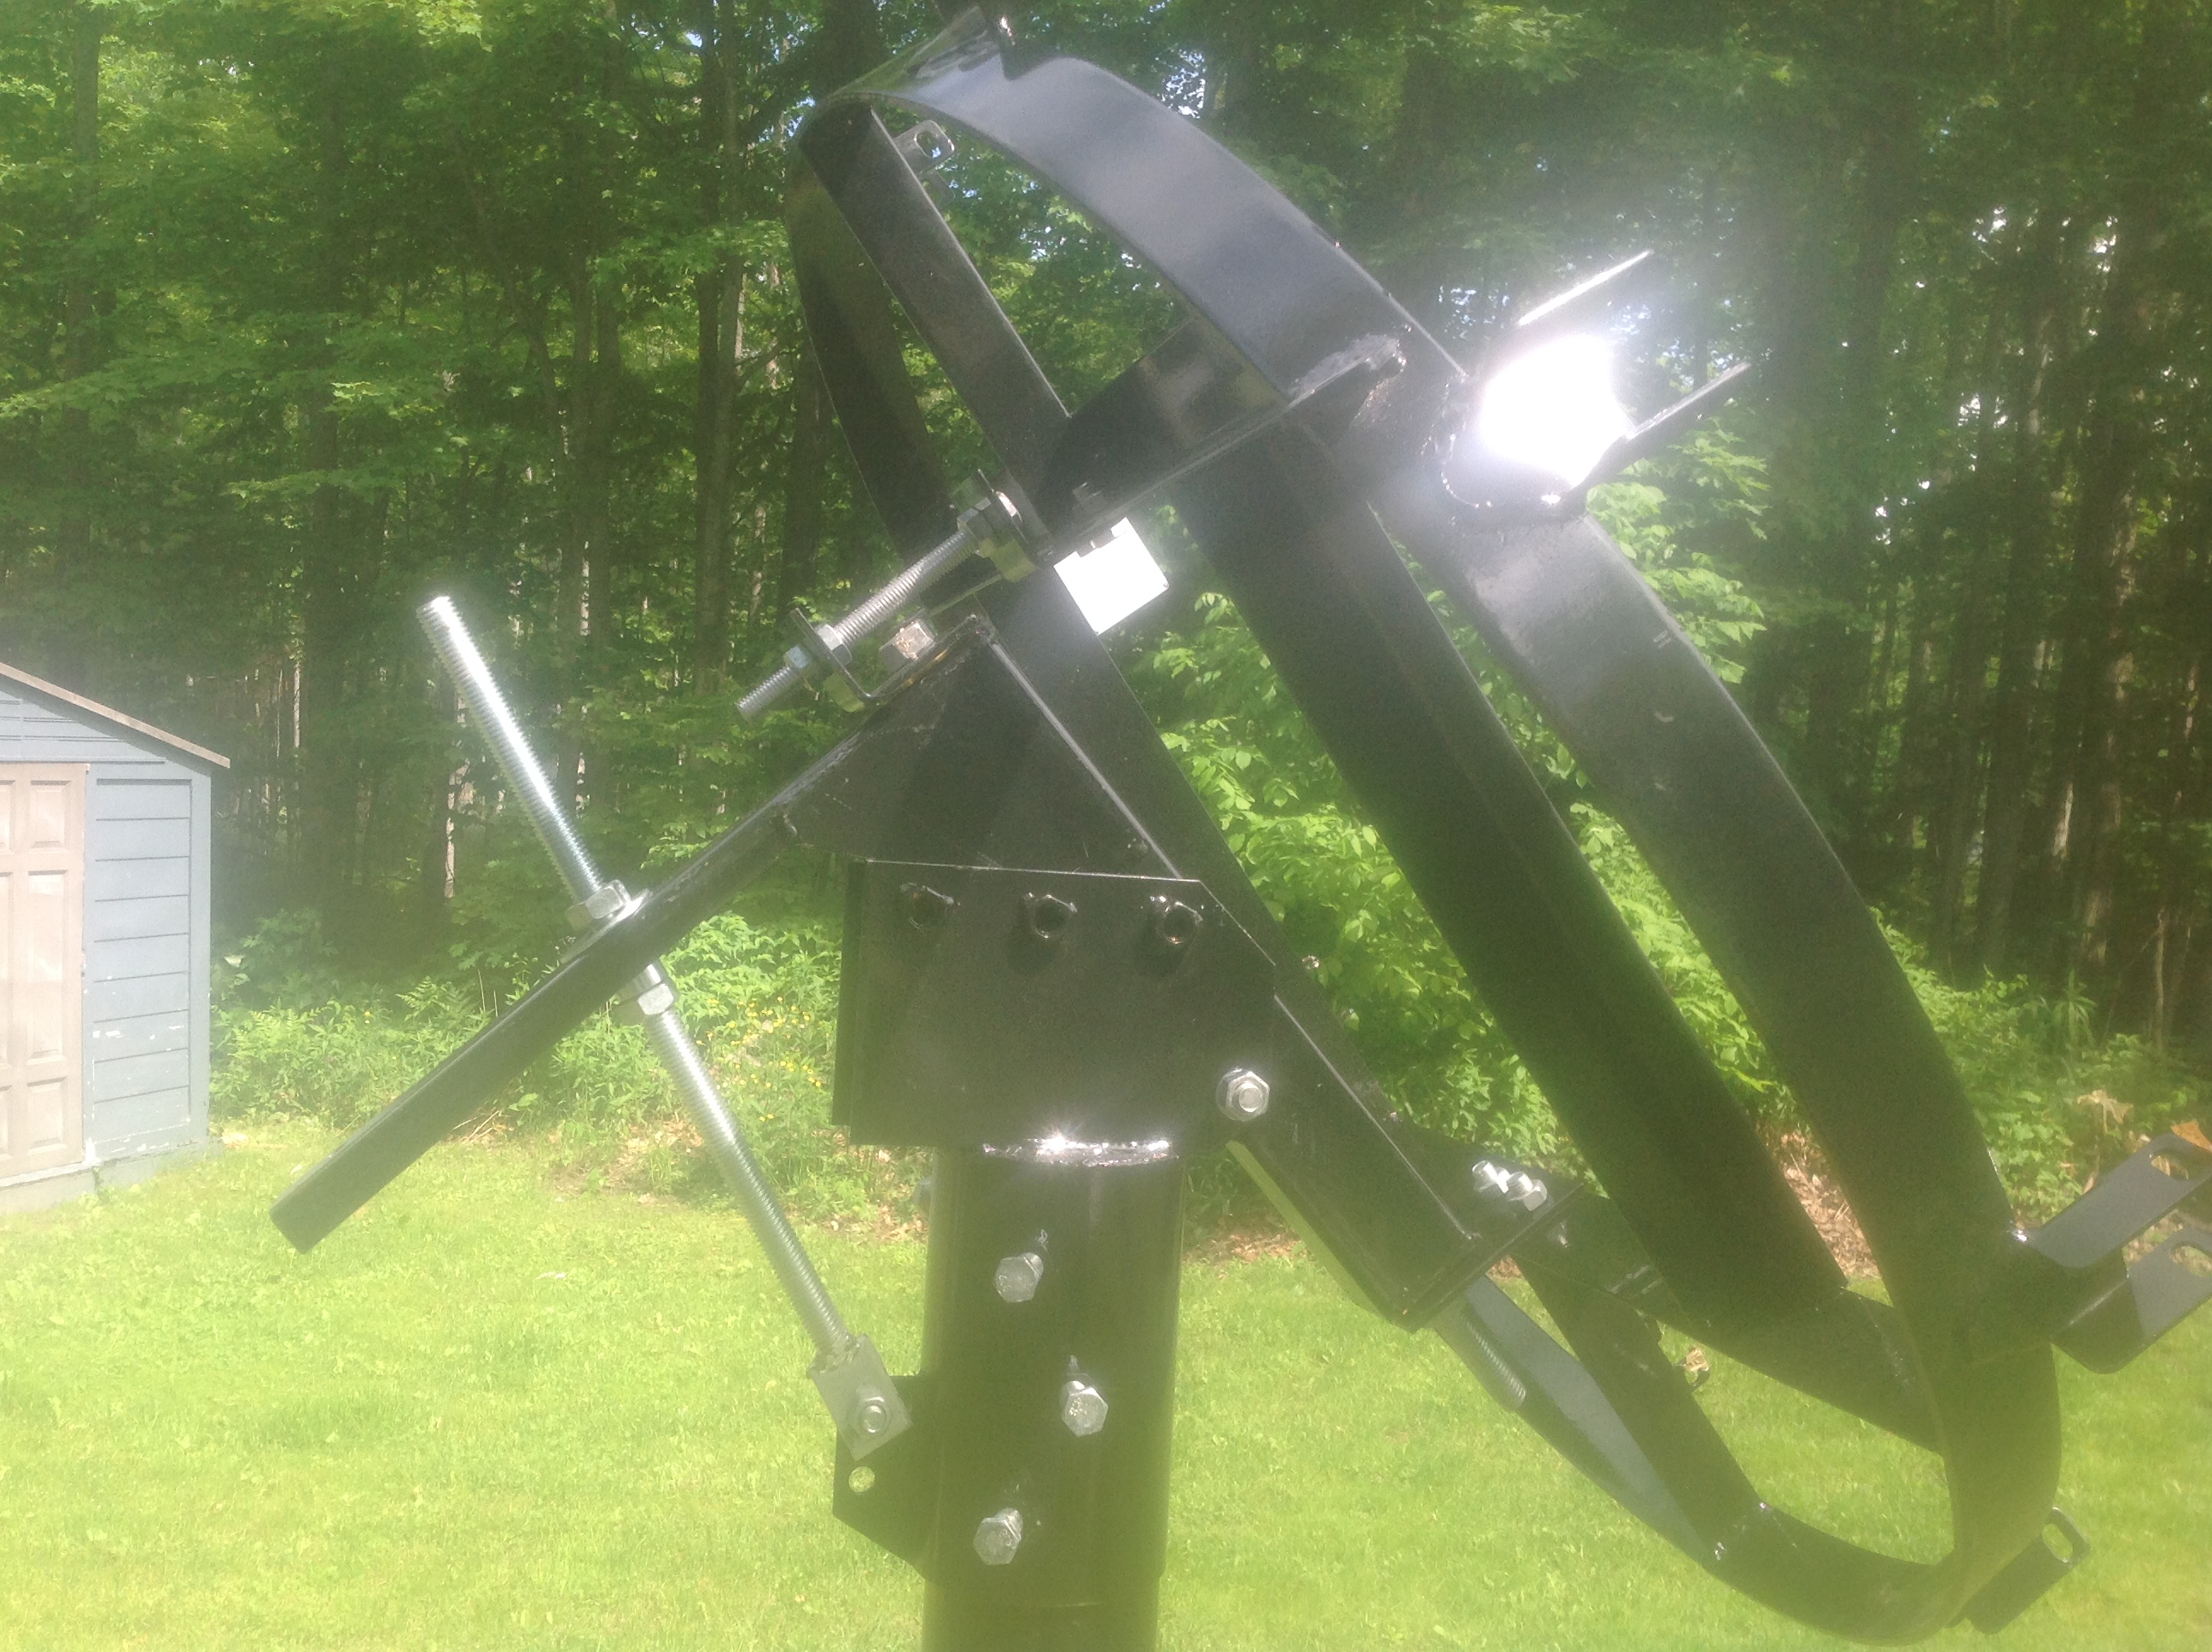
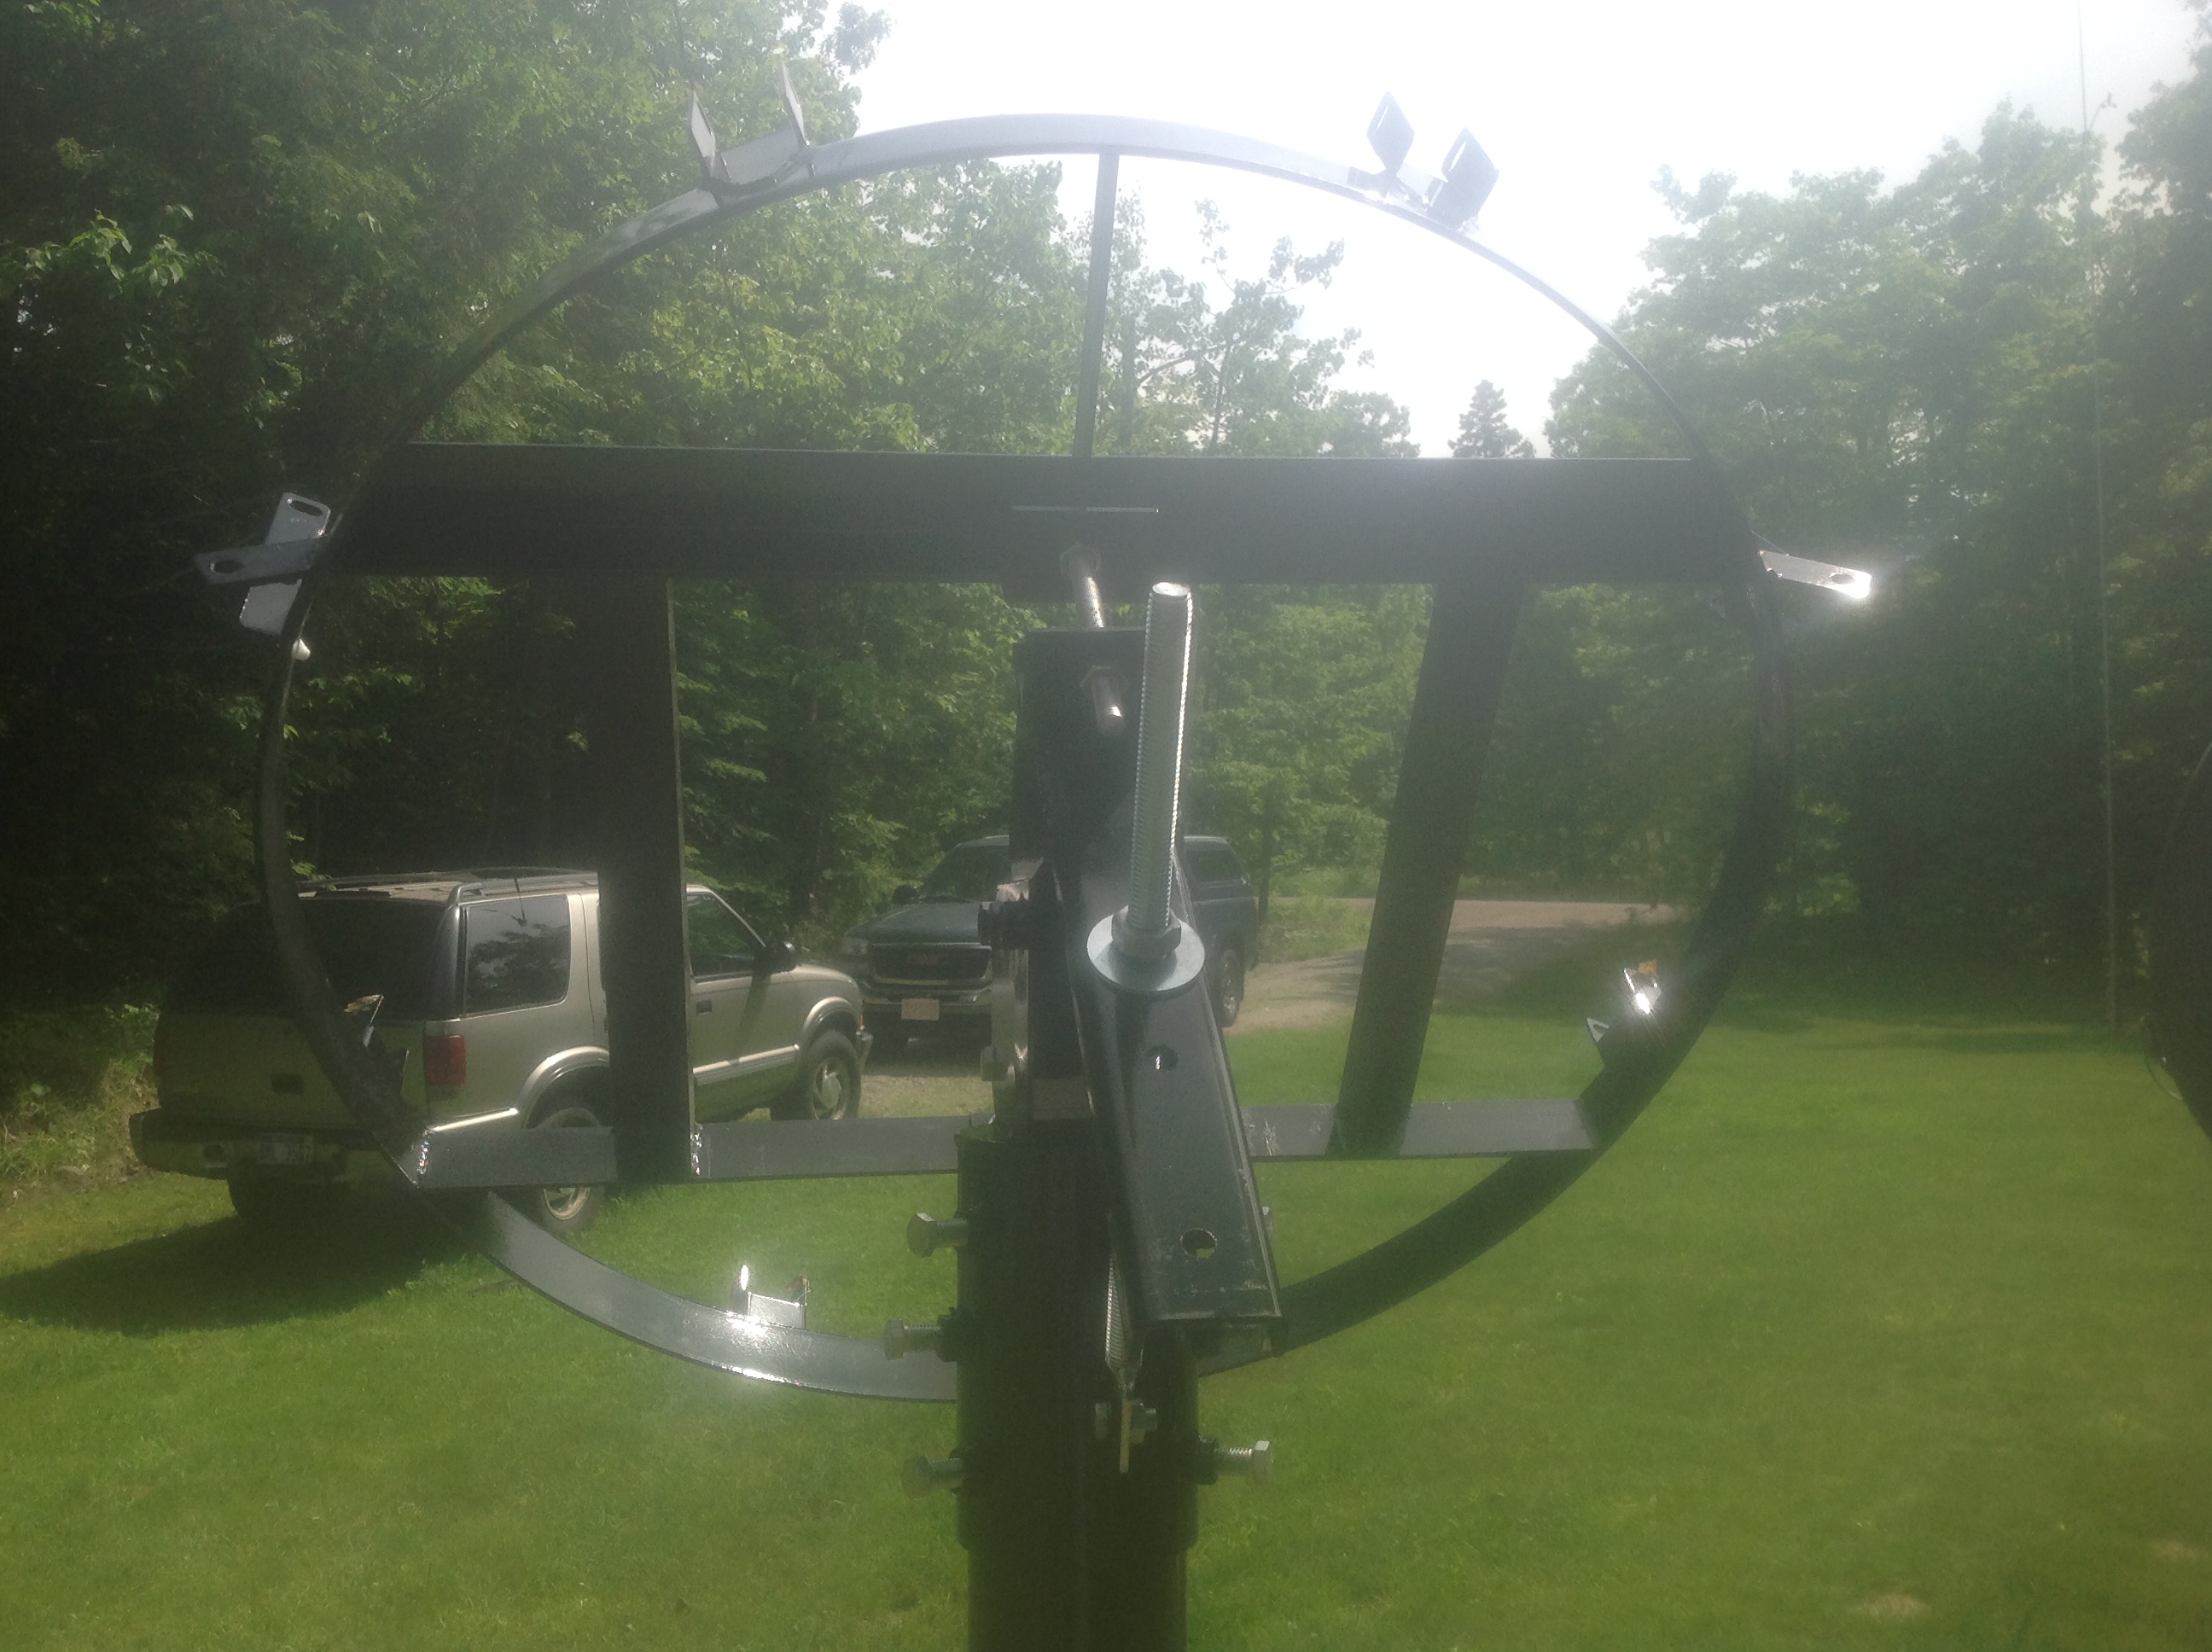
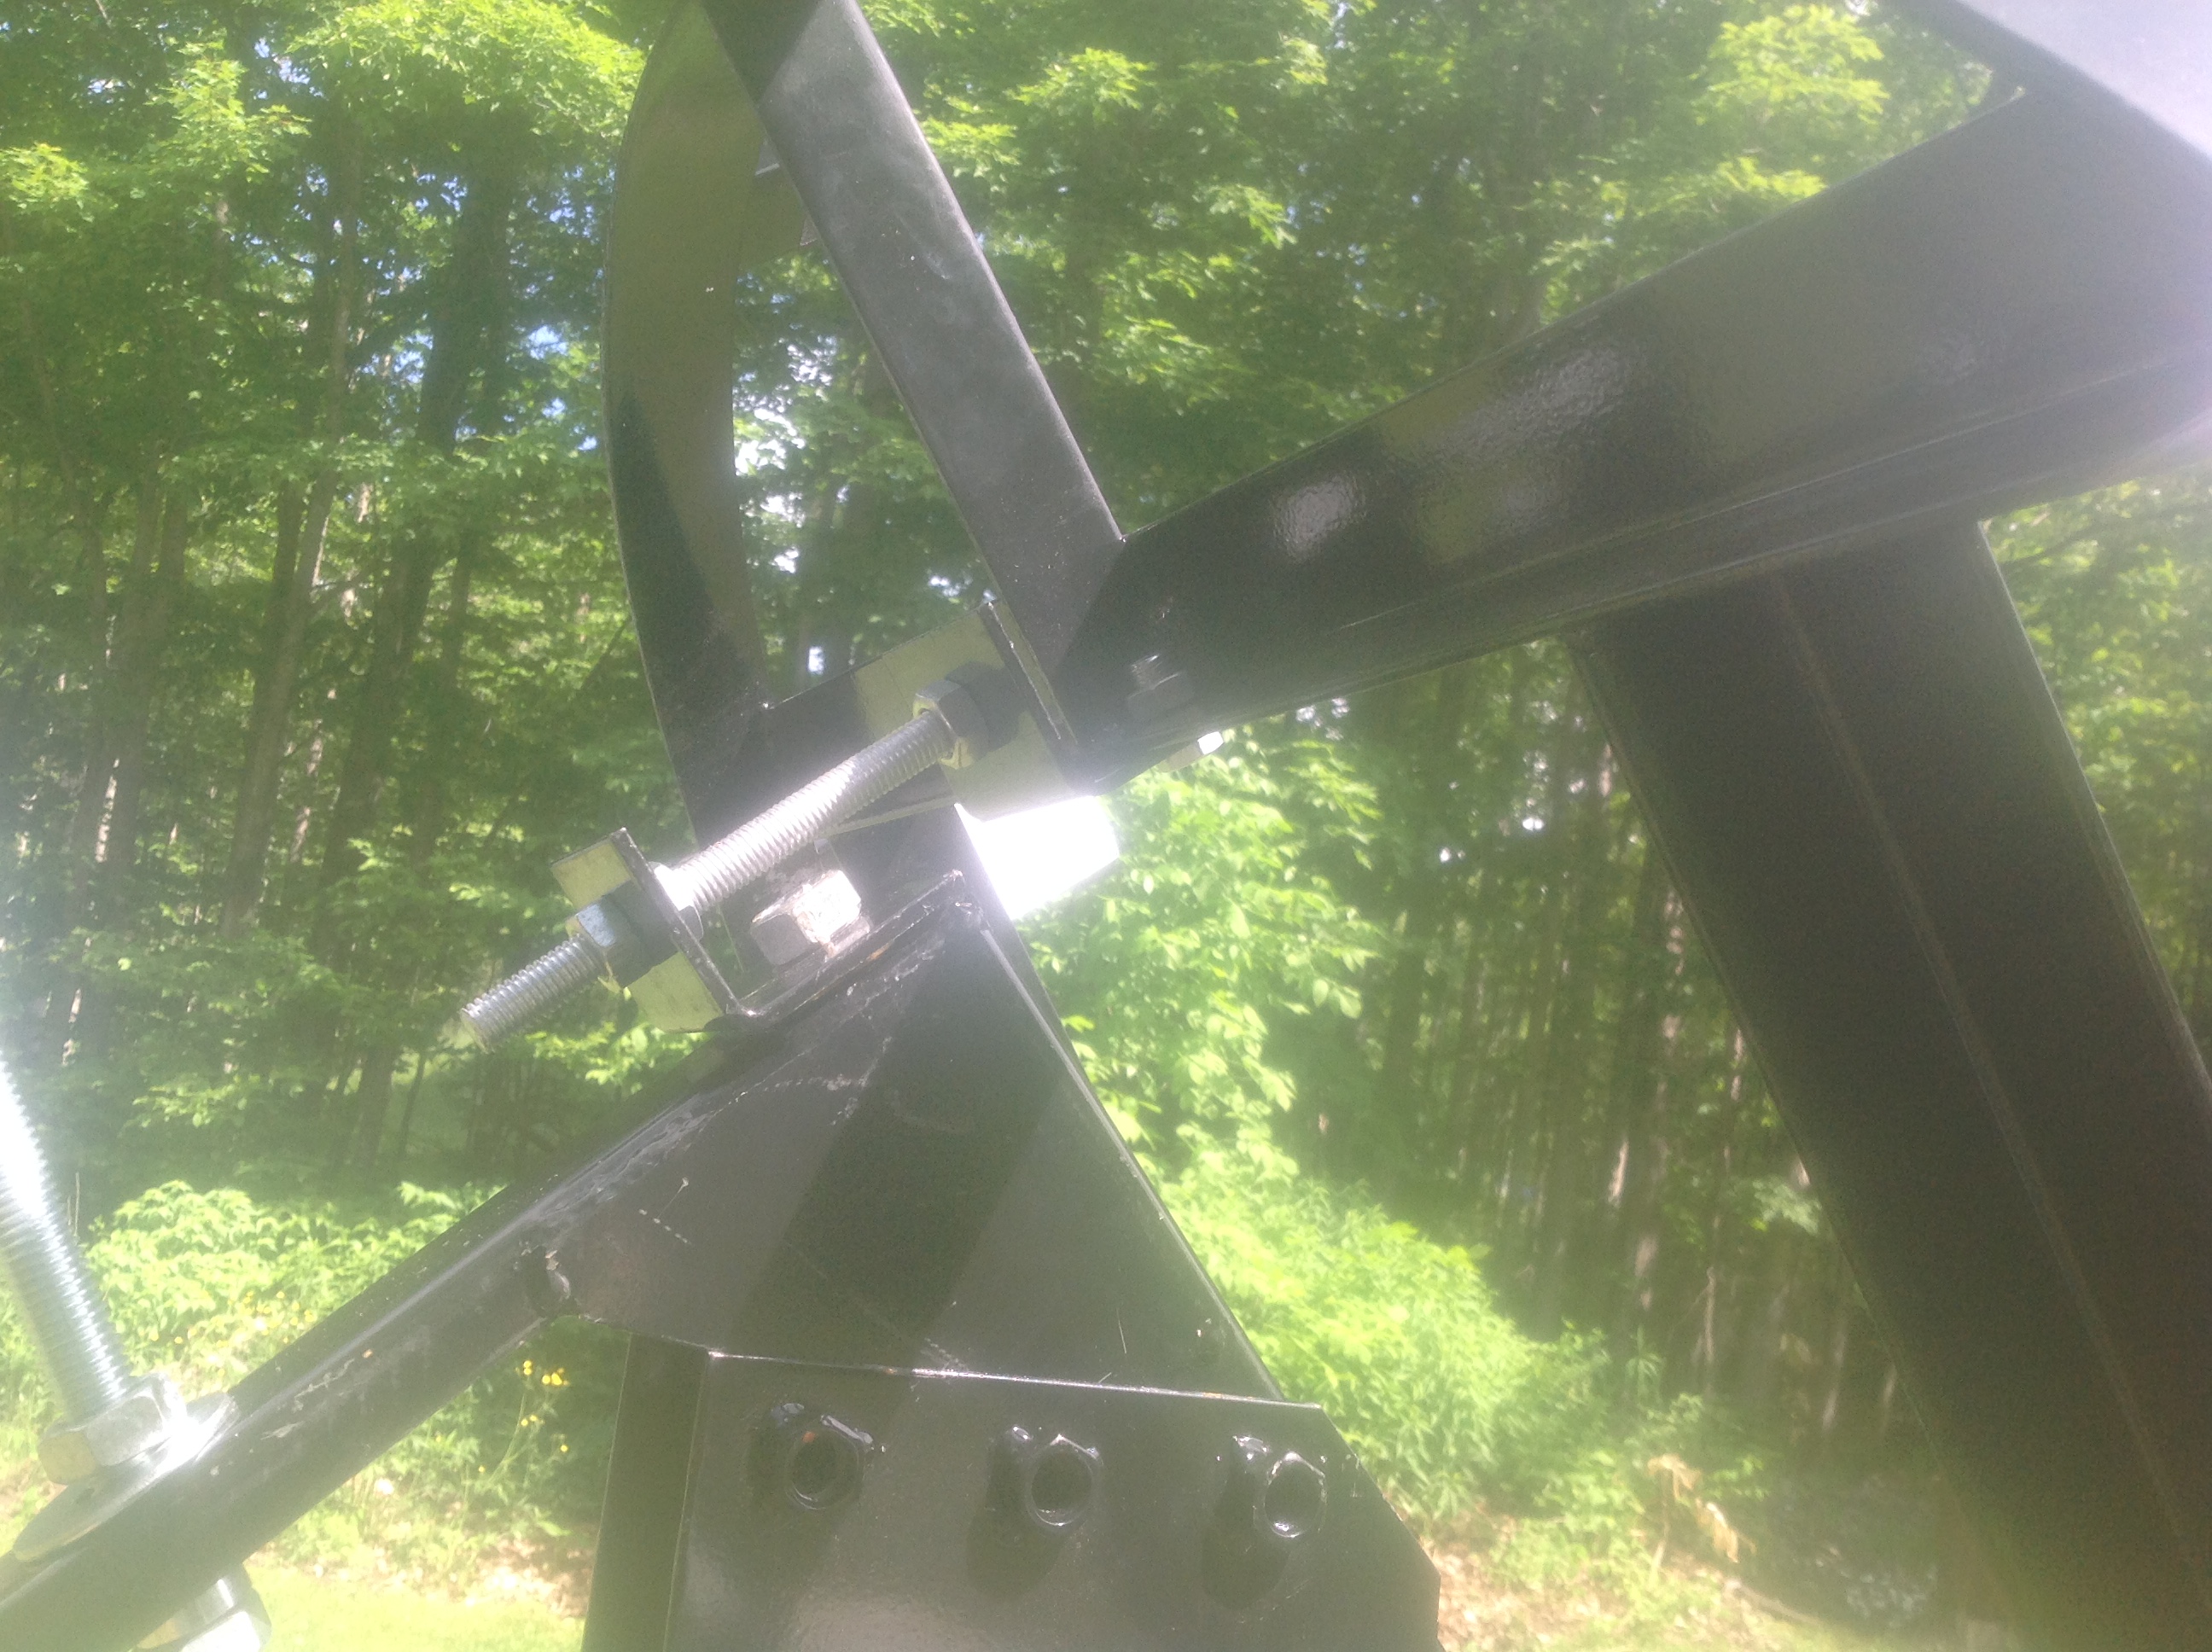
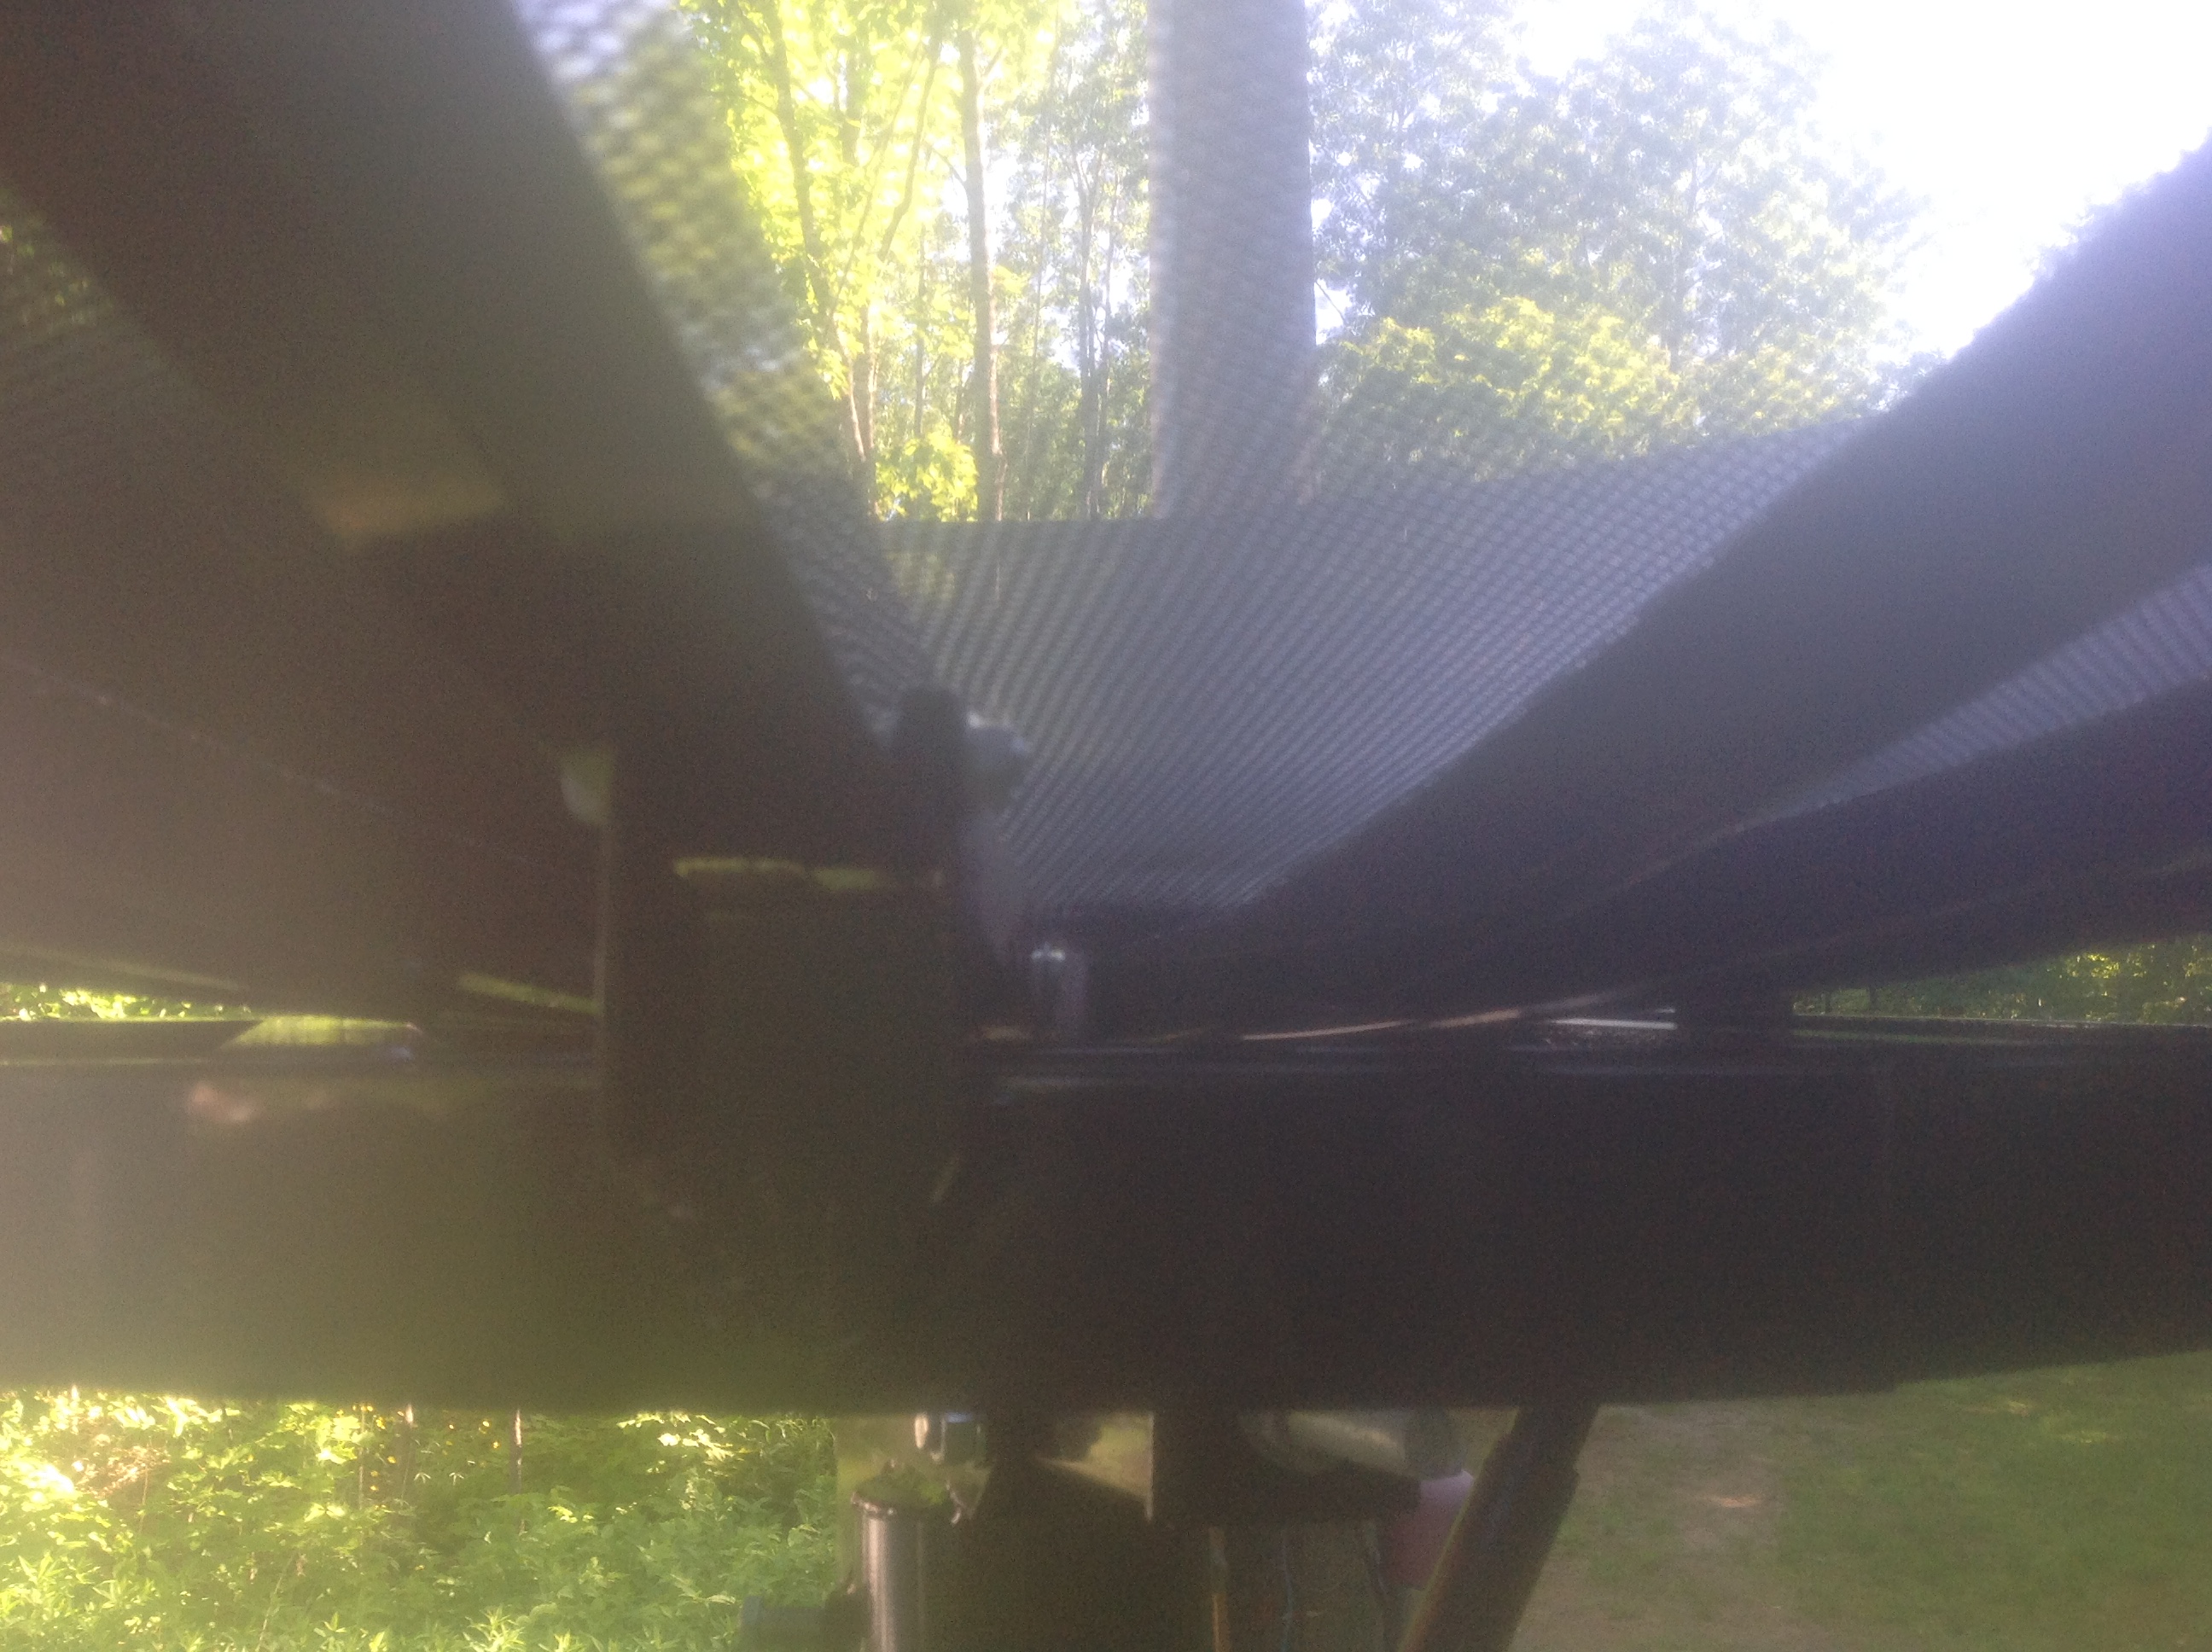
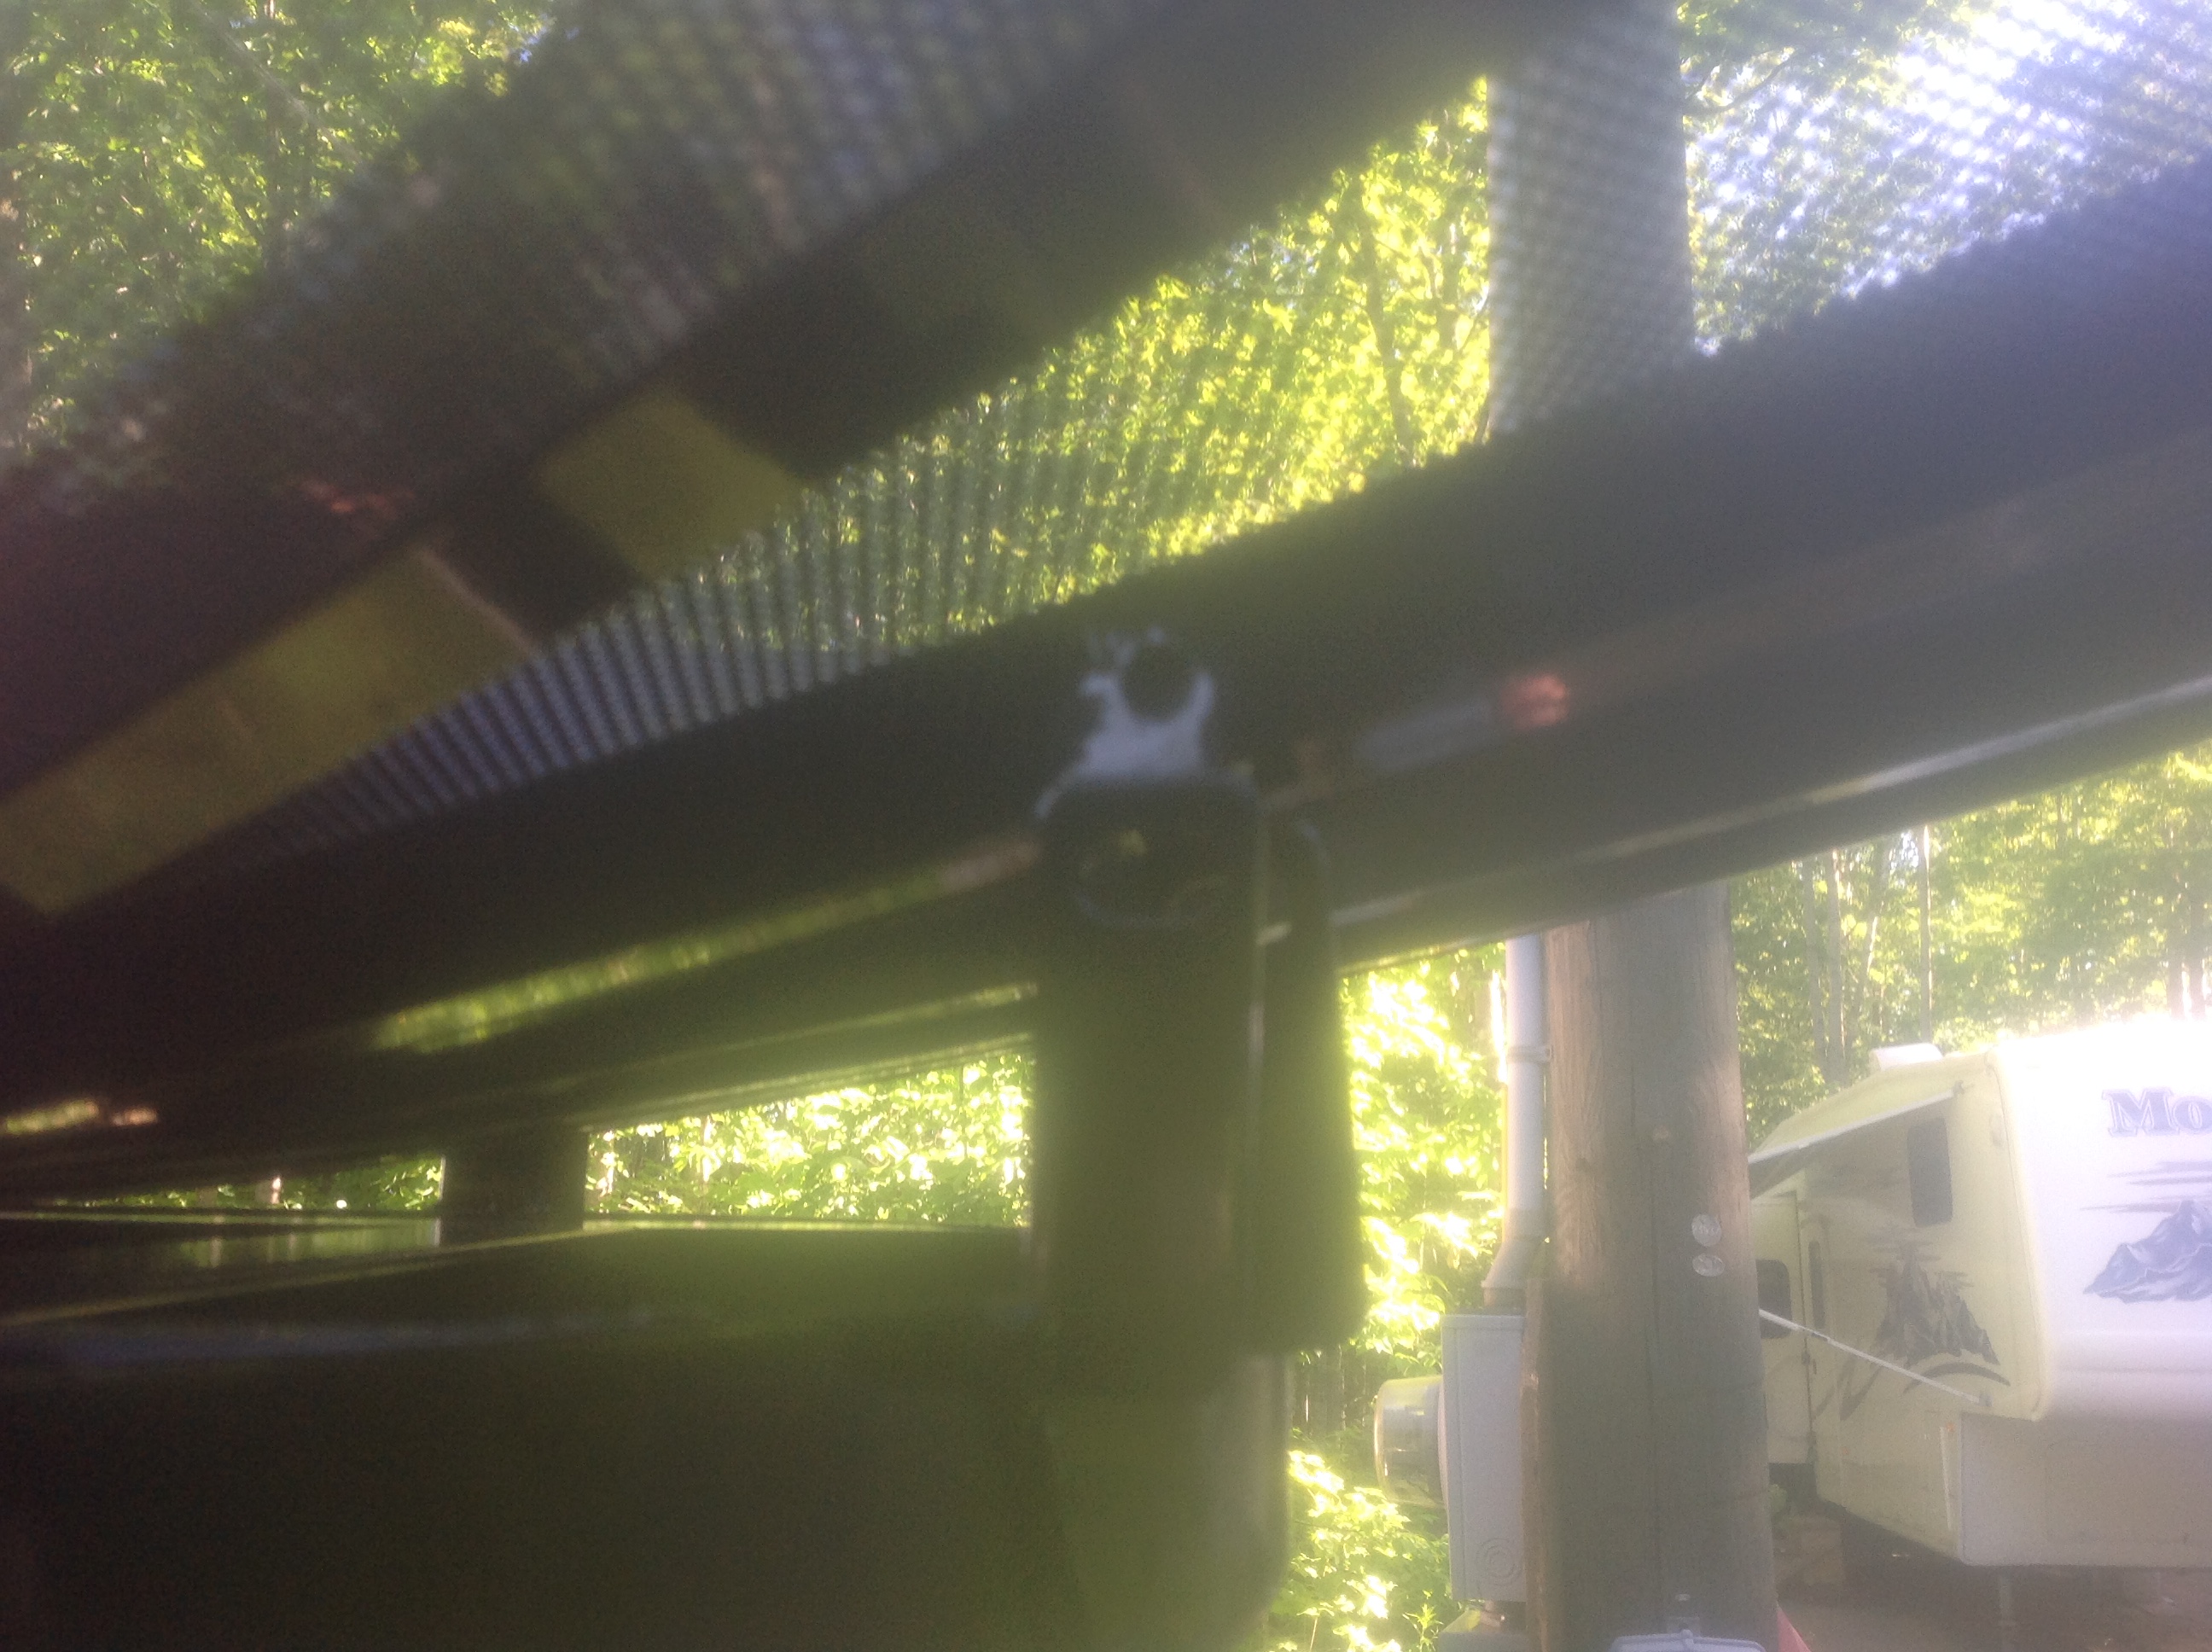
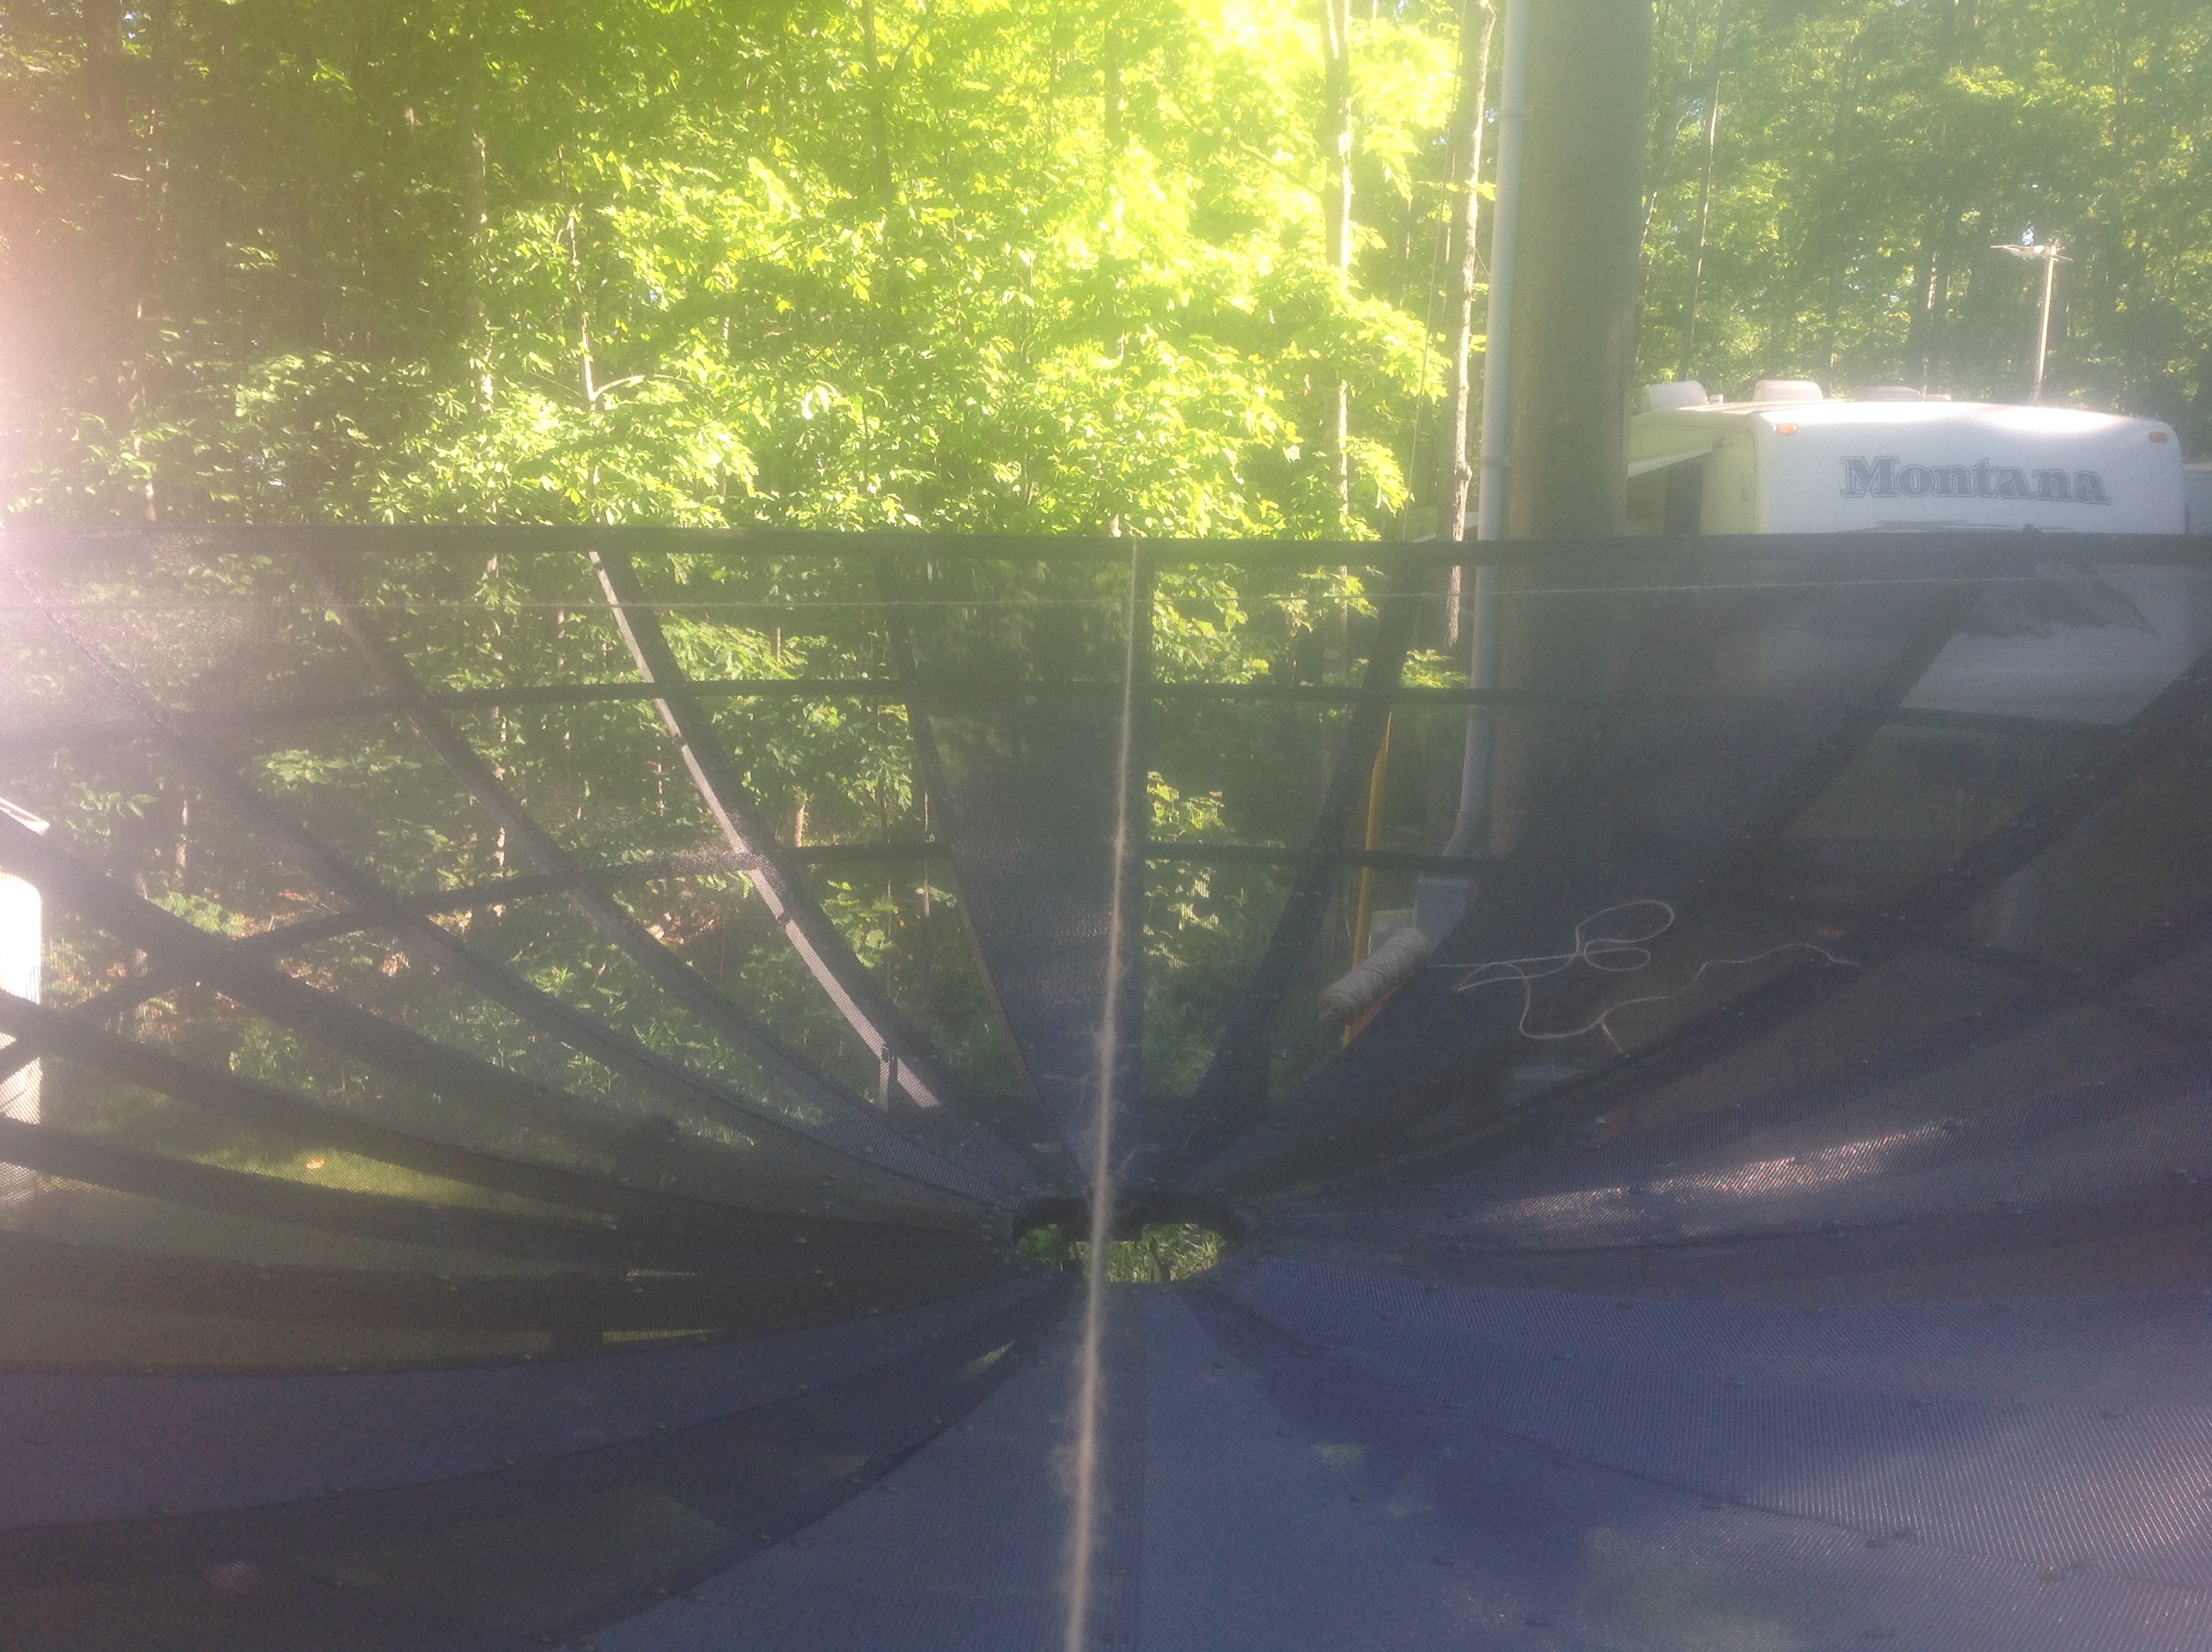
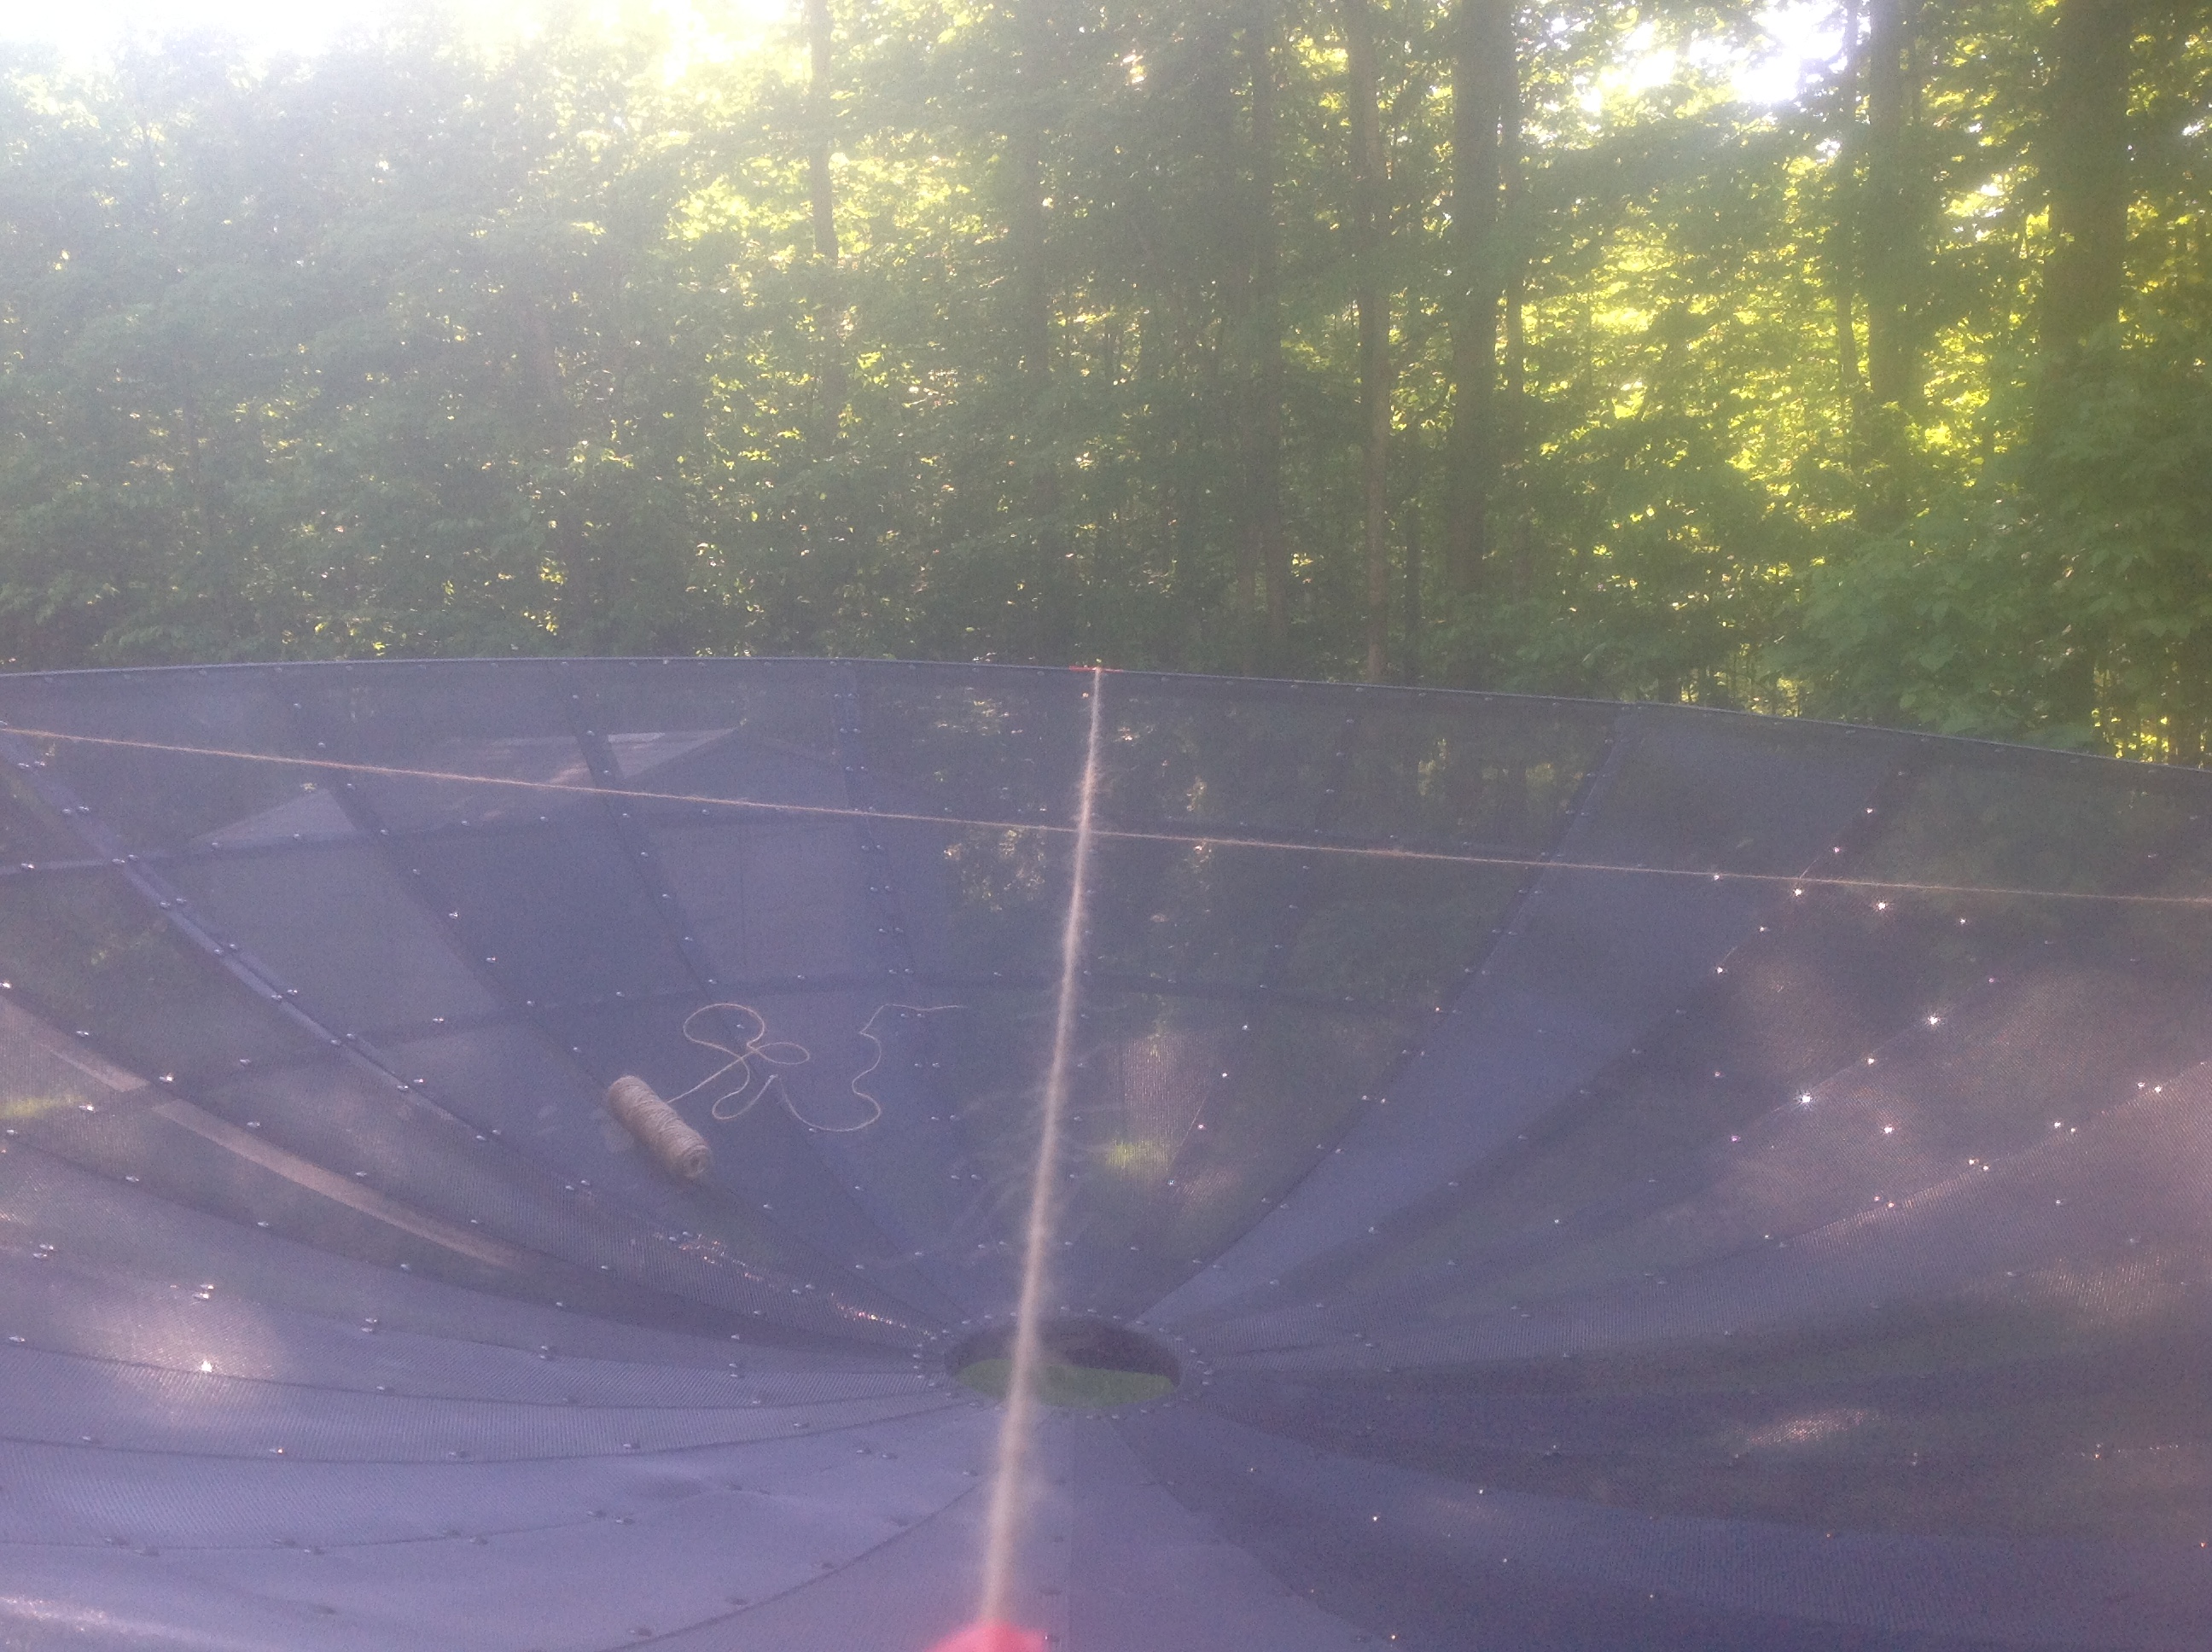
I want to let the cement cure for 5 days before putting any significant weight on it or tortional stresses but I did figure I could install the saddle mount, elevation mount and polar screw with the brass bushings. Here are the first two pictures I took of this part of the installation along with a question.

Tek1.jpg


Tek2.jpg


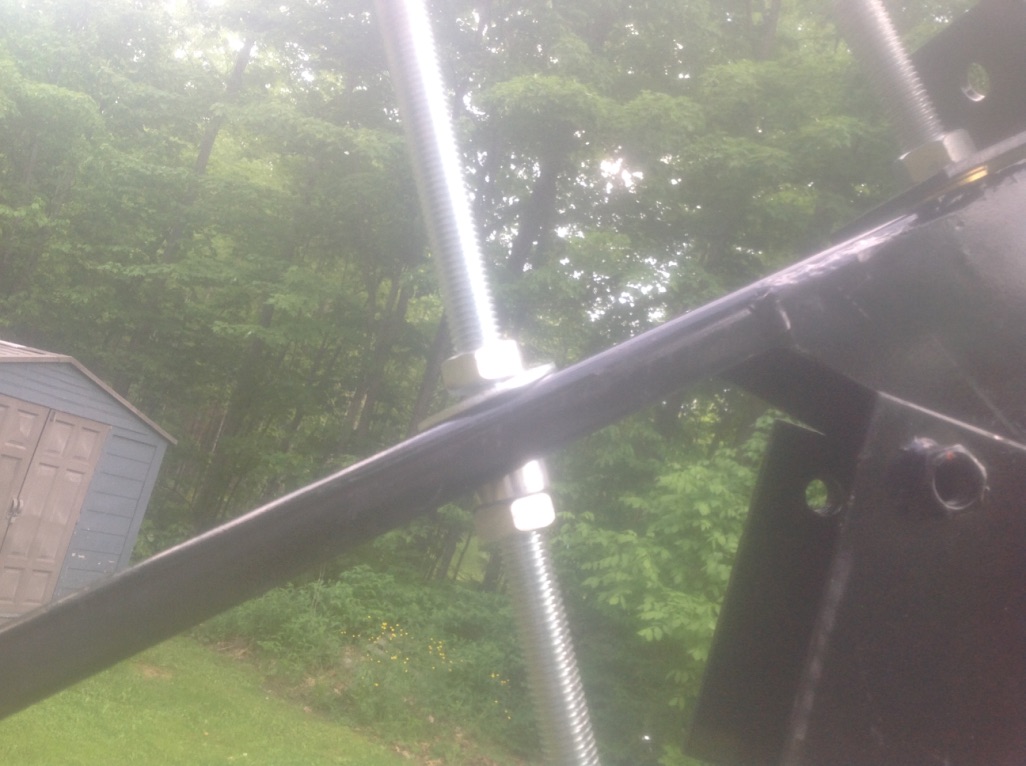
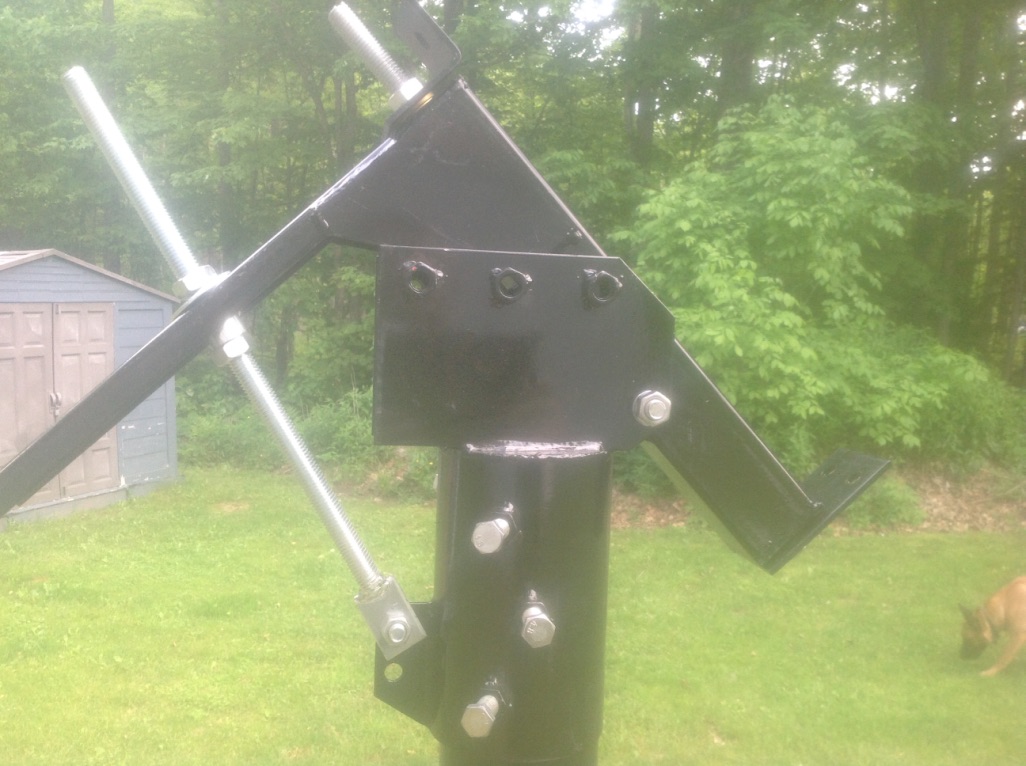
That first pic is pointed up towards the sun a bit so it's a little washed out but my initial question is the gap between the top nut and the washer. Is that going to cause a problem? Looking at the angles involved I don't see how to avoid that nut and washer not lying flat on the elevation arm and if I shifted to the bottom hole on the saddle mount I think it would make the angles even worse.

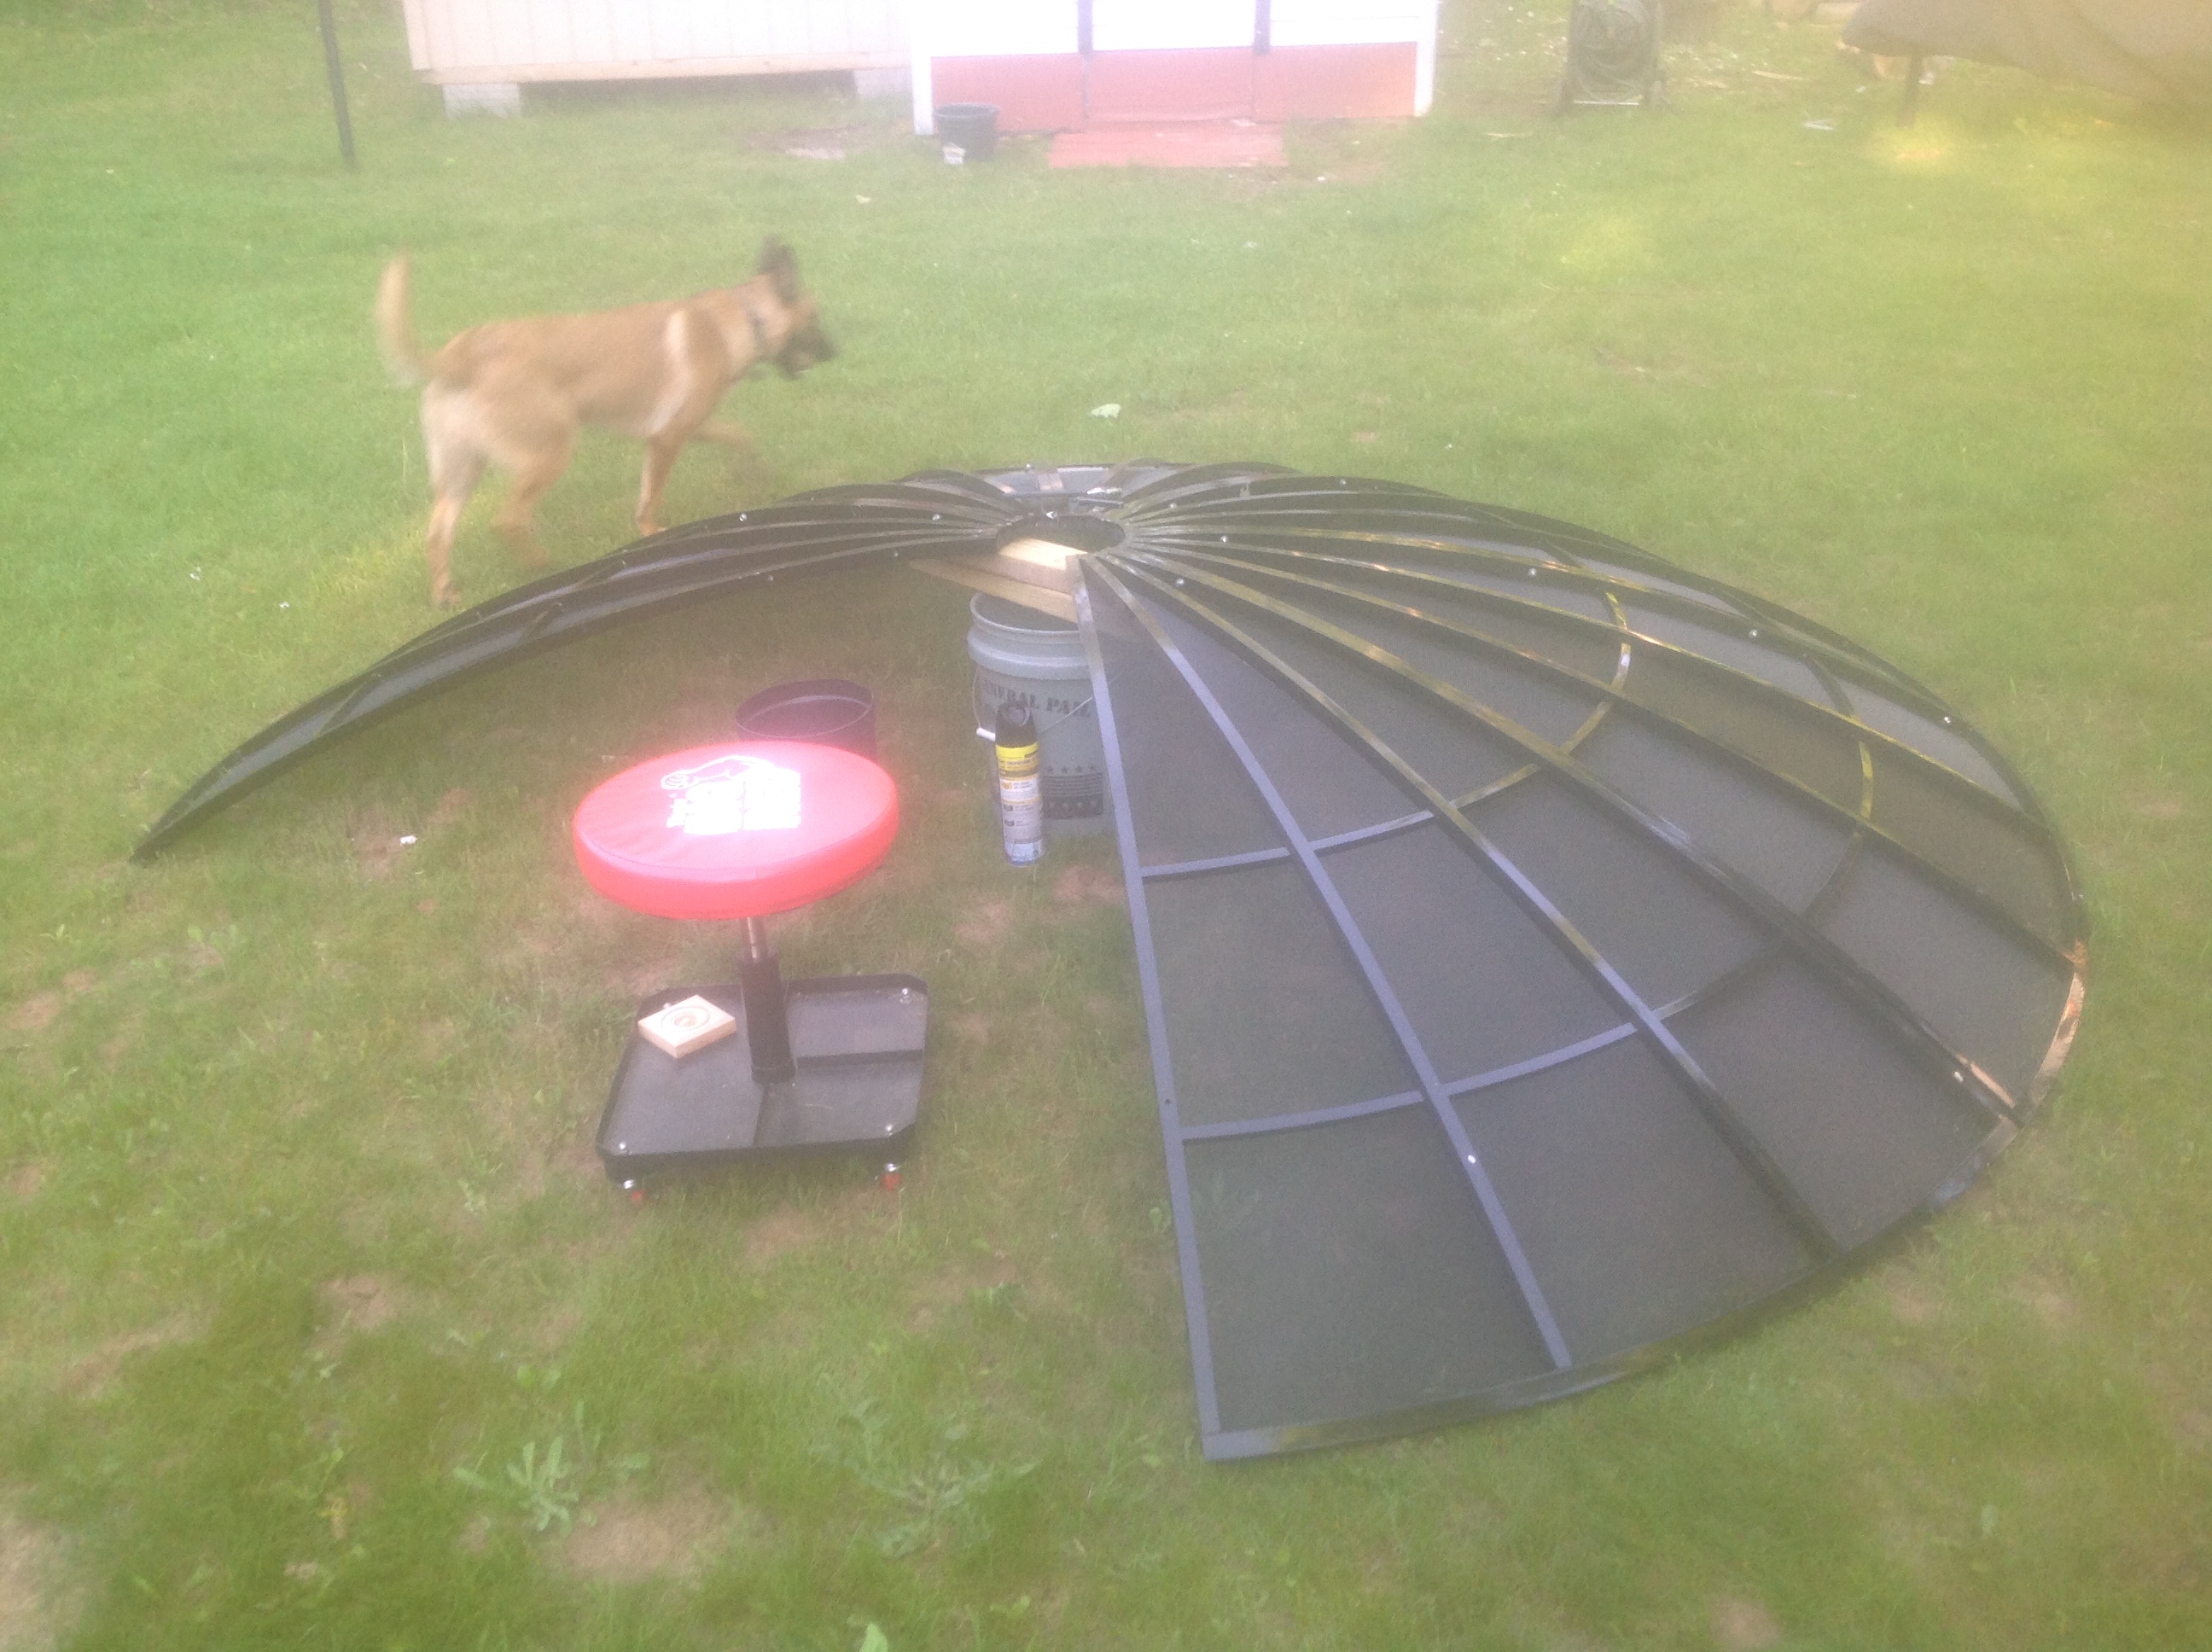
I'll install the frame and the dish sections next week and take it from there and see what happens. And of course I'm completely open for suggestions along the way as even though a motorized KU dish is similar the scale of this dish is something else all together.
 
  • Like
Reactions: alleslie and dl76
I got it right from the Tek2000 website. He sells it all. It's a tad pricey though. The 18-4 was .50 a foot, I would of rather gone with 16-4 but I think that was $1 a foot. When I got mine it was wrapped around the pole.
 
  • Like
Reactions: coltonjared
.50 is not so bad but I'm not liking the 25 dollar shipping. That a little excessive for 75ft of cable but looks like that might be my only option. Is the shielding around all four wires or two set of wires?
 
FYI... if you are shopping for motor/sensor distribution wire, I would recommend another option. 4 conductors inside a shield will be problematic and isn't suitable.

M1/M2 motor wire needs to be a minimum of 14 gauge. Anything smaller wire will limit the available power for the actuator and will have significant voltage drop.

The shield should be around only the 2 sensor wires, not the sensor and the motor wires. The purpose of the shield is isolate the sensor from the motor. Makes no sense to have the motor power and sensor wires inside the shield.

I recommend using low voltage lighting 14 gauge stranded copper 2 conductor cable for M1/M2 motor power and security system 18 gauge stranded copper 3 conductor plus shield for sensor S1/S2 connection. Both are sold at Home Depot, Lowes, etc. and will be better suited for motor control and sensor distribution.
 
FYI... if you are shopping for motor/sensor distribution wire, I would recommend another option.

M1/M2 motor wire needs to be a minimum of 14 gauge. Anything smaller wire will limit the available power for the actuator and will have significant voltage drop.

Thanks Brian;

That is good to know. I've got plenty of low voltage stranded wire out in the shed. I was going on the recommendations that Tek was making. They said minimum 18-4 on a 10' dish for an up to 75' run. Better to have thicker cabling to keep the motor moving along quickly because with a significant voltage drop the motor would slow down or maybe not move at all. I'll just use two of the 18-4 conductors for the sensor wire. Better to run an extra wire then have motor wires to small for the job. These are the kind of recommendations that I like from people who have done it before. That way you avoid the pitfalls and learn from other's experiences.
 
  • Like
Reactions: KE4EST and Titanium
I had some time on my hands when I got home from work today and decided to mount the dish frame. If there was a way to put a bolt in or bracket on and do it wrong I found the way. Although the online guide that Tek provides is very helpful it doesn't provide pictorial support of every step along the way and of course depending on the manufacturer as well as various enhancements there are differences between the dishes.

To begin with I put the pivot bolt in backwards with the threads above the declination bracket which prevented the declination bolt from fitting so I had to reverse the pivot bolt. And then I put the declination bracket on backwards so had to reverse that and when I first attempted to put the frame on I had that upside down as the actuator 'ears' are on the top of the dish and not the bottom. And then there was a significant gap of about a third of an inch from the bottom frame bolts and the bracket. That was a concern but enough thread was sticking up above the bracket that I was able to snug it tight. And also not enough split ring washers are provided for all of the 'critical' attachments to prevent the bolts from working loose in time so I'll pick up some more next week at the hardware store. Better safe than sorry. Ran out of time after this so Monday if it's not raining hopefully I can get the actuator mounted as well as perhaps beginning to install the panels.

Yeah, I know. Looks like a lot of trees around but believe it or not I had a lot of them topped and a number cut down this spring. My 1.2 meter dish not in the picture covers from 72 west to 125 west and the C-band dish should do the same and perhaps cover a little further west during the winter without the leaves on the trees. That should work out for me because I'm mostly interested in 87W to 125W or so.

Tek3.JPG


Tek4.JPG


Tek5.JPG
 
  • Like
Reactions: alleslie
That is a Beast of a Dish or will be. For me I would just rather invest into a car then a big dish! You must be kinda rich! lol
If I ever get enough money for something like this Ill have Michael install for me lol. Great job looks good though.
 
No images today as it's been raining on and off. Lots of fun to install a big dish in the U.P. of Michigan in the rain and mosquito season. The skeeters get about as big as grasshoppers. I mounted the actuator following the instructions making sure to use the spacers and after a little trouble with the V-box but got that figured out and have got the software limits set.

The next step is putting the mesh panels on the frame. The instructions say that this is probably the easiest part of the install......wrong!! I don't know what the author was smoking or perhaps it's because this is the first time I've done it but this is a real pain in the rear. The instructions say to mount one panel at a time and use the big bolts to mount the panel to the frame and the skinny bolts to bolt the sections to each other. Doesn't sound too hard but this is an 8 panel dish and there is no way to only mount one panel at a time that I can see because the big bolts going into the mount have to go through two adjacent panels at a time. Mounting the first two were pretty easy and the third one was doable but now the panels don't want to line up.

If you bolt them to each other they line up but then the bolt holes for the frame mount are off and vice versa. Of course those sections want to pull forward because of the weight of the panels and only being partially connected and that takes them out of alignment. I've tried a few methods to take the weight off the panels from dropping the elevation all the way down and then trying to support them on the bottom with some 2x4 sections and that still doesn't work too well and then I had the bright idea to rotate the mount completely horizontal with the dish pointing straight up but that makes the drooping even worse and of course you don't want to force the panels in as if there is trouble with alignment with half the panels it would be a real mess when I try to put the last ones in.

I'm sure I'll figure it out and if any of the sages out there have any tips or tricks to offer it would be appreciated. Probably not a lot of people have put in brand new mesh dishes recently but I know we have a lot of experience around here from folks back in the day. Anyway....it will be nice when it's done.
 
Having assembled hundreds of C-band panel dishes, I would not recommend installing the panels on a mount sitting on top of a pole. This will make alignment difficult and shaping the parabola reflector nearly impossible.

Instead, assemble on a flat surface. Place a bucket the same height as the parabola depth and make it the center of the petal. The bucket will support the panels as they are placed face down and loosely bolted together. This method will help create the parabola shape that will have final adjusted once bolted to the mount and string tested.

When the panels are joined, have a few friends flip the reflector onto its back, align and bolt on top of the upward facing assembled polar mount. I would use several log cabin style stacked 4x4 posts on top of a few pallets to cradle the mount and raise it off the ground. Once the reflector is loosely bolted to the mount, stretch 4 or more strings across the face of the dish at opposing angles. Make sure the strings lightly touch in the center. If the strings to not lightly touch, adjust the individual panels until all strings cross and barely touch, then tighten the panel and mounting bolts to spec. Failure to adjust the panels to optimize the parabola shape during the assembly will create a warped surface that will not accurately focus the satellite signals into the feedhorn opening.
 
I might give that a shot Brian. There instructions mentioned that as an option but recommended against it. One thing that would solve is another problem I'm having is at the center of the dish where the panels come together the frame mount is getting in the way and I'm finding it impossible to get a nut driver or even a tiny adjustable wrench in there as there isn't much room in the pie wedge in the middle and the frame makes it worse. That does make sense that it might be easier to put the dish together that way and I could almost roll it right over to the mount when it's done.

Thanks!!
 
  • Like
Reactions: KE4EST and Titanium
Sometimes, I wonder if the one writing the instructions for things, has actually done it themselves. Most of the time I tend to think no. They either do it on a computer simulation or make a guess.
Things are much easier to put together sitting in front of a computer.
 
  • Like
Reactions: MosFET77 and KennyR
Guys take a look at this for your dish mover cable:

https://www.dxengineering.com/search/product-line/dx-engineering-cw1812or-heavy-duty-spec-rotator-cable?autoview=SKU&keyword=rotor cable&sortby=BestKeywordMatch&sortorder=Ascending

This is a ham radio site and I use this rotor cable to turn the big antenna on the tower. It'll work fine for satellite use, although it;'s not the cheapest.

73,
Al, K7AR
I JUST ORDERED FRO TEC 2000 TO MINE IS 10 FT ALSO AND I SHOULD GET MINE BY JUNE 22 I THINK I FOUND SOME ON THIS PAGE HAD SEE ME AFTER I POSTED AND HAD SENT ME A EMAIL THE FUNNY THING I CALLED DOWN TO GAINVILLE GOT A NUMBER THAT LEAD ME BACK TO THE WEB CALLED A GUY NAME MIKE SAME ONE ON POST SEE MY REQUEST HE COMING OUT I CANT WAIT TOO GET BACK IN BIG DISH I ALL SO GOING OFF GRID WITH 2 SOLAR SYSTEM ONE 24 VOLT WITH 12 BATTERIES 2 VOLT 1110 AMP MAKEING 2000 AMP HR OUTBACK 6000 WATT INVERTER MPPT OUTBACK COMPASEDER 300 VOLT 10 SOLAR PANEL 240 WATTS SECOND SOLAR SAME ON BATTERIES 3000 WATT XANTREX WITH 300 VOLT COMPASEDER SO I WILL HOOK MY SOLAR TO MY BIG DISH 4K TV AND HI DEF SOUND SYSTEM AND GAME SYSTEM AND COMPUTER WITH A 16000 WATT GENRATEOR GENRAC PLEASE LET ME KNOW HOW IT WORK FOR YOU
 
From what I am hearing! Man I want to stick to a 90cm dish! lol

Risk-reward. Wanted a 'real' c-band dish for years. This is still a lot like a motorized KU dish just that everything is on a bigger scale is all. Got sick of seeing all the nice finds posted here, at Rick's and others for the big dish that I couldn't tune. Lot's of times if there is a ball game or something you want to see it will be on C-band even if the announcers are speaking Spanish.
 
Nice morning today and I don't have to be to work until this afternoon so decided to work on the dish. I took the advice that was offered and took the existing panels down off of the mount and started to assemble the dish on the ground. Much easier and went together within an hour.

Tek6.JPG


Tek7.JPG


Then after assembly I rolled the whole dish over to the mount which I had in the vertical position and put a few 2x4 blocks under the lower lip of the dish to elevate the dish to the level of the mounting brackets and the first two brackets on the bottom lined up great.

Tek11.JPG


At that point I figured [wrongly] that I was home free. Keeping some pressure on the back of the dish ring I rotated the whole mount to the vertical and was going to attach the rest of the mount bolts figuring that I would only have a few small wiggles to get the bolts in but that wasn't what happened.

Tek12.JPG


Tek13.JPG


Tek14.JPG


One or two of the brackets were pretty close but there were big gaps with the other brackets so then I did the 'string' test and figured that I had some warps in the dish and boy did I!!

Tek8.JPG


Tek9.JPG


Tek10.JPG


Kind of hard to see from the last two pictures but the strings aren't even close. There is about a 3" gap between the two strings and that of course explains why the rest of the mounting brackets are not lining up. The dish snugged together pretty good on the ground and I only had trouble with one bolt at the end. Instead of having to make room to slide the last panel in there was actually a bit of a gap but the bolts pulled it together nicely and all the panels are level with each other.

So the 64K question is what to I do now to get the warp out? I can't force the dish because that will really bend it. Do I back out all the bolts holding the dish panels together while still keeping the nuts threaded and wiggle things around hoping that the dish returns to true?
 
You made two mistakes:

1: You assembled the dish on your yard/the ground, when it should be on a KNOWN flat surface such as a paved concrete parking slab.

2: You snugged all the bolts when it was in this position. Don't completely crank tight/wrench snug them all the way until the reflector is completely together.

Follow the instructions in this Perfect 10 manual I uploaded: P
 
Well,

Nothing that I can do about #1 as I live out in the country and the flattest spot in my yard is all that I have. My driveway is gravel and not level and I don't think I can get away with blocking the street while I'm putting it together. LOL Your point #2 makes a lot of sense thinking about it. If the yard isn't perfectly flat and I snug everything down in that position then the dish will take the shape of that part of the yard so obviously that is where the 3" difference in the dish sides come from. I guess the best thing to do is to back off all the bolts until they are just maintaining thread contact and hopefully gently pull the panels into the mounting bracket and once that is done just go back around and snug them up a little at a time. I missed the part where Titanium said to 'loosely' bolt together. Real learning experience here and thank you for your comments they are appreciated. Learn from the experts.
 
  • Like
Reactions: alleslie