I've been able to do some work on the mounting post for the 1.2M dish between showers  . Attached are some photos of the brace I devised to help support the post against the eve of the house. I really should have painted first, eh?
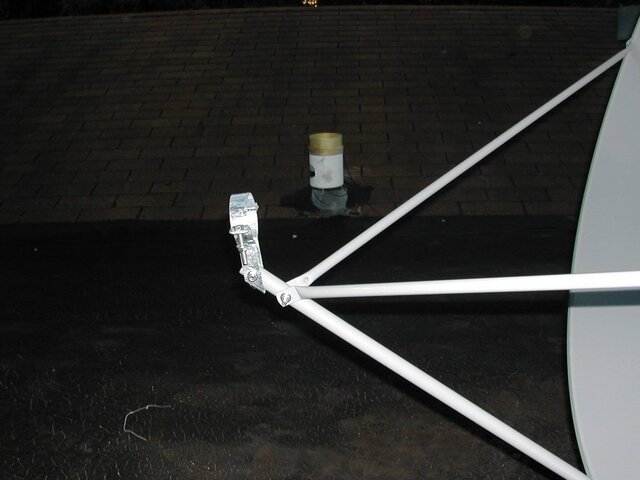
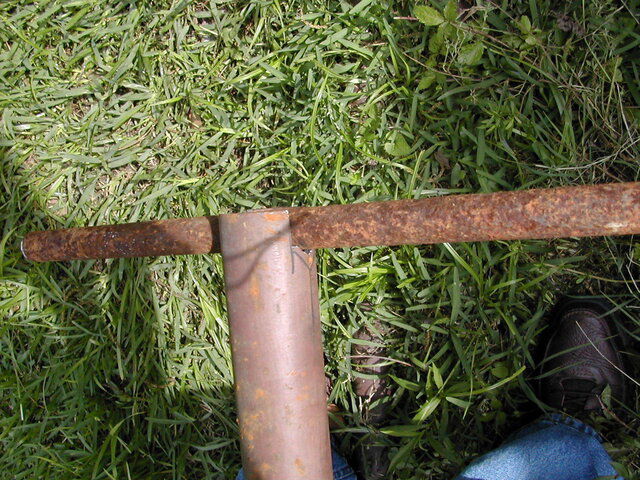
Anyway, #448 shows the brace just sitting in place.
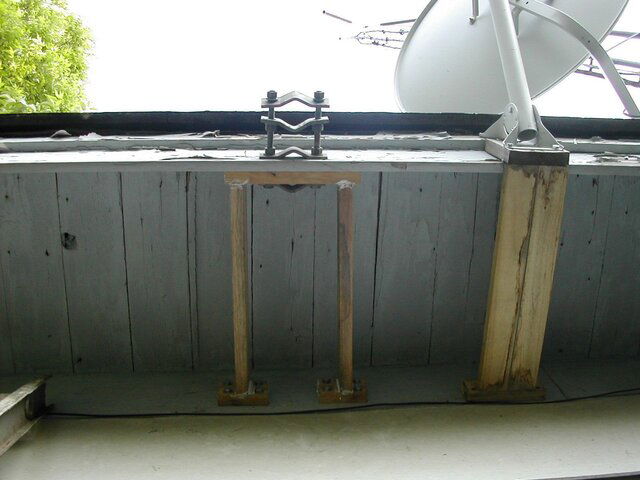
#449 shows it bolted in place with the stand-off bracket mounted.
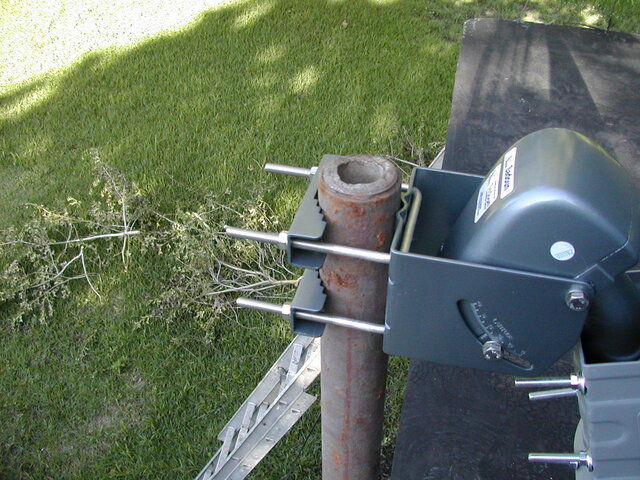
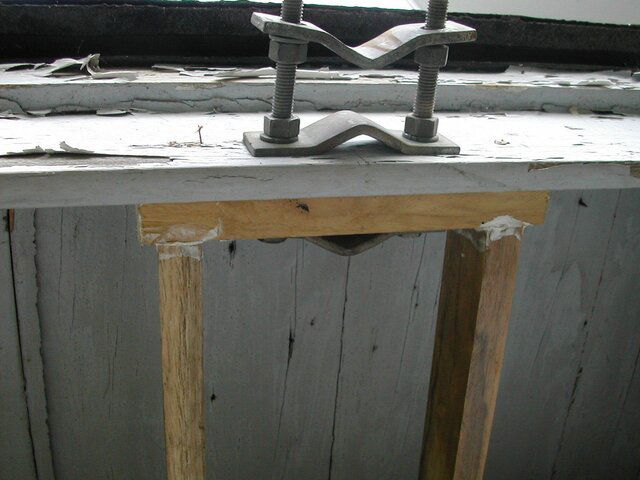
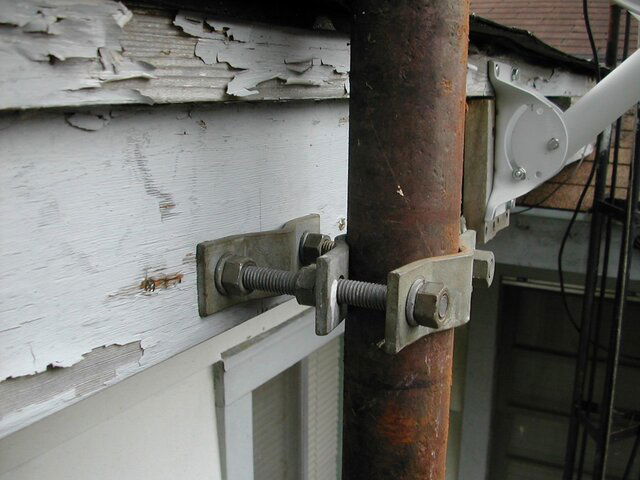
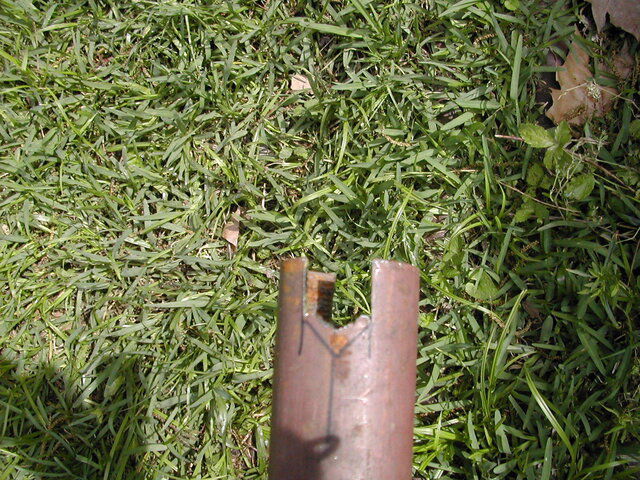
#450 is a close-up of the stand-off. The white coloration is silicone putty I put on the raw ends of the wood to reduce water wicking into the grain.
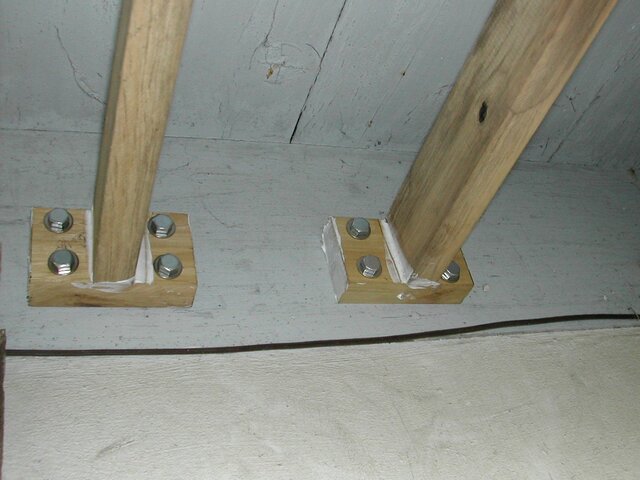
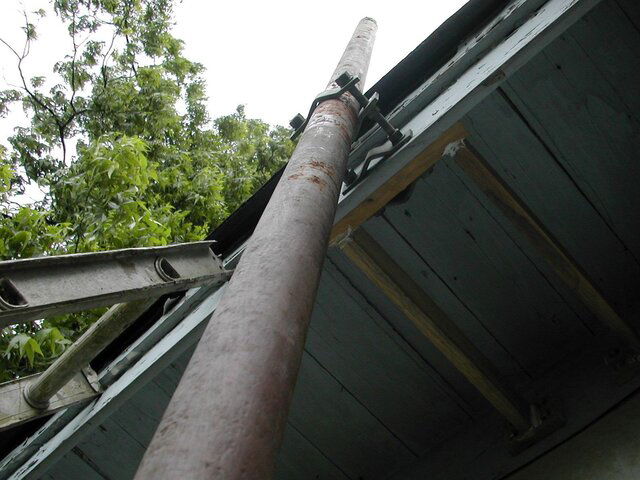
#451 is the 3" lag bolts driven into the outside rafter. The 4" crossmembers that the bolts go through are fastened to the longer braces by 3" course-threaded screws (two on each member).
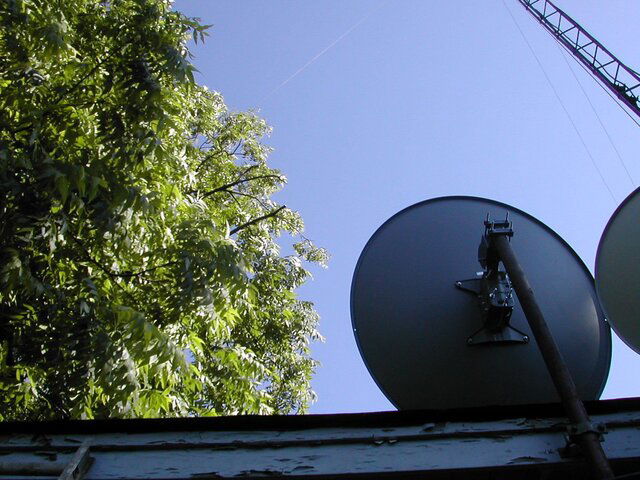
The small brown wire just below the brace is for my rain gauge. The sending unit is on the roof & can be seen in prior photos, looks like a crock pot. Immaterial here, so won't elaborate.
I've installed the post and plumbed it. I'll post pictures on that later (I'm on dial-up, painfully slow sending photos ). I've had trouble with the ISP, so couldn't send these earlier.
. Attached are some photos of the brace I devised to help support the post against the eve of the house. I really should have painted first, eh? Anyway, #448 shows the brace just sitting in place.
#449 shows it bolted in place with the stand-off bracket mounted.
#450 is a close-up of the stand-off. The white coloration is silicone putty I put on the raw ends of the wood to reduce water wicking into the grain.
#451 is the 3" lag bolts driven into the outside rafter. The 4" crossmembers that the bolts go through are fastened to the longer braces by 3" course-threaded screws (two on each member).
The small brown wire just below the brace is for my rain gauge. The sending unit is on the roof & can be seen in prior photos, looks like a crock pot. Immaterial here, so won't elaborate.
I've installed the post and plumbed it. I'll post pictures on that later (I'm on dial-up, painfully slow sending photos
). I've had trouble with the ISP, so couldn't send these earlier.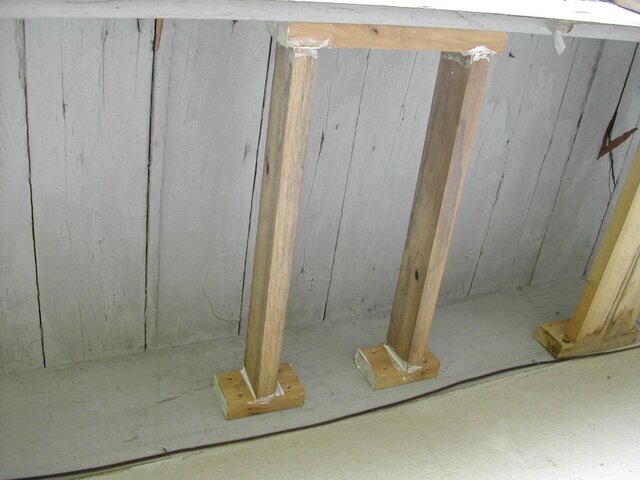
")
")


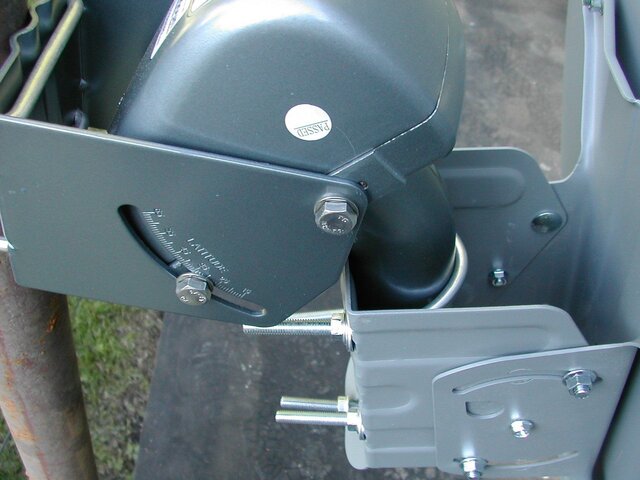
 ), but had thought about swapping the u-bolt fasteners, though not fond of that idea at all.
 . The mast goes all the way to the ground and is not entirely held by the eve mount. I don't have my list of explanations of the photos with me, but I'll try to call them by memory
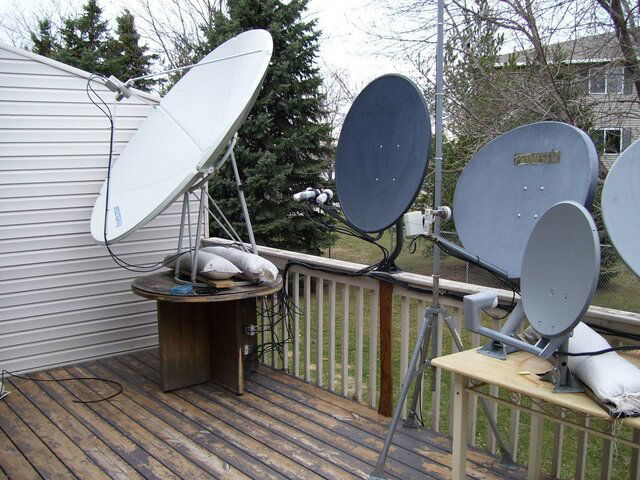
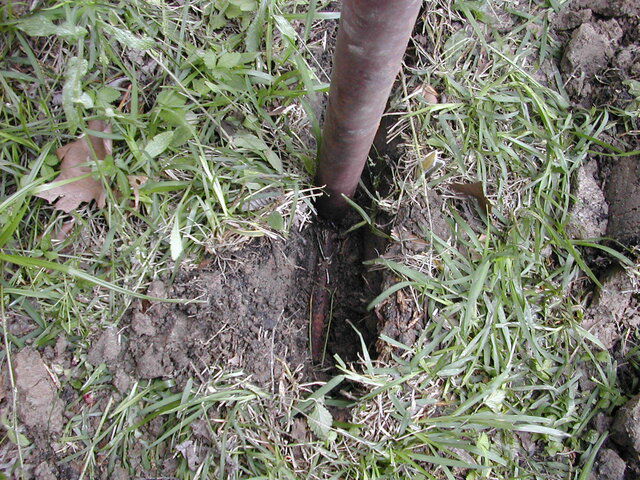
  .
.

 ??
??