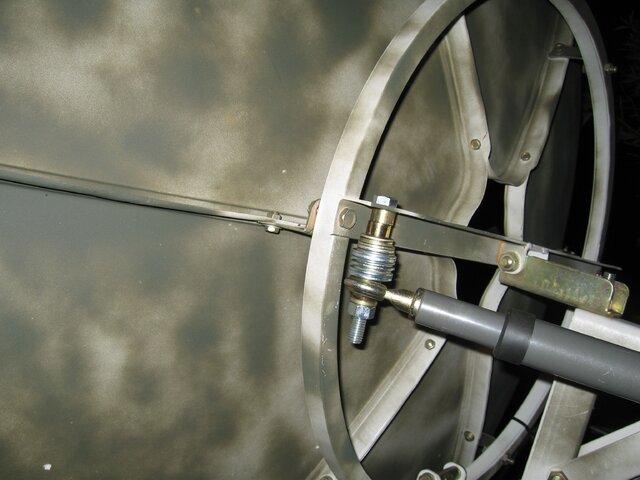
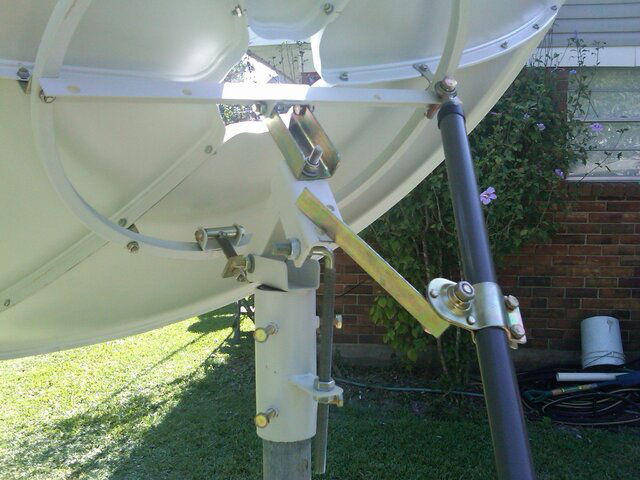
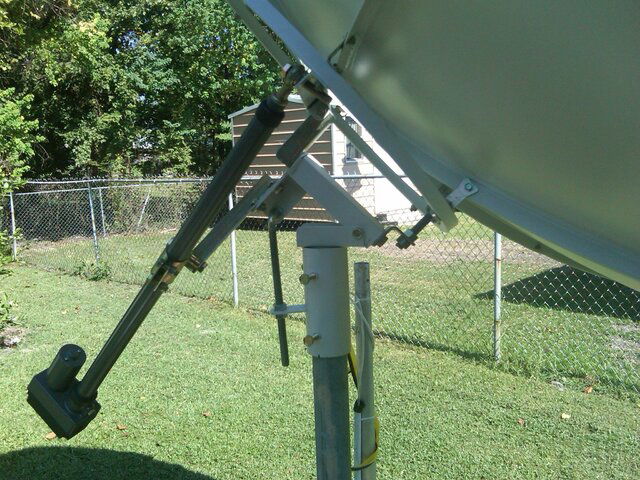
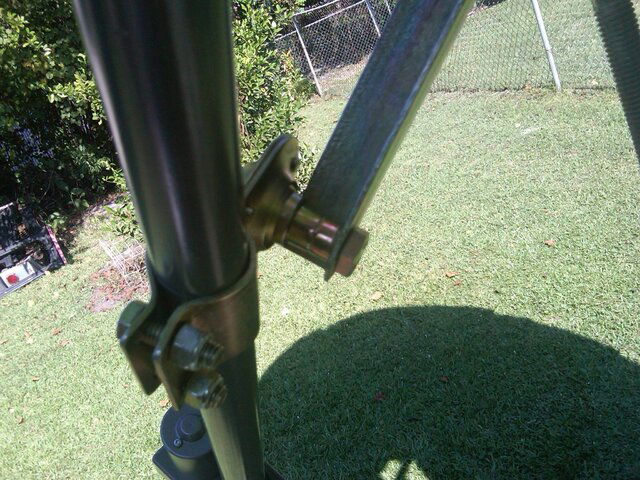
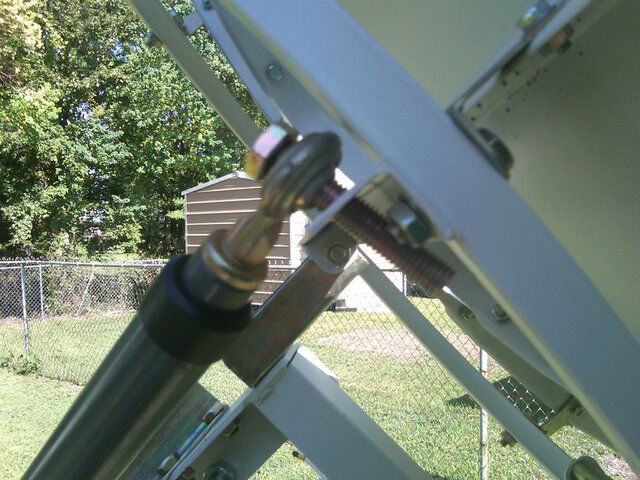
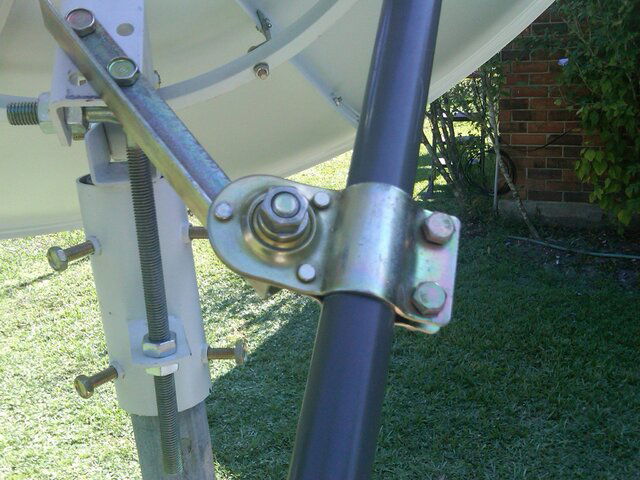
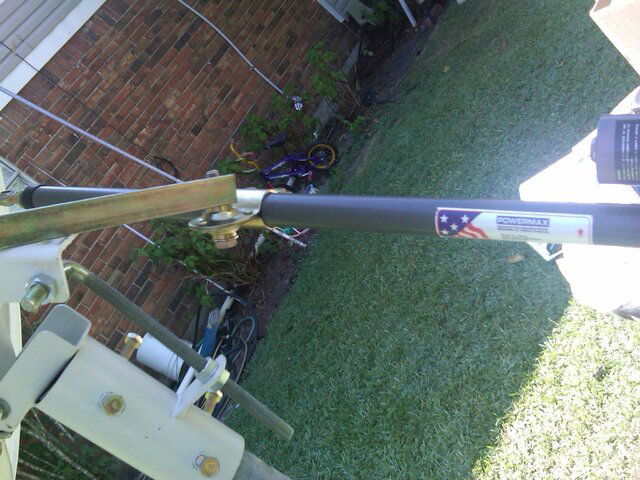
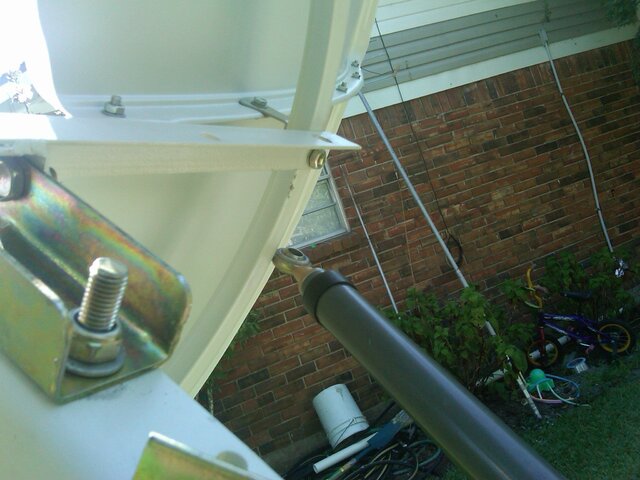
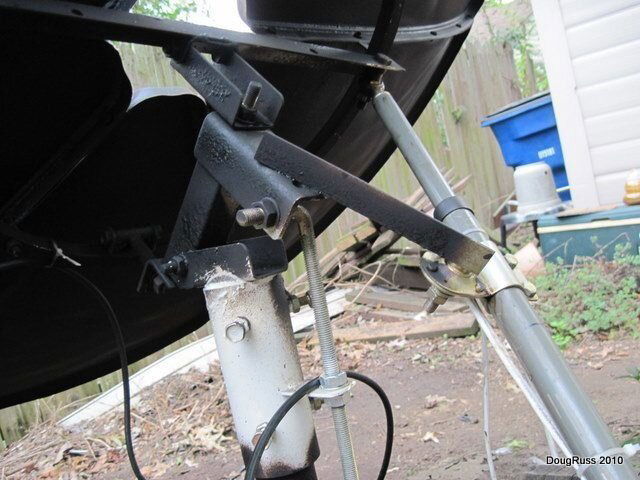
Arms are located in the second row of bolts holes from the rim . Where DougRuss has his located. I definitely used extra washers, and went out and bought a 4" 7/16th bolt for attaching the actuator to the dish. Had to get longer to get a "straight push" from the actuator. Started working with the actuator and Gbox today. Set my east-west limits. Turned my dish on the pole to the east past my LOS, and then extended to actuator to my true south bird, 87W. Trying to set my elevation and delination angles ( not easy, I'd say), to get more than 2 birds. So far I can get 87W and 91W , but haven't gotten anything else.
")
")