I don't have pictures because my lnb is enclosed, but I used the existing threaded holes to mount my lnb.
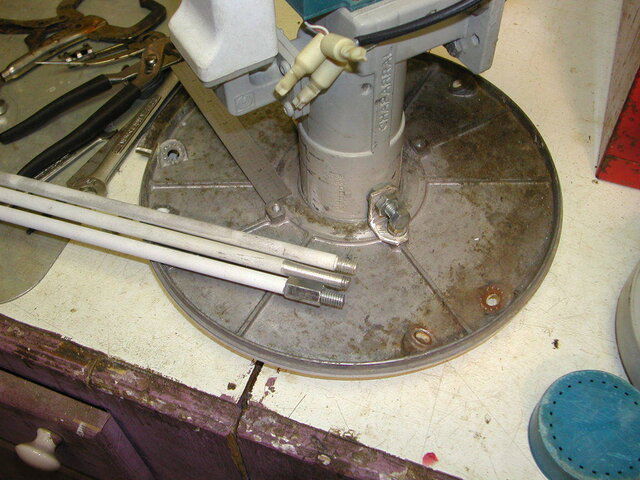
If you have the same scalar as I do, it has four cast-in threaded holes used to mount the Birdview LNBA. I got little one inch angle brackets from the hardware store (the kind you brace up furniture corners with), I had to drill one side of them out so the I could mount them to the scalar. Then I had four smaller bolts with nuts going through the other hole in the bracket and adjusted out until it pressed against the lnb and held it in place.
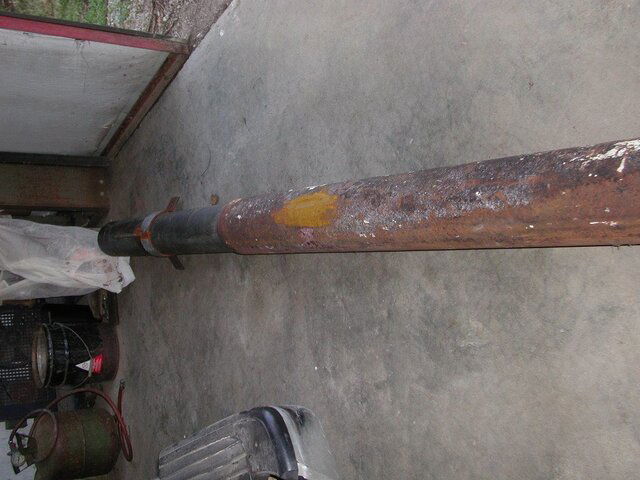
But I still have the BSC 621. I'm sure there would be clearance issues with other kinds of units.
If you have the same scalar as I do, it has four cast-in threaded holes used to mount the Birdview LNBA. I got little one inch angle brackets from the hardware store (the kind you brace up furniture corners with), I had to drill one side of them out so the I could mount them to the scalar. Then I had four smaller bolts with nuts going through the other hole in the bracket and adjusted out until it pressed against the lnb and held it in place.
But I still have the BSC 621. I'm sure there would be clearance issues with other kinds of units.
")


")