stogie5150's Birdview install

Status
Please reply by conversation.
Well as long as you gave it your best shot, you have done all you can. :)

At least the C-Band is "stellar" across the arc for you and that is worth it's weight in gold. :D

You can always hook up your 1M Primestar on a motor and use it for Ku.

I am seriously considering adopting fixed dishes for all my Ku reception and adding at least some C-Band fixed dishes to share between my family room and my room receivers, just to cut down on motor movement. :)

Just have to figure out how to do the sharing between receivers. :eek:

I'd say you have done a great job Stogie and I am glad you are pleased with your C-Band reception. :D

Thanks for the kudos Brother, you taught me all I know about the Birdview phenomenon. :up

Yes indeed, as soon as I can stake out a location, the pole is going back for the other 1m dish. No hurry though, we are entering the rainiest part of the winter here in South Louisiana, and you don't wanna be digging right now anyway, you'll hit water about 8 inches from the surface. Not fun to dig in...LOL
 
Stogie;
Great work, and you have a most excellent C band rig!

Don't let a little water stop you from adding the Ku, I have ground water problems too, but right now it's just a bit stiff for digging.
 
Well, I went back at it today. I decided one way or the other this dish was gonna work for Ku.

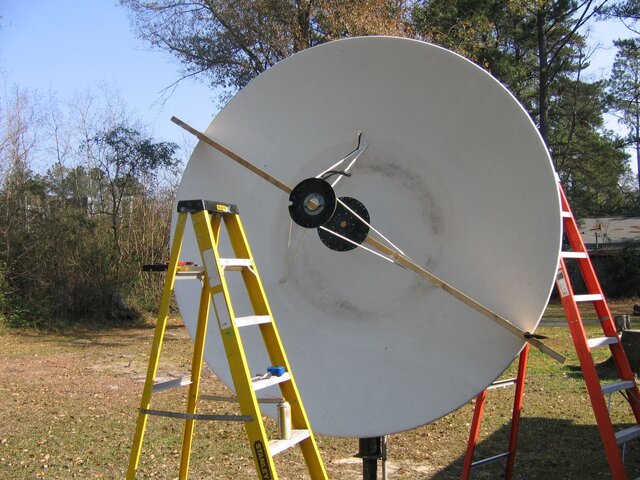
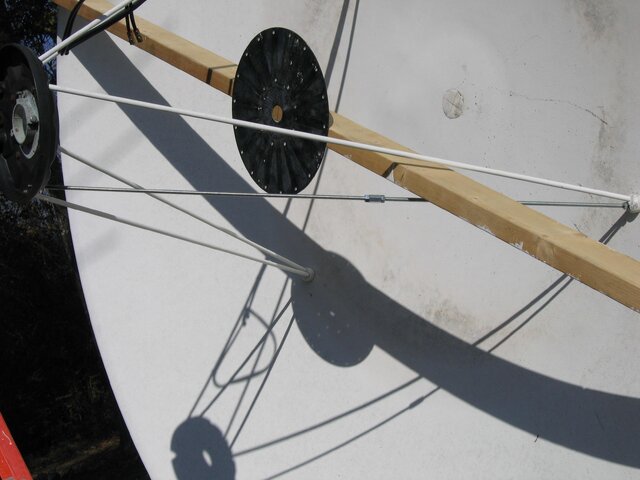
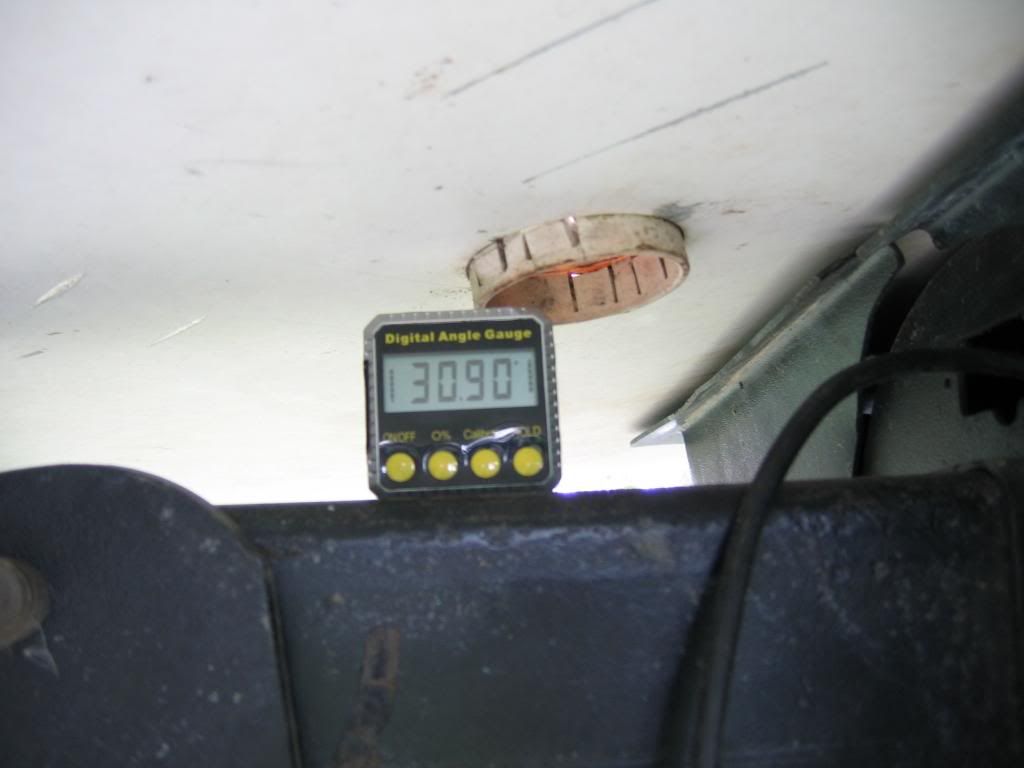
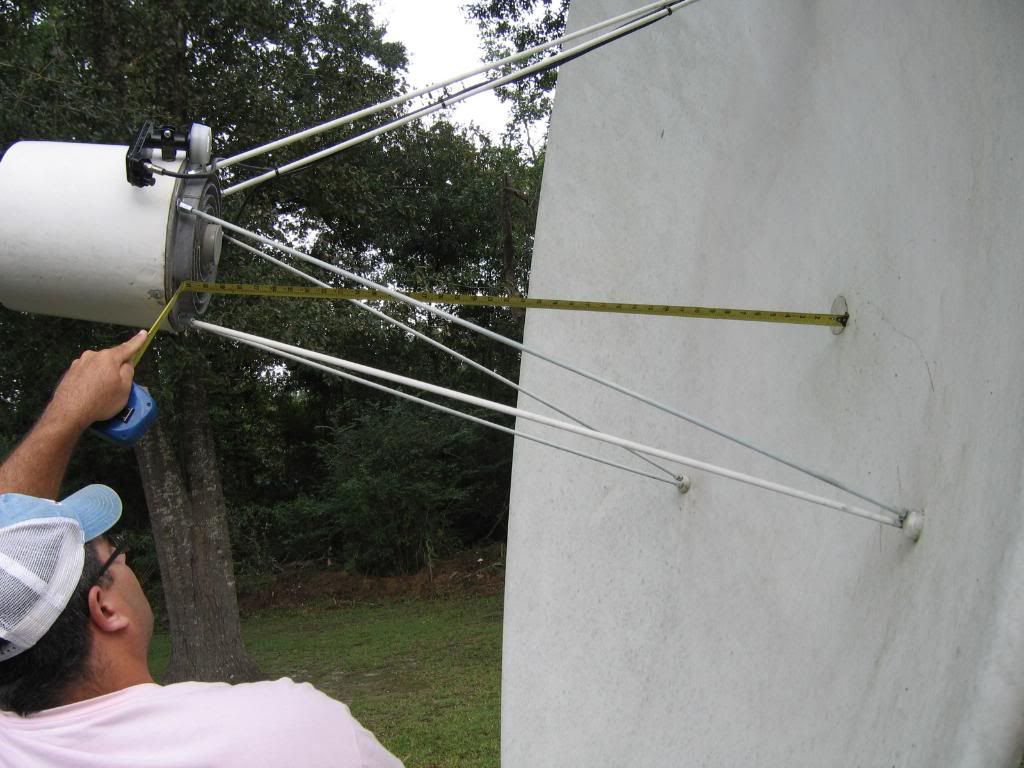
First off, I decided to lay a 2X4 across the dish edge ways, with an old 10' dish hub plate screwed in the center to measure the scalar from, to see if the scalar was perpendicular to the dish. I also used it to take measurements for centering.

Didn't take long for me to find out that the scalar was correct as far as perpendicularity, so that wasn't my problem. So I started measuring centering. It was 5/8 of an inch out of center on the N/S axis, and about 3/16 of an inch on the E/W. Yikes. :eek:

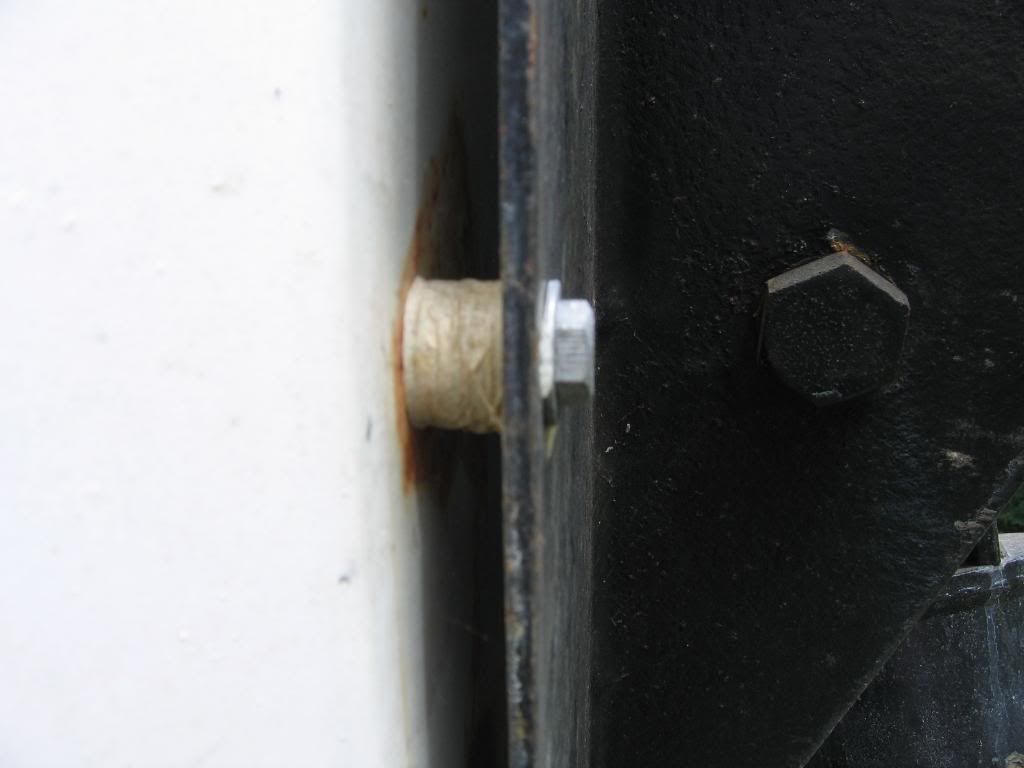
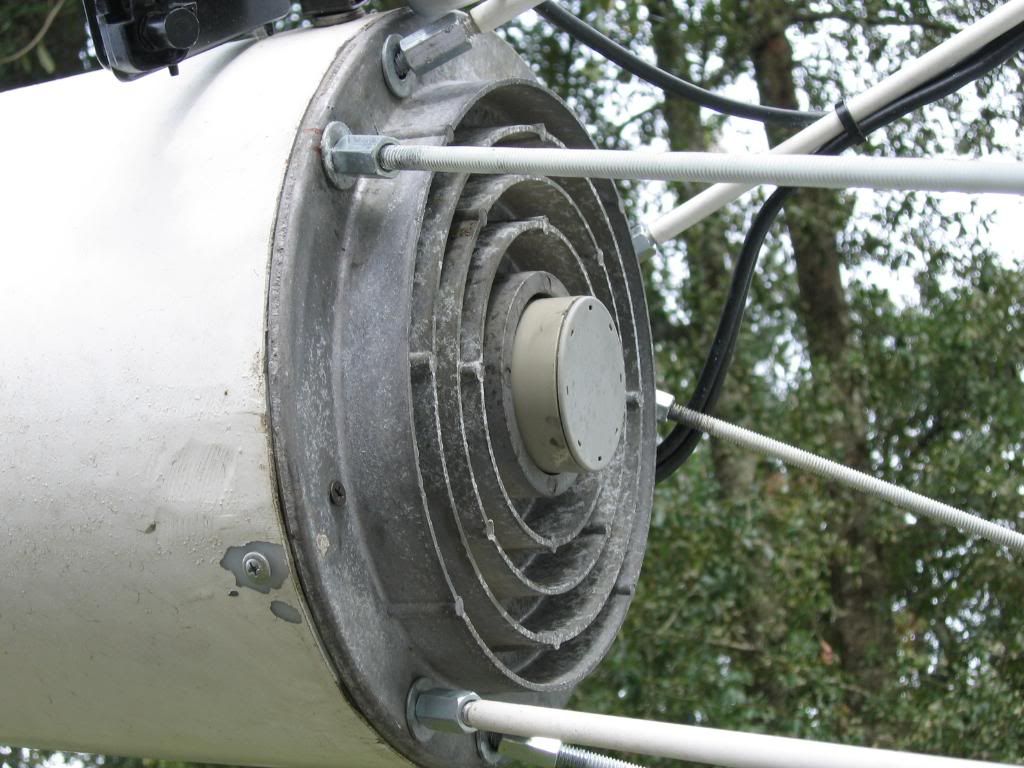
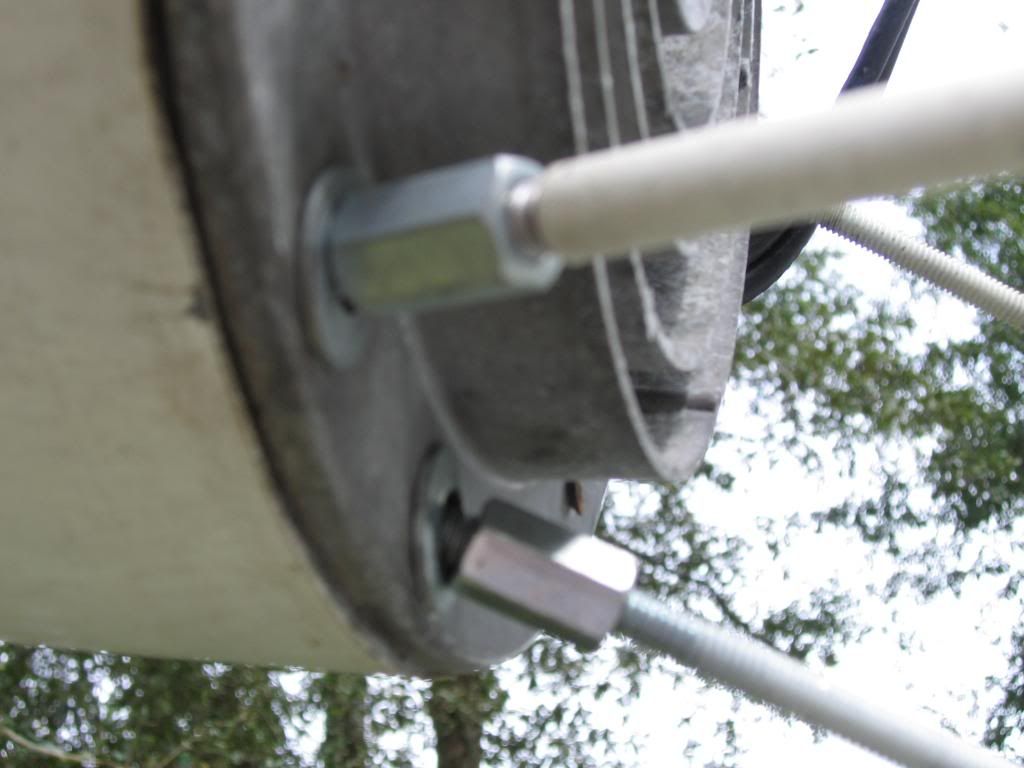
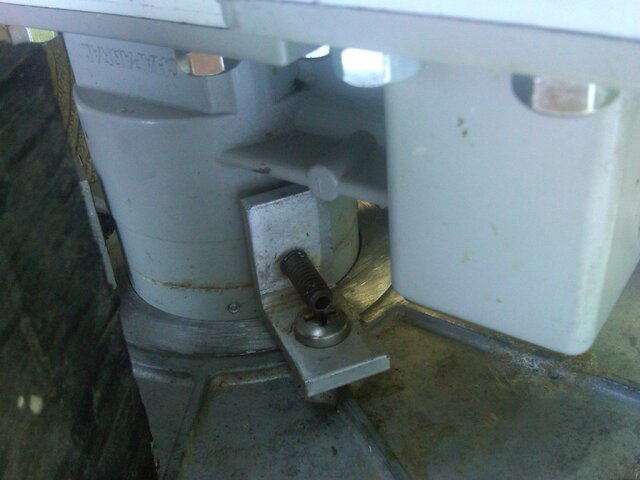
So, being the genius that I think I am, I decided I was going to take the scalar plate off the feed legs and check for binding. So I put a little PB Blaster on the nuts, let it sit for about 20 minutes...put a socket on one of the nuts under the feed cover, and...SNAP. Broke off. Birdview used ALUMINUM to make the legs, and then used STEEL nuts to secure them. They are corroded tight. So, after a little brainstorming, I decided a couple lengths of allthread rod and a ferrule might replace the broken feed leg. SO...off to The Orange Box for that...got it home, cut it to length, and installed it. So that's fixed.

After that, I decided I'd drill the existing scalar to mount holes bigger to allow for more adjustment. I opened them up to 1/2 inch, and it STILL wasnt enough to allow for getting it even close to centered.

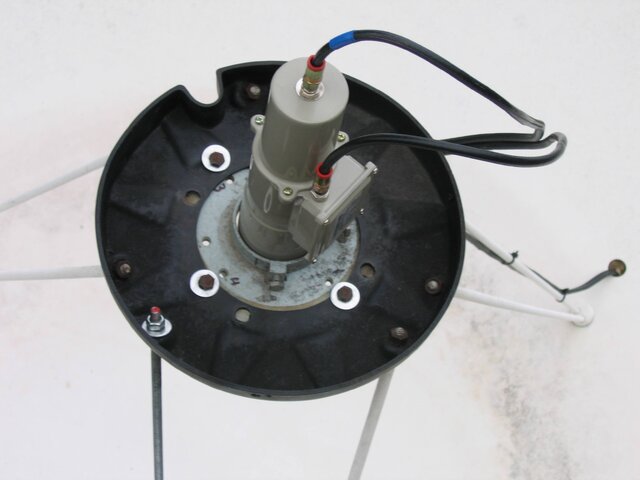
So, after a few puffs on my favorite cigar, I decided I'd just abandon the original holes in the scalar plate, and center the scalar, mark the holes, drill them, and remount the scalar.

I could have saved a LOT of headaches if I would have just done that to begin with...:D

I slapped the Ck-1 that came in the mail today, roughly set the skew, and fired up the receiver. AMC 3 C-Band was the satellite, moved it around a bit, and the Scrambled muxes channels came in, 94Q on the Coolsat 5000. So I changed sats to AMC 3 Ku, and the Religious mux came right in, 92Q! OKAY! NOW we're getting somewhere!

So after a good solid 8 hours, I am closer than ever to getting this thing sorted. I will have to get the skew closer than it is, I think it has more to give. Tomorrow. LOL:cool:

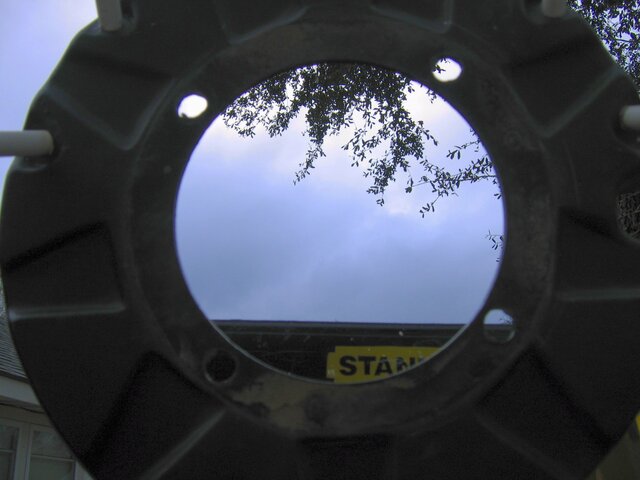
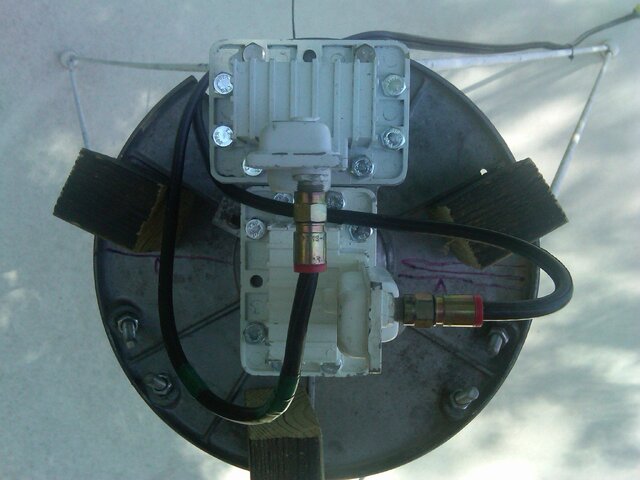
Pics you say? But of course! The pic that I tried to document the scalar drill pattern is dark, so you may not be able to see the marks I made to show where to drill the holes.
 

Attachments

  • Measuring setup.JPG
    Measuring setup.JPG
    894 KB · Views: 253
  • New feed leg.JPG
    New feed leg.JPG
    316.5 KB · Views: 226
  • drill template.jpg
    drill template.jpg
    482.7 KB · Views: 208
  • after.JPG
    after.JPG
    173.6 KB · Views: 238
Last edited:
The pictures look good. If your marks are circles, I think I see two of them? The only thing questionable, I think, is AFRTS is on G28 and not AMC3. That would make the religious channels on the ku side BYU. So you need to try for the ABC feeds.
 
They make threaded rod in stainless too.

I make it a habit to replace all nuts and bolts with stainless stuff cause I hate rusty stuff
 
The pictures look good. If your marks are circles, I think I see two of them? The only thing questionable, I think, is AFRTS is on G28 and not AMC3. That would make the religious channels on the ku side BYU. So you need to try for the ABC feeds.


Yeah you were right...I was thinking AMC 3, and said channels that are on G28. I WAS on AMC 3. :cool:
 
After numerous requests.....a progress report.

After a couple weeks, I finally got around to programming the positioner box, as I worked my way across the arc, from 43w to 139w, I took note of the signal strengths as I went....most TP's are in the 90% quality range on Ku across the arc, 90-94 % quality on the C-band side. there were a few Ku and a few C band TP's that went to 97-98 quality, but they were few and far between.

One thing I noticed, there are a couple Ku S2 Tp's on a certain satellite that normally cannot be gotten together, the Birdview pulls them both in, no problem. My Paraclipse cannot accomplish that feat, I tried.

You guys that have them, keep at it. It CAN be done. :up
 
Declination update...and more!

A few folks have asked,implored, at least one pretty much demanded, me to take some pics of my declination procedure for the Birdview. And also some pics of the scalar/feed rods that I had to extend, and that you will too, if you want Ku to work...:)

To measure and set declination: First, figure out WHAT your declination is for your location, I am not going to get into which chart is the best, use the one you like, or compute it, whatever.

First, measure your elevation on the elevation bar. Remember, this can be done ANYTIME, the dish does NOT have to be aimed, you are just measuring the DIFFERENCE between the dish and the mount, that's the Declination.

AngleonelevationBar.jpg


Then ya going to have to measure the DISH, and to do that, lay a small straightedge across the hole in the back of the dish, and put your angle measurerer thingy on that. Sorry for the blurriness, its hard to hold it and take the pic at the same time, but you get the idea...

Angleondish.jpg


Then you shim the dish with 5/16 washers, if you need more just tape them together with masking tape, like so:

Declinationwasherinstallation.jpg


Now, how I extended the feed supports....be aware that the stock poles are aluminum, and you may break one off gettting the scalar off. You will need some 5/16 allthread rod and some ferrules/extenders/whatever you call them.

Scalarlengtheningroddetail1.jpg


And

Scalrlengtheningdetail2.jpg


And here is how I measured my scalar to dish distance, which is 40.750 inches. From the face of the scalar to the dish. You purists might wanna turn your heads, but my C works as well as my Ku band....

Measuringscalartodish.jpg


That's it! The waveguide itself, well, I adjusted it in toward the dish as much as the Ku box on the side of the CK-1 would let me, to get better Ku. Moving it inward did not hurt the C, but it damned sure helped the Ku....

Enjoy and I hope some of that helped someone!:up
 
Last edited:
Many thanks, K-man, those pics are exactly what I DEMANDED! :D

I will be posting some more pics and descriptions to my BV #2 thread as I progress, looks like a lot more rain coming this week so it may be slow going. :)
 
I am still working through this long thread, so I apologize if it's been discussed in a message I haven't gotten to yet, but I want to try to get an answer sooner rather than later.

I took the scaler ring off the birdview yesterday in preparation to enlarge the hole to fit a corotor II+ feedhorn throat. I wanted to use an ADL feedhorn but I found out I can't because the scaler ring is fixed and the throat is receeded into the ADL's scaler ring area. When placed against the Birdview scaler ring, there is an air gap so the microwaves probably wouldn't be able to flow to the ADL pickup probes.

So thank goodness I have a Corotor II+ sitting around to use for this dish.

When I get the hole enlarged enough, do I want to put the Corotor throat through the hole enough to be flush with the birdview scaler ring, do I want to push it through enough that the Corotor throat extends 1/8" past the Birdview scaler ring to get the focal length set right, or do I want to put the corotor throat only partially into the birdview scaler ring?

You want to experiment. My CK-1 is flush with the scalar. Try it a little out, then a lot out, then flush, and let it tell ya where to put it. :)
 
You want to experiment. My CK-1 is flush with the scalar. Try it a little out, then a lot out, then flush, and let it tell ya where to put it. :)

I think I'll try it first with the corotor 1/8" sticking out - assuming that the dish-facing side of the birdview scaler ring is at the focal point and knowing that corotor focal length is measured to 1/8" inside the throat.

but yes, I can experiment if I don't like the results right away of my reception.
 
I use a little bit different method. There is a hole in the center of the dish. I made up this piece of 1/2" pvc with a piece of curved auminum screwed into the top. I attached the aluminum to the inside of the lnb, used sheet metal screws to attach, and ground the points of the screws off the outside of the throat of the lnb.

It has to be just the right length so it can go in and out a little. I have a little c-clamp which I clamp in the hole in the dish.

with my receiver set to "beep on scan" and with my wireless headphones on to receive the beep audio, and with a piece of wire and pliers, and with my dish on a good, known satellite position via G-box, and with keeping my lnb loose in the scalar plate, I grab the pc behind the dish and go in and out and twist until I get the most and highest pitched beeps. Once there I use the pliers to twist the wires around the pvc and the c-clamp to hold it in the best position,

Then when I motor the dish all the way west to where I can work on it, I tighten the lnb in place and take off the pvc thingie and the c-clamp and wire. By the way, my lnb comes out within a quarter inch of the surface of the scalar- so pretty close to the "flush" some other guys recommend.
 
And this is what they look like with an ortho installed...

Finally got around to installing my ortho on my BV. I used some old US Electronics 35 degree lnb's I had laying around, they did surprisingly well, beating the CK-1 on most TP's. Anyway, here are the pics...taken with my phone so no comments...:cool:

I also threw a picture of my switchboard in there, all my switches are now in the attic, out of the weather.

And before ya ask...yep, feed cover fit perfectly. :)
 

Attachments

  • what I statred with.jpg
    what I statred with.jpg
    621.2 KB · Views: 234
  • the end product.jpg
    the end product.jpg
    362.1 KB · Views: 243
  • closeup.jpg
    closeup.jpg
    382.3 KB · Views: 226
  • Switchboard.jpg
    Switchboard.jpg
    503.1 KB · Views: 500
Status
Please reply by conversation.
***

Users Who Are Viewing This Thread (Total: 1, Members: 0, Guests: 1)

Who Read This Thread (Total Members: 1)

Latest posts